Security Scanner - Scanning Internal IP Addresses with the Gateway
2 minute read
Security Scanner - Scanning Internal IP Addresses with the Gateway
Introduction
Since not all IP addresses in your infrastructure can be checked externally, you have the option to set up a gateway. This allows isolated networks (e.g., RfC-1918) to be checked for vulnerabilities.
Installing Gateway
Download Gateway Image
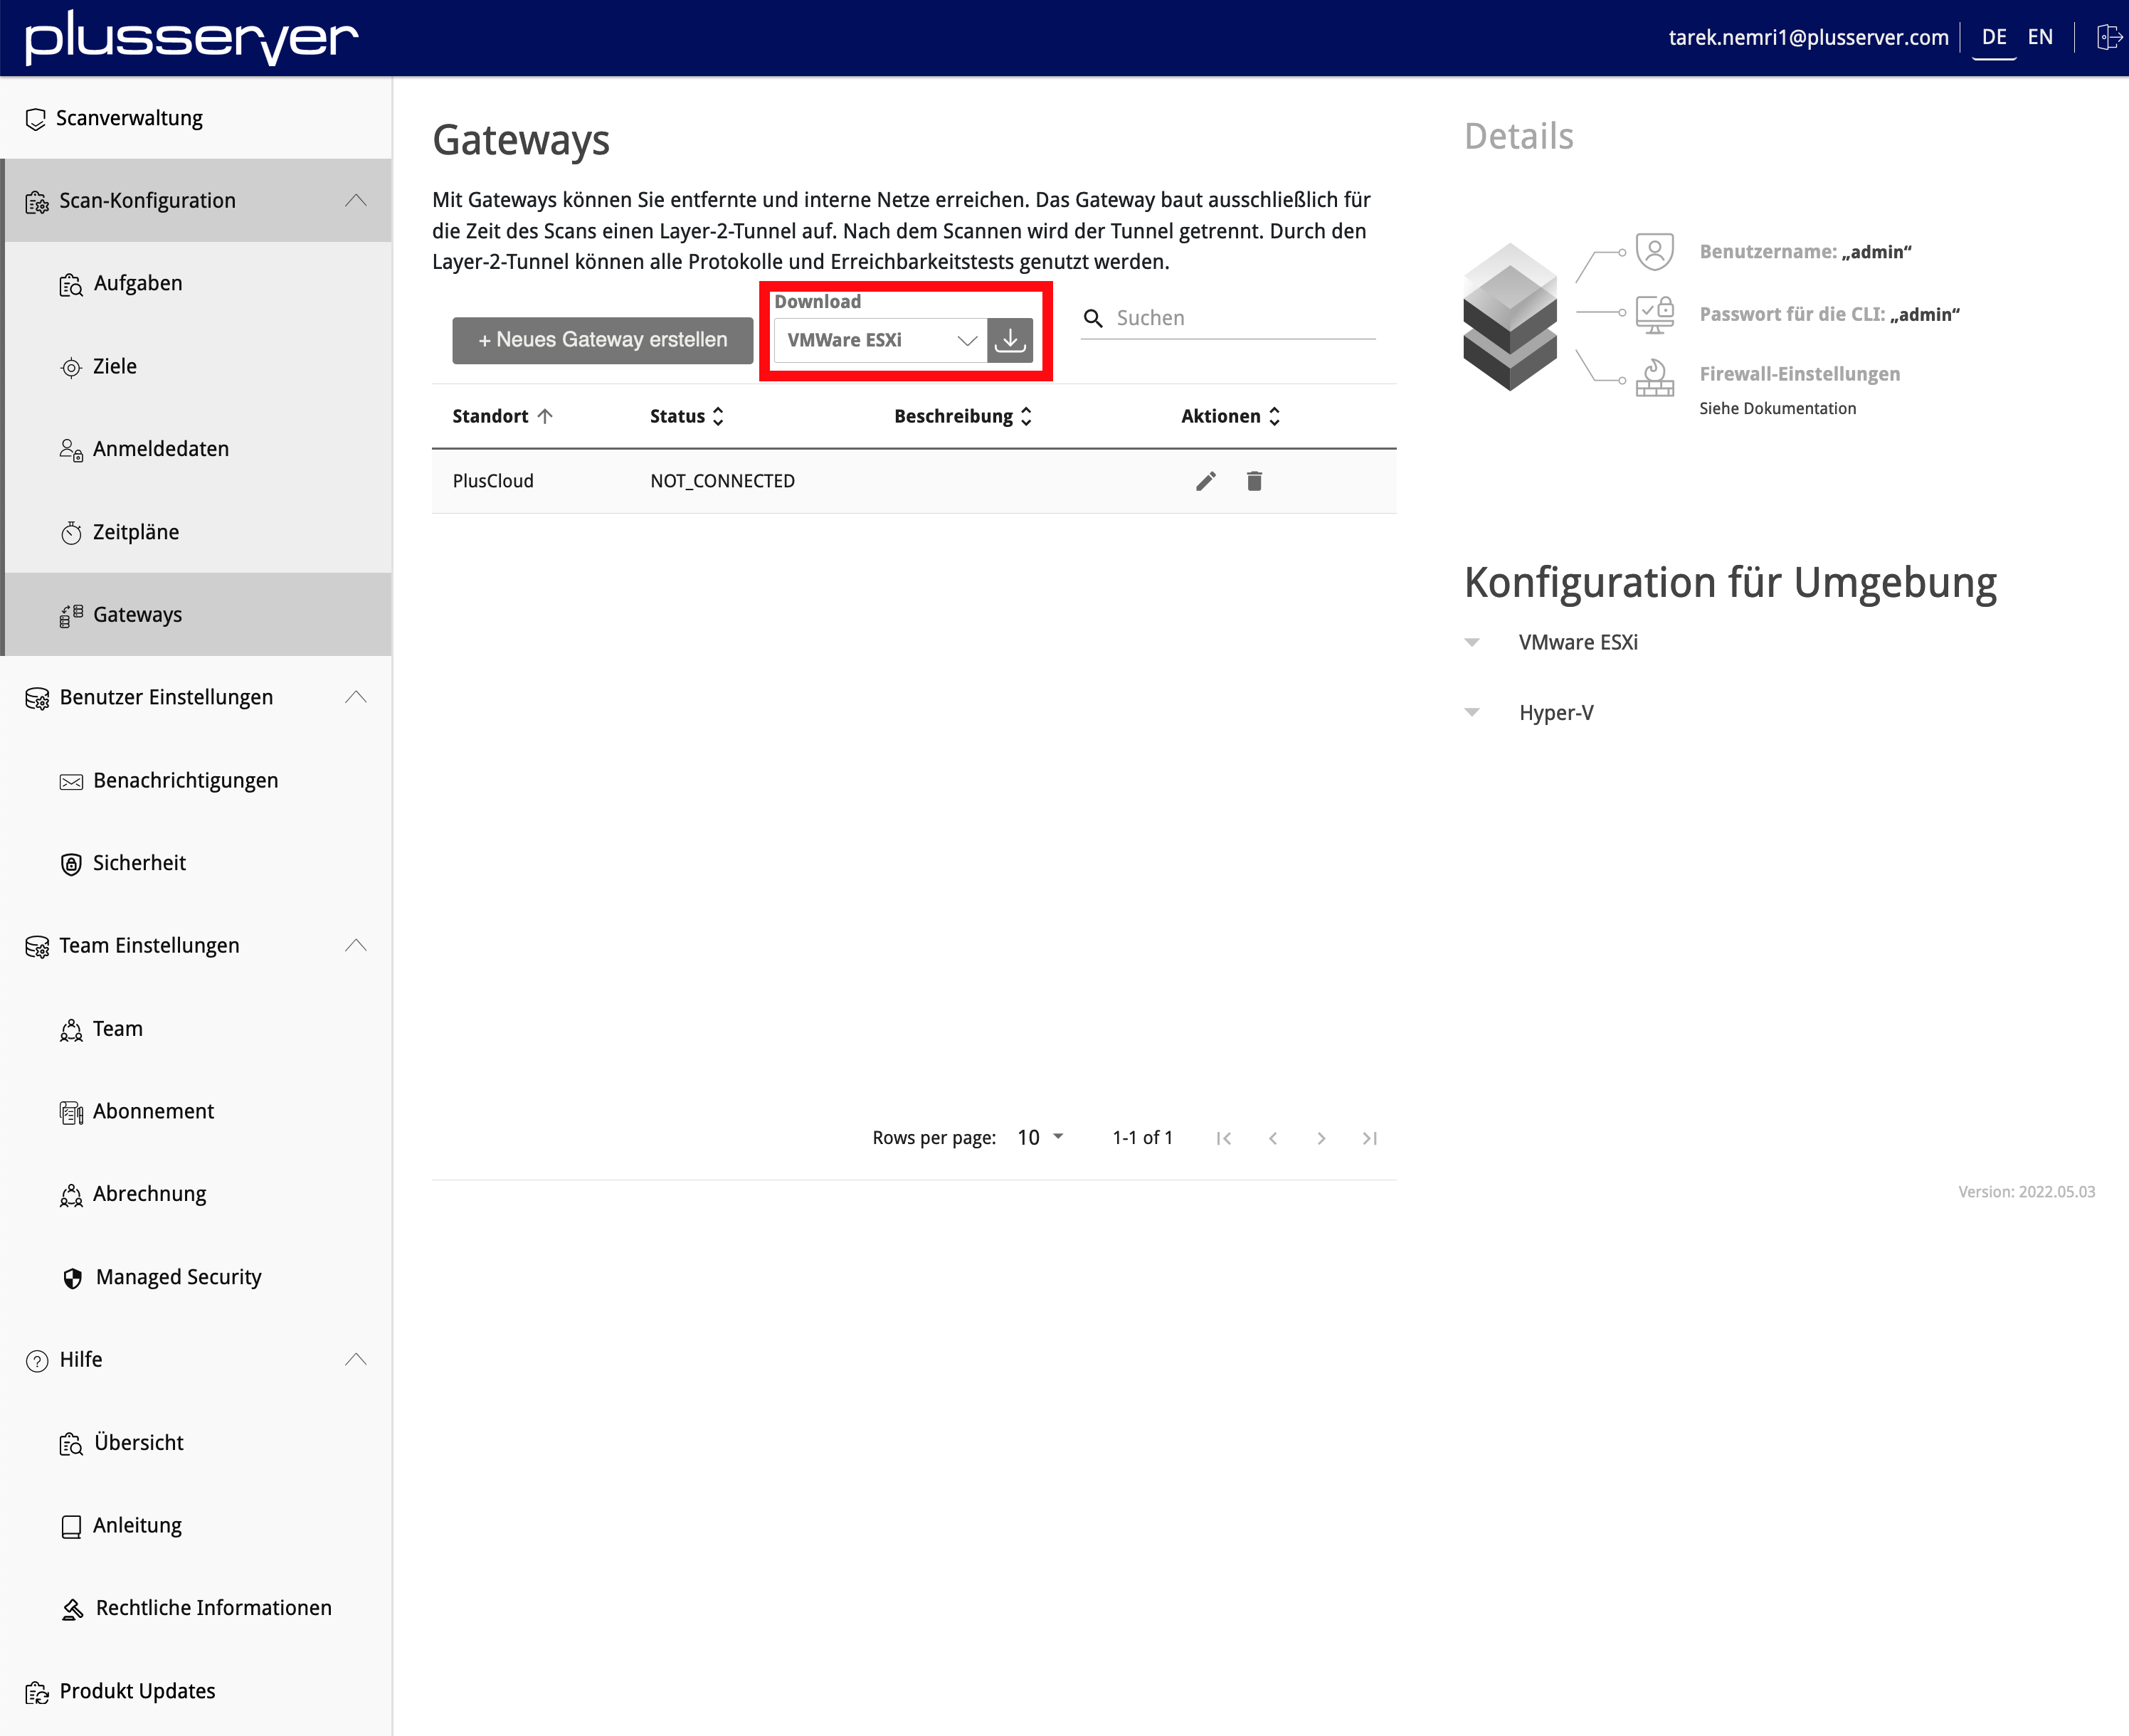
Navigate to https://sec-scan.psmanaged.com/ui/gsp/entities/gateway/list/. There, select the available platform and download the image.
Upload Image to the vAPP Template Catalog of your PlusCloud
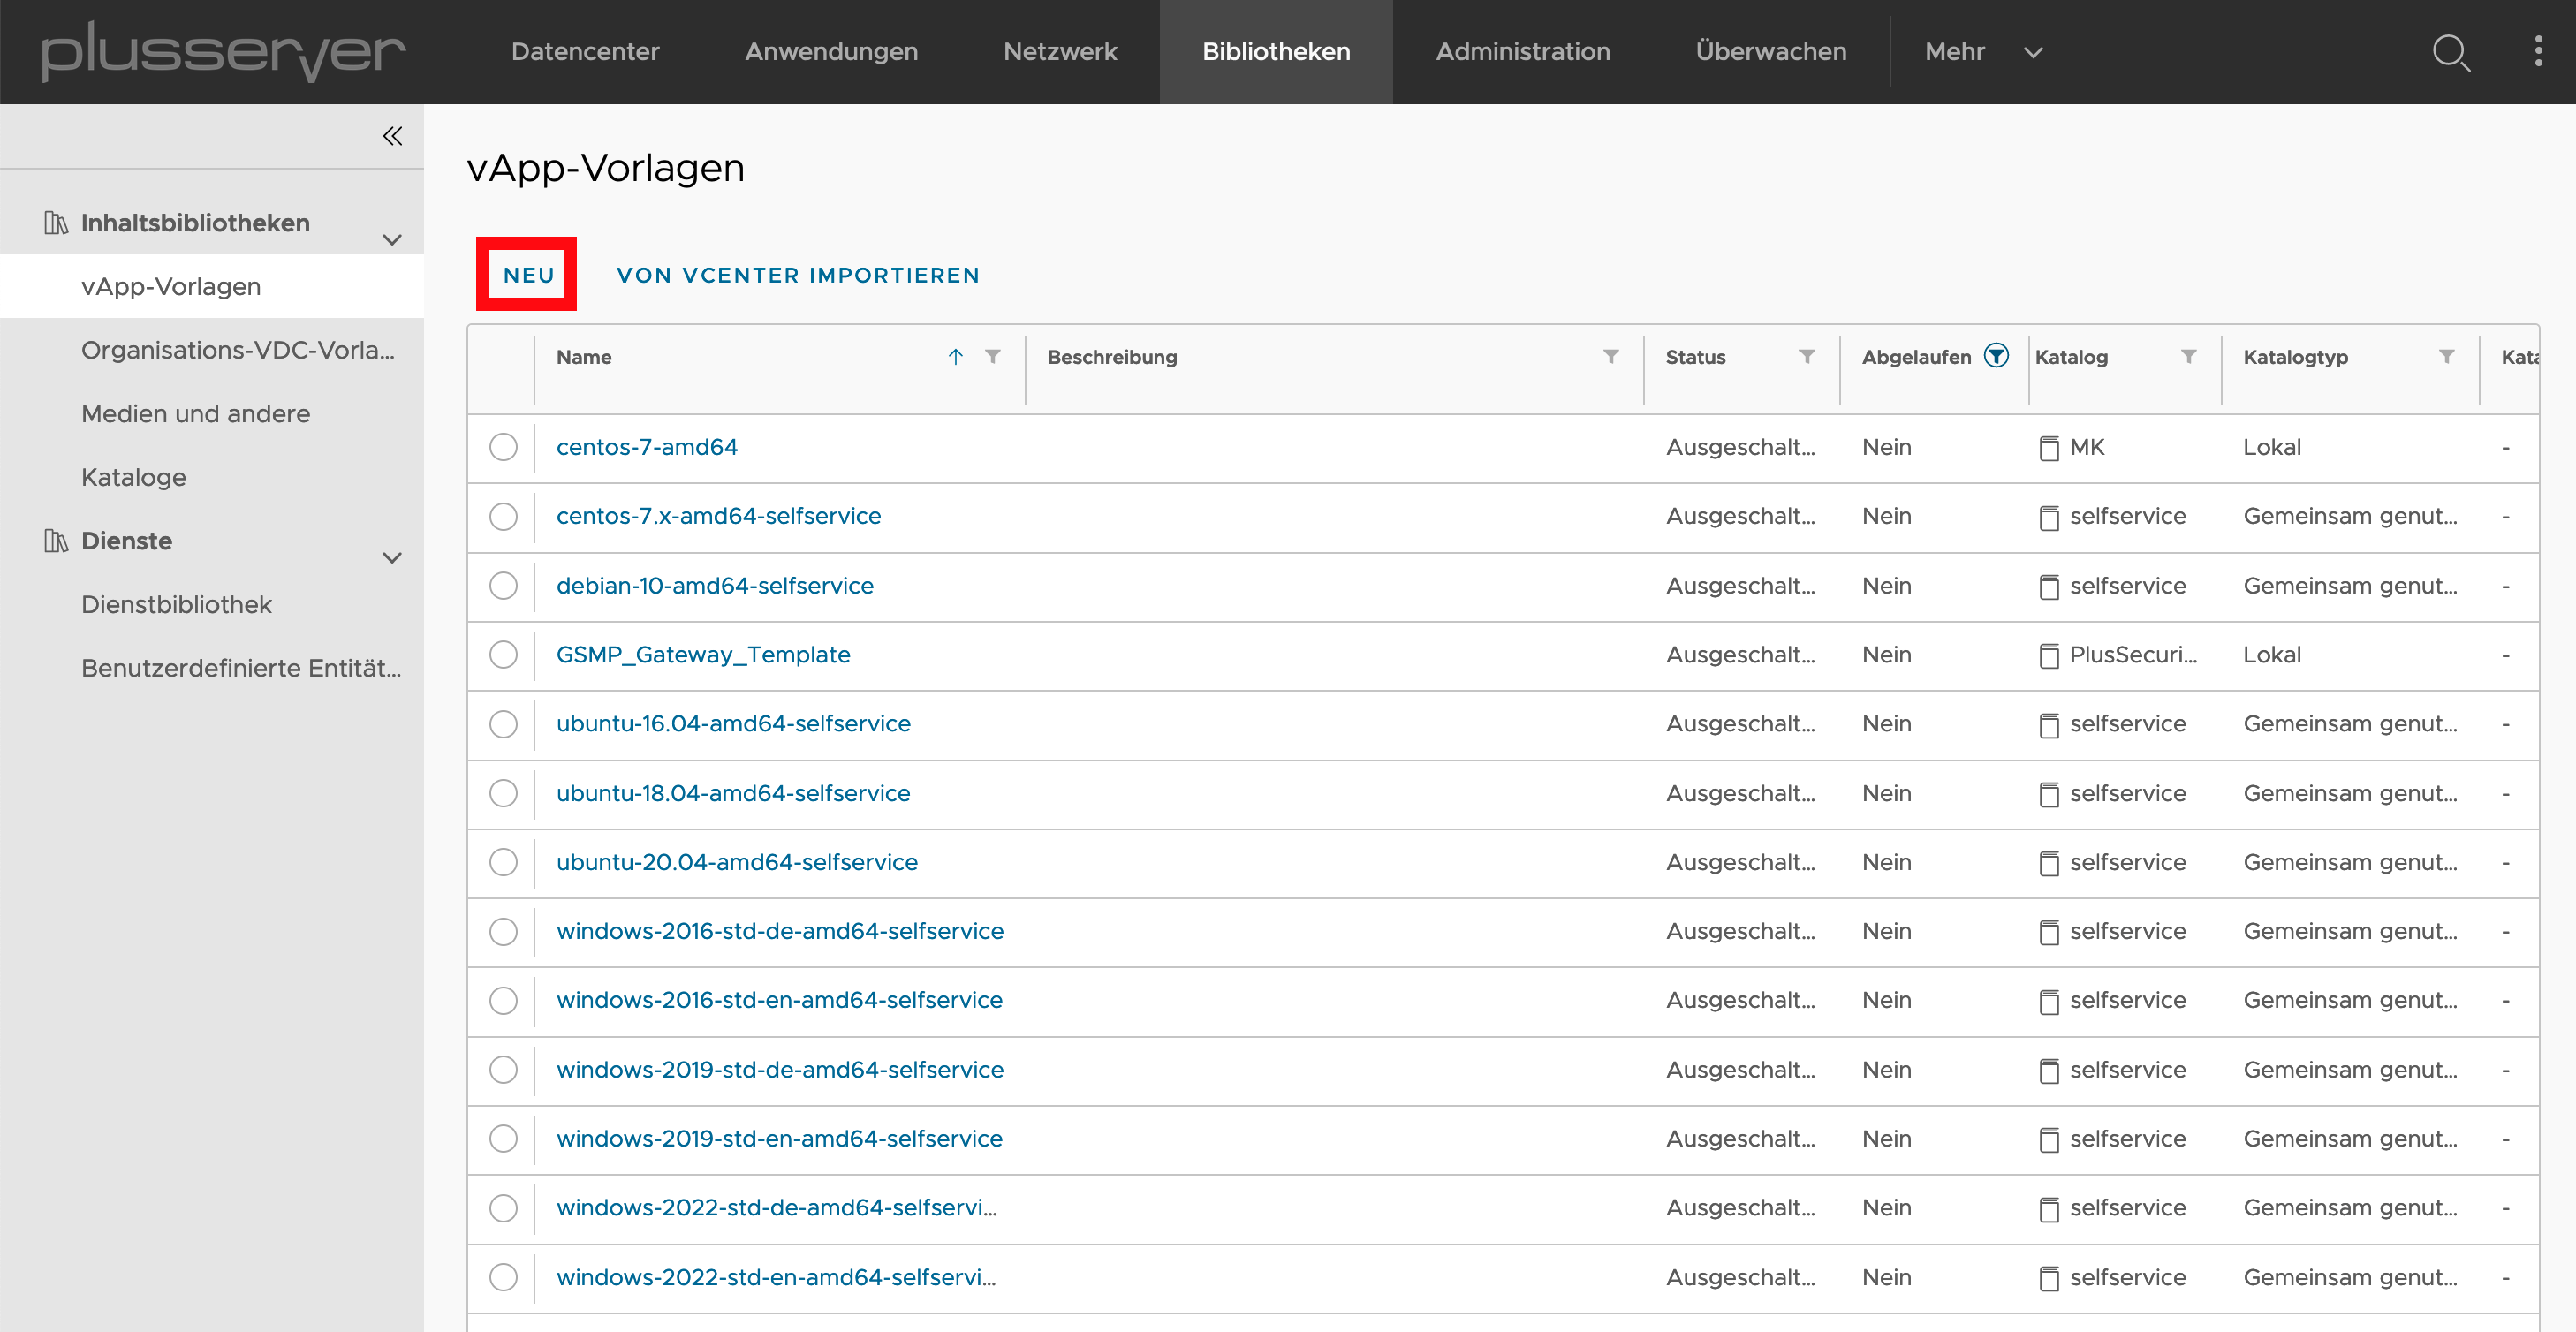
Create New Virtual Machine

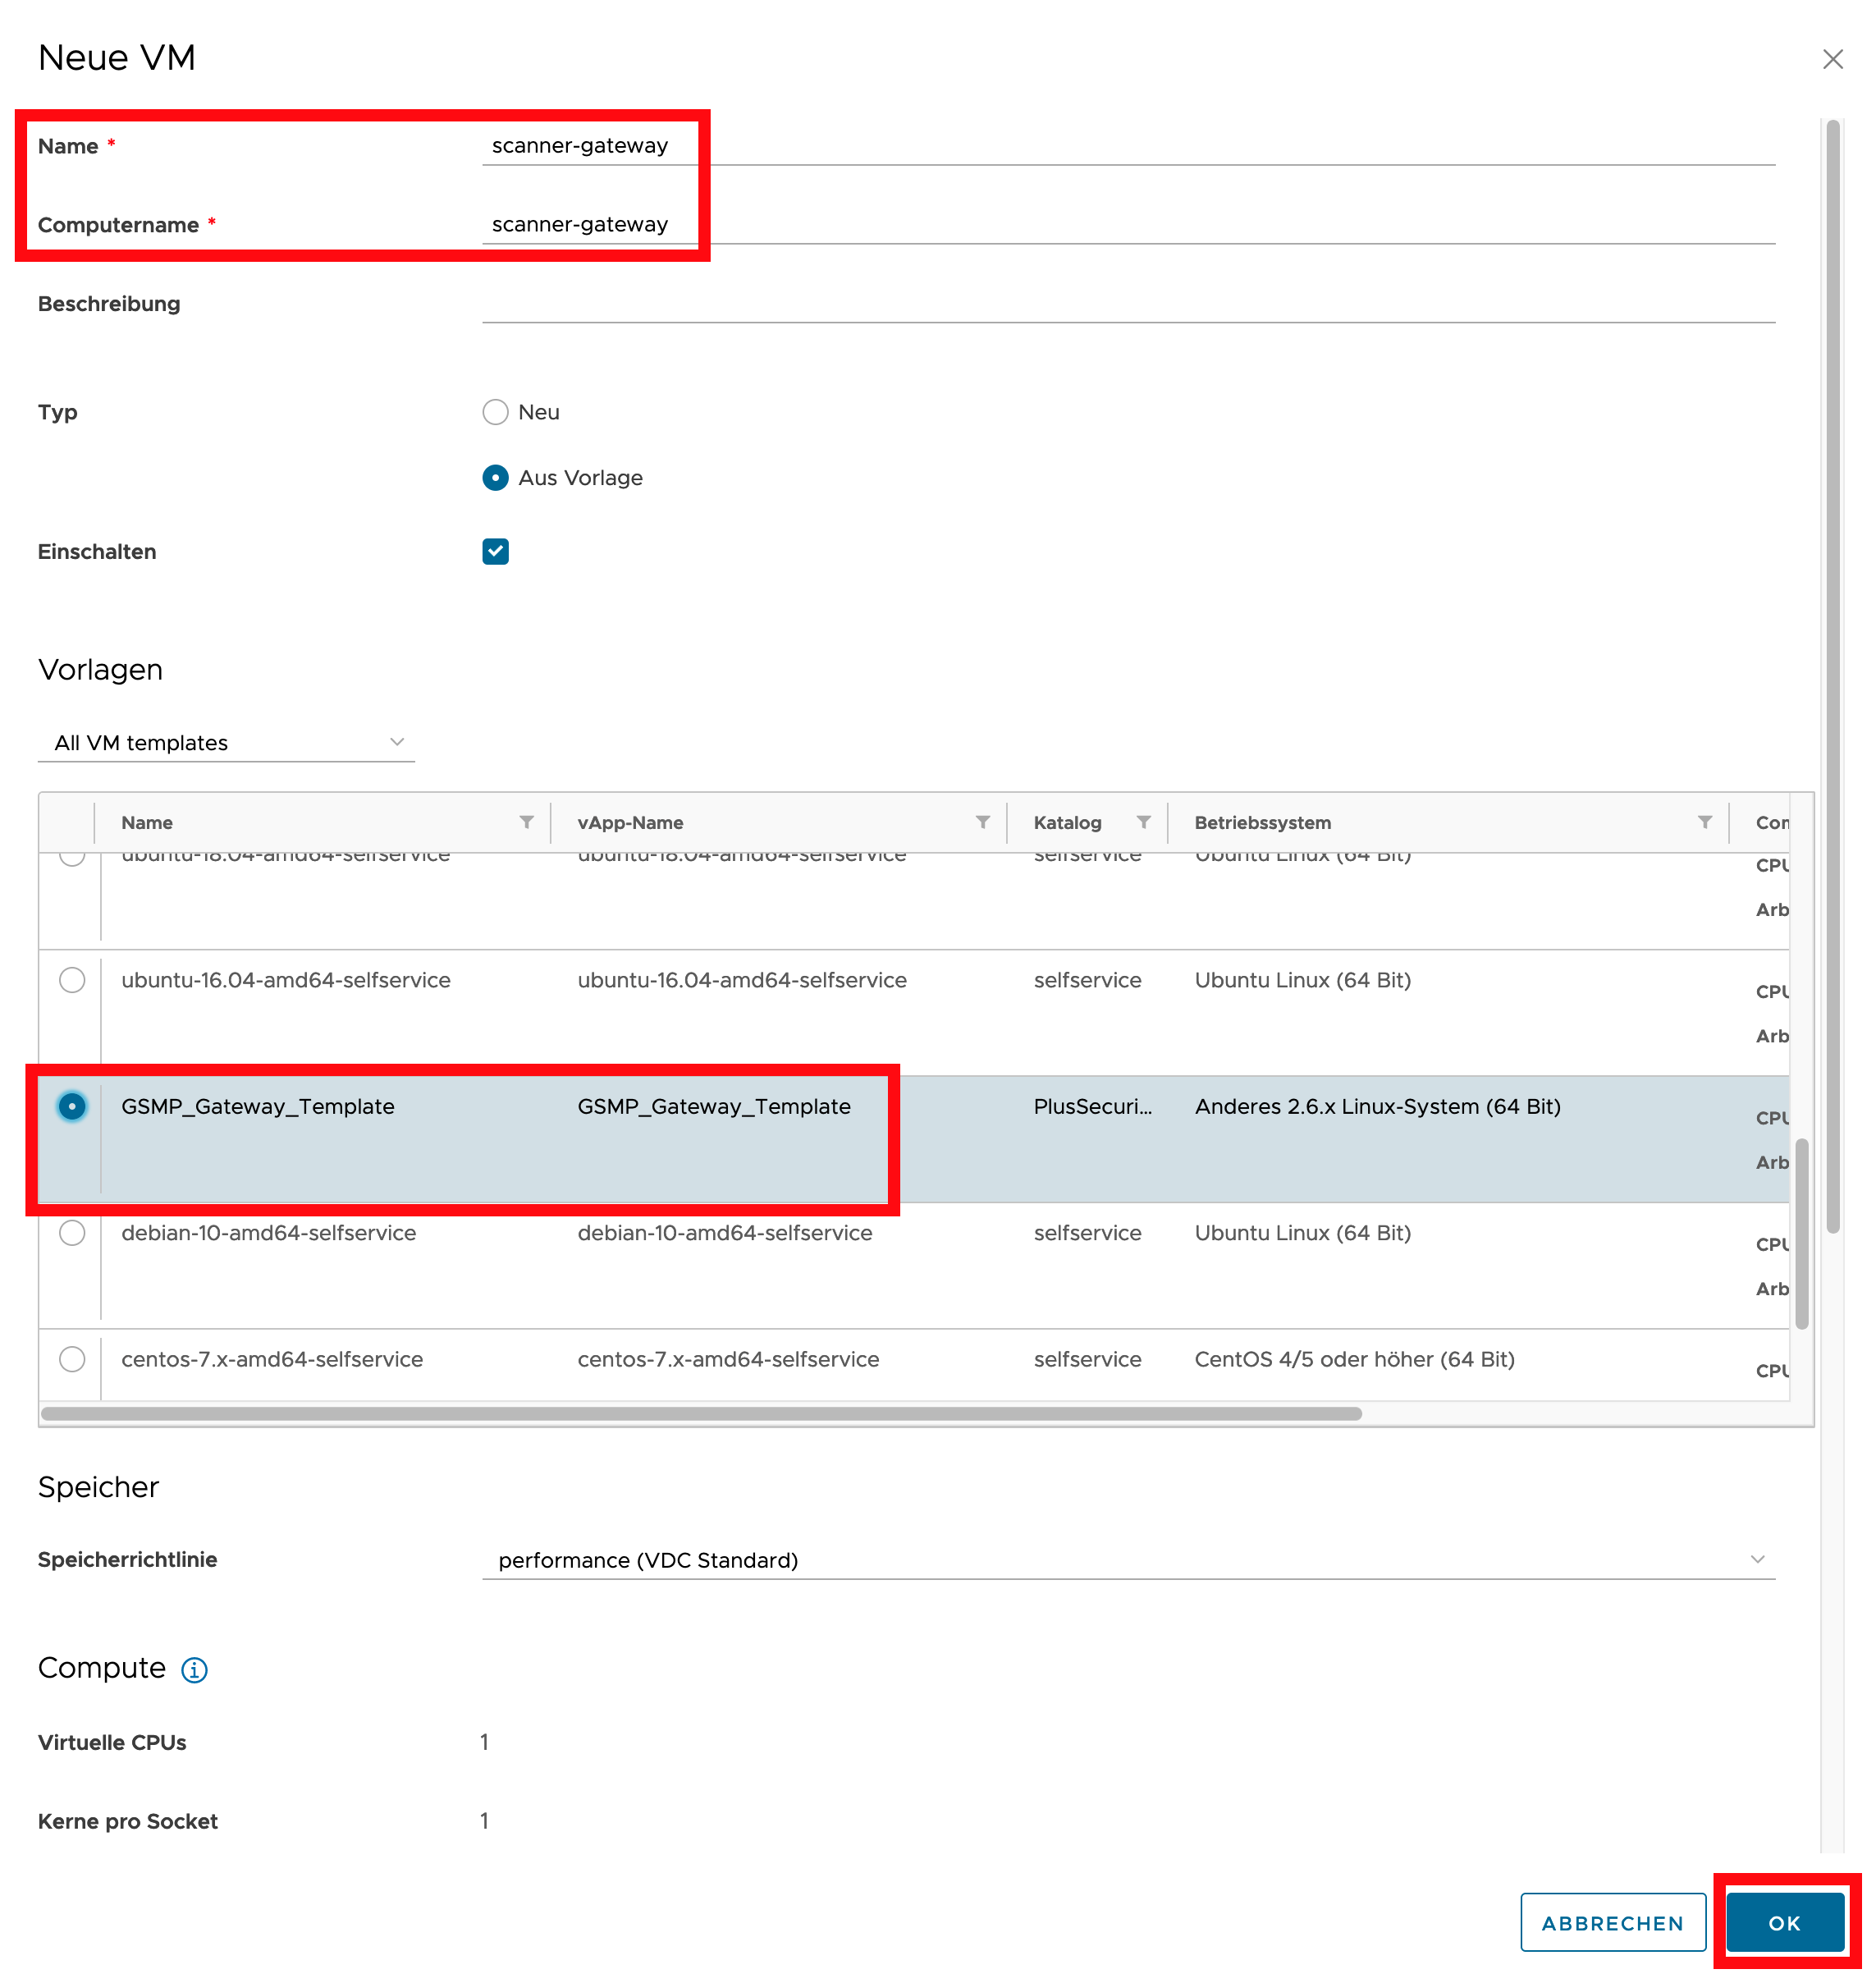
Specify VM Hostname and Select Template
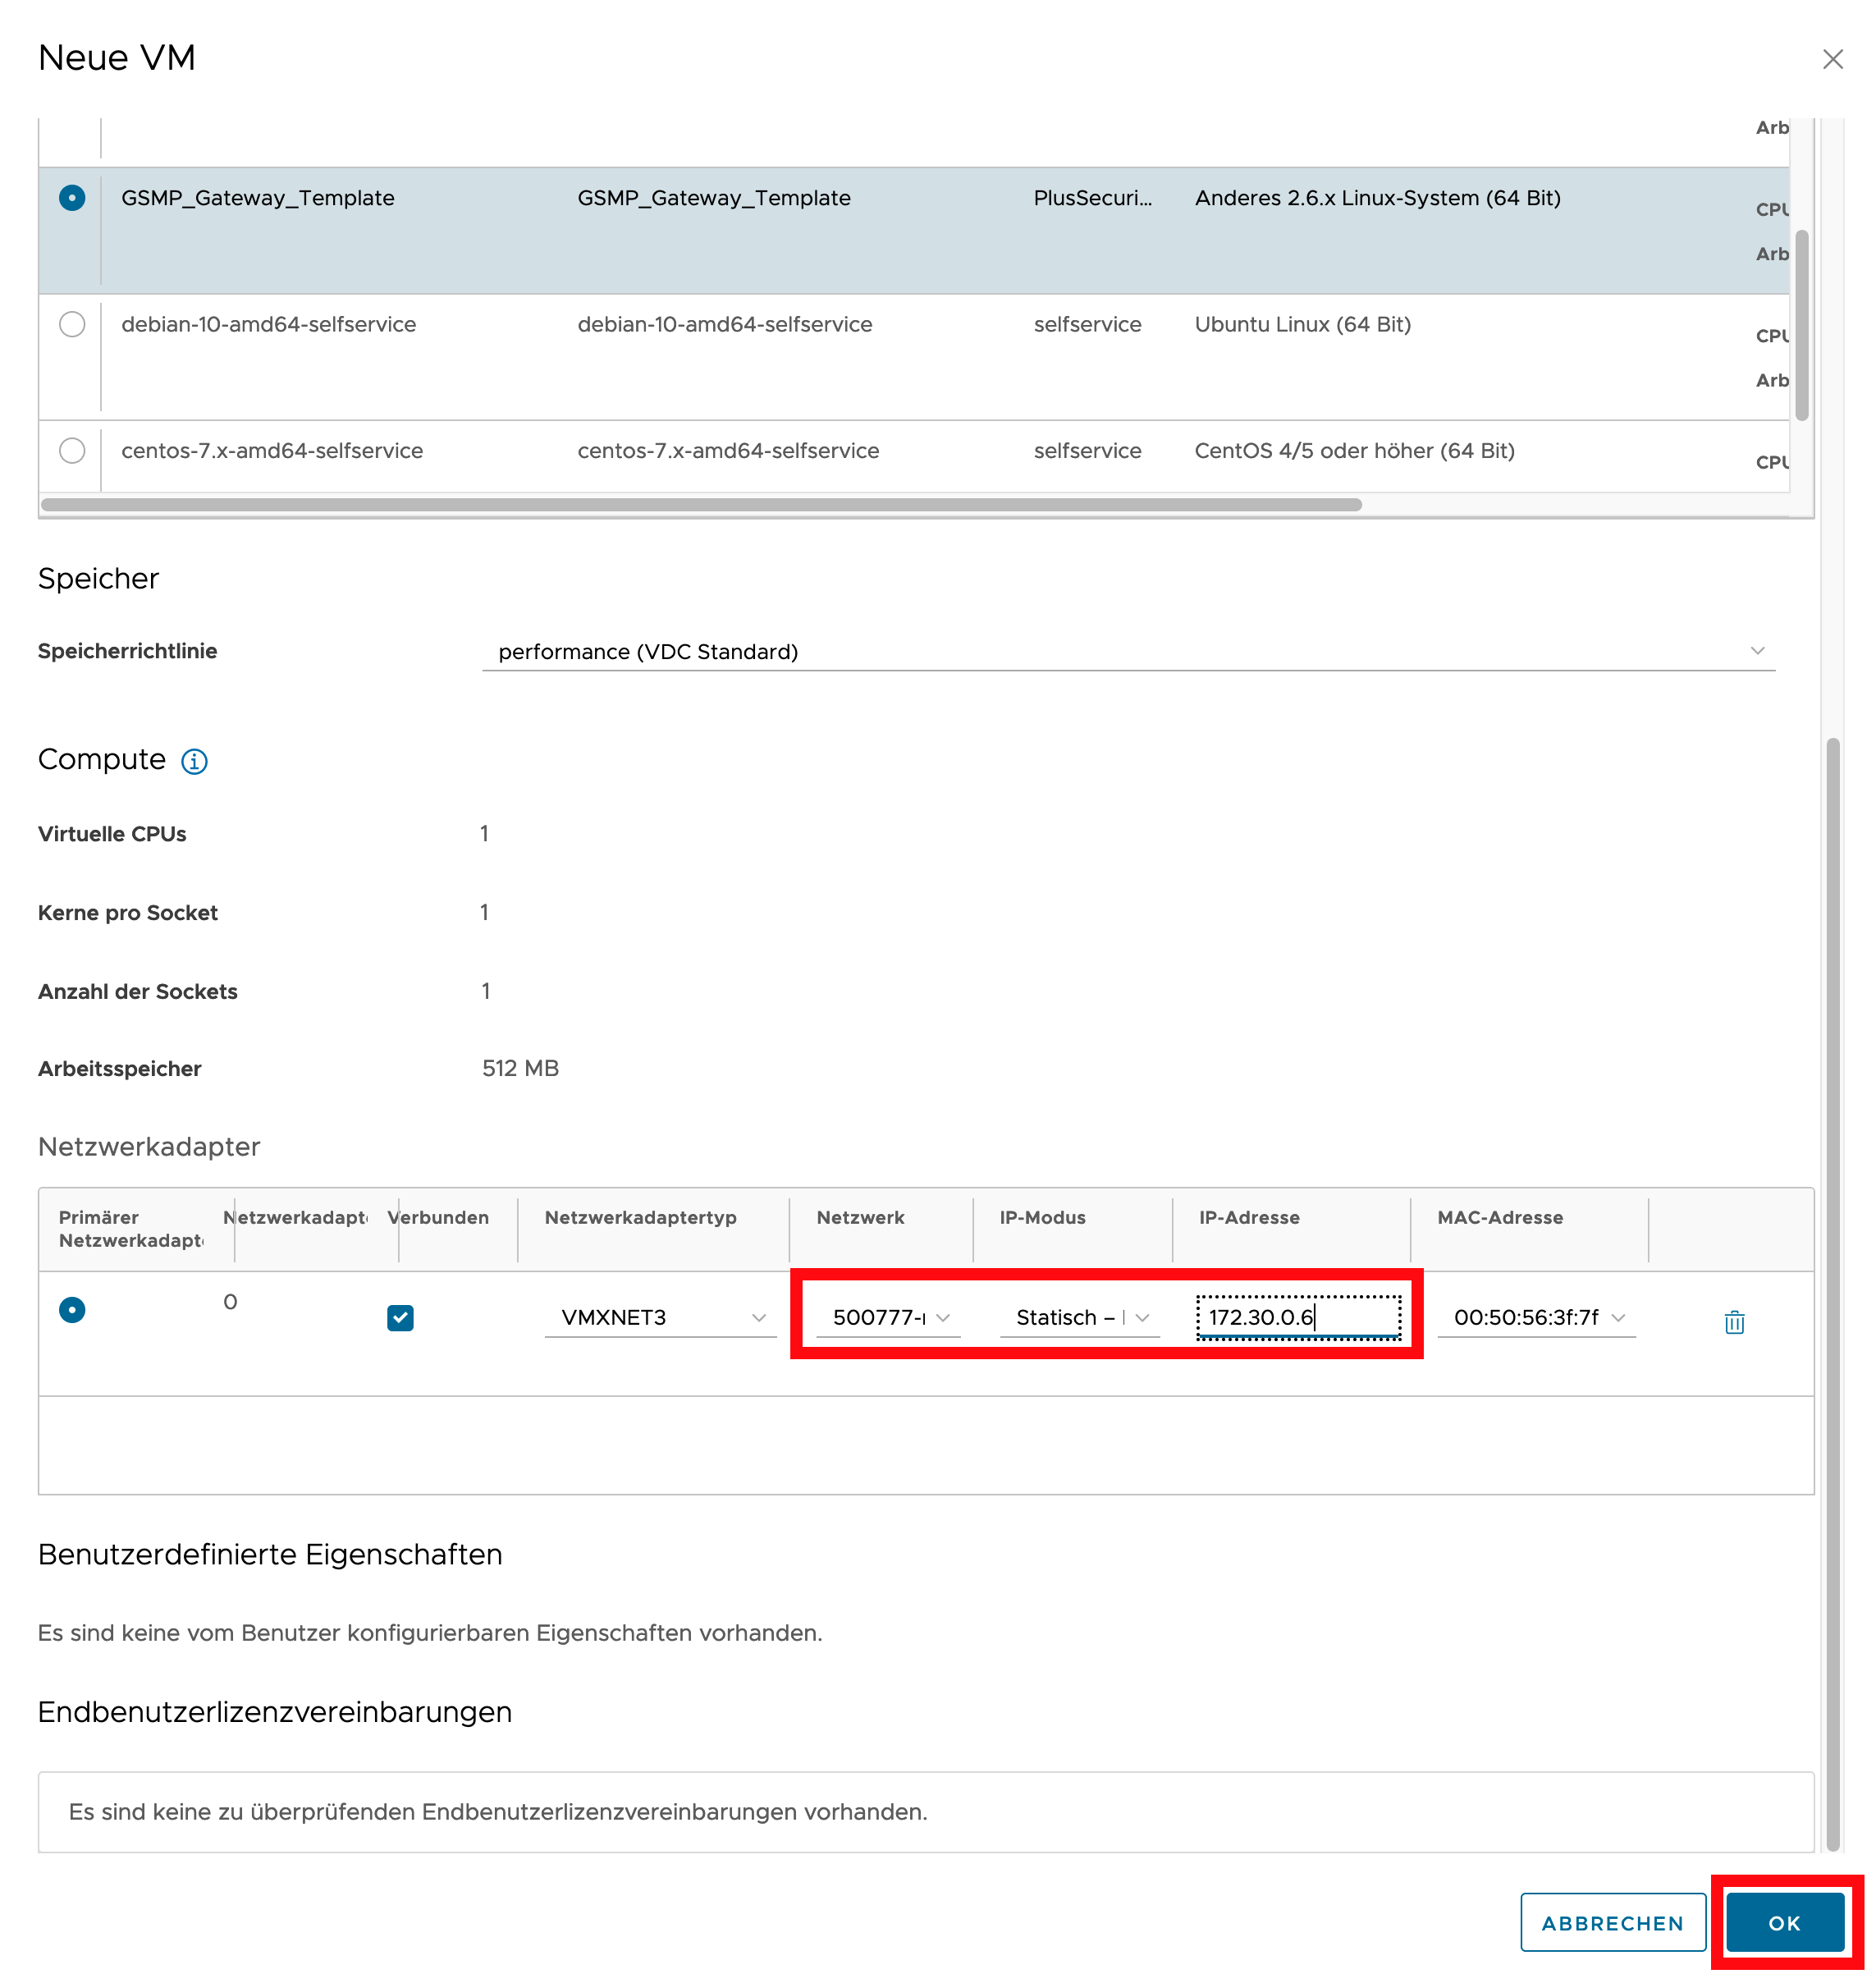
Configure Network & IP Address
Configure Firewall
To configure the gateway via Web GUI in step (2.3) Open Gateway Web UI, the internal IP address of the gateway must be made available through a publicly accessible IP address of your Edge Gateway using SNAT, DNAT, and firewall rules.
Connect to VM Console
 After the login prompt appears, enter admin as both username and password.
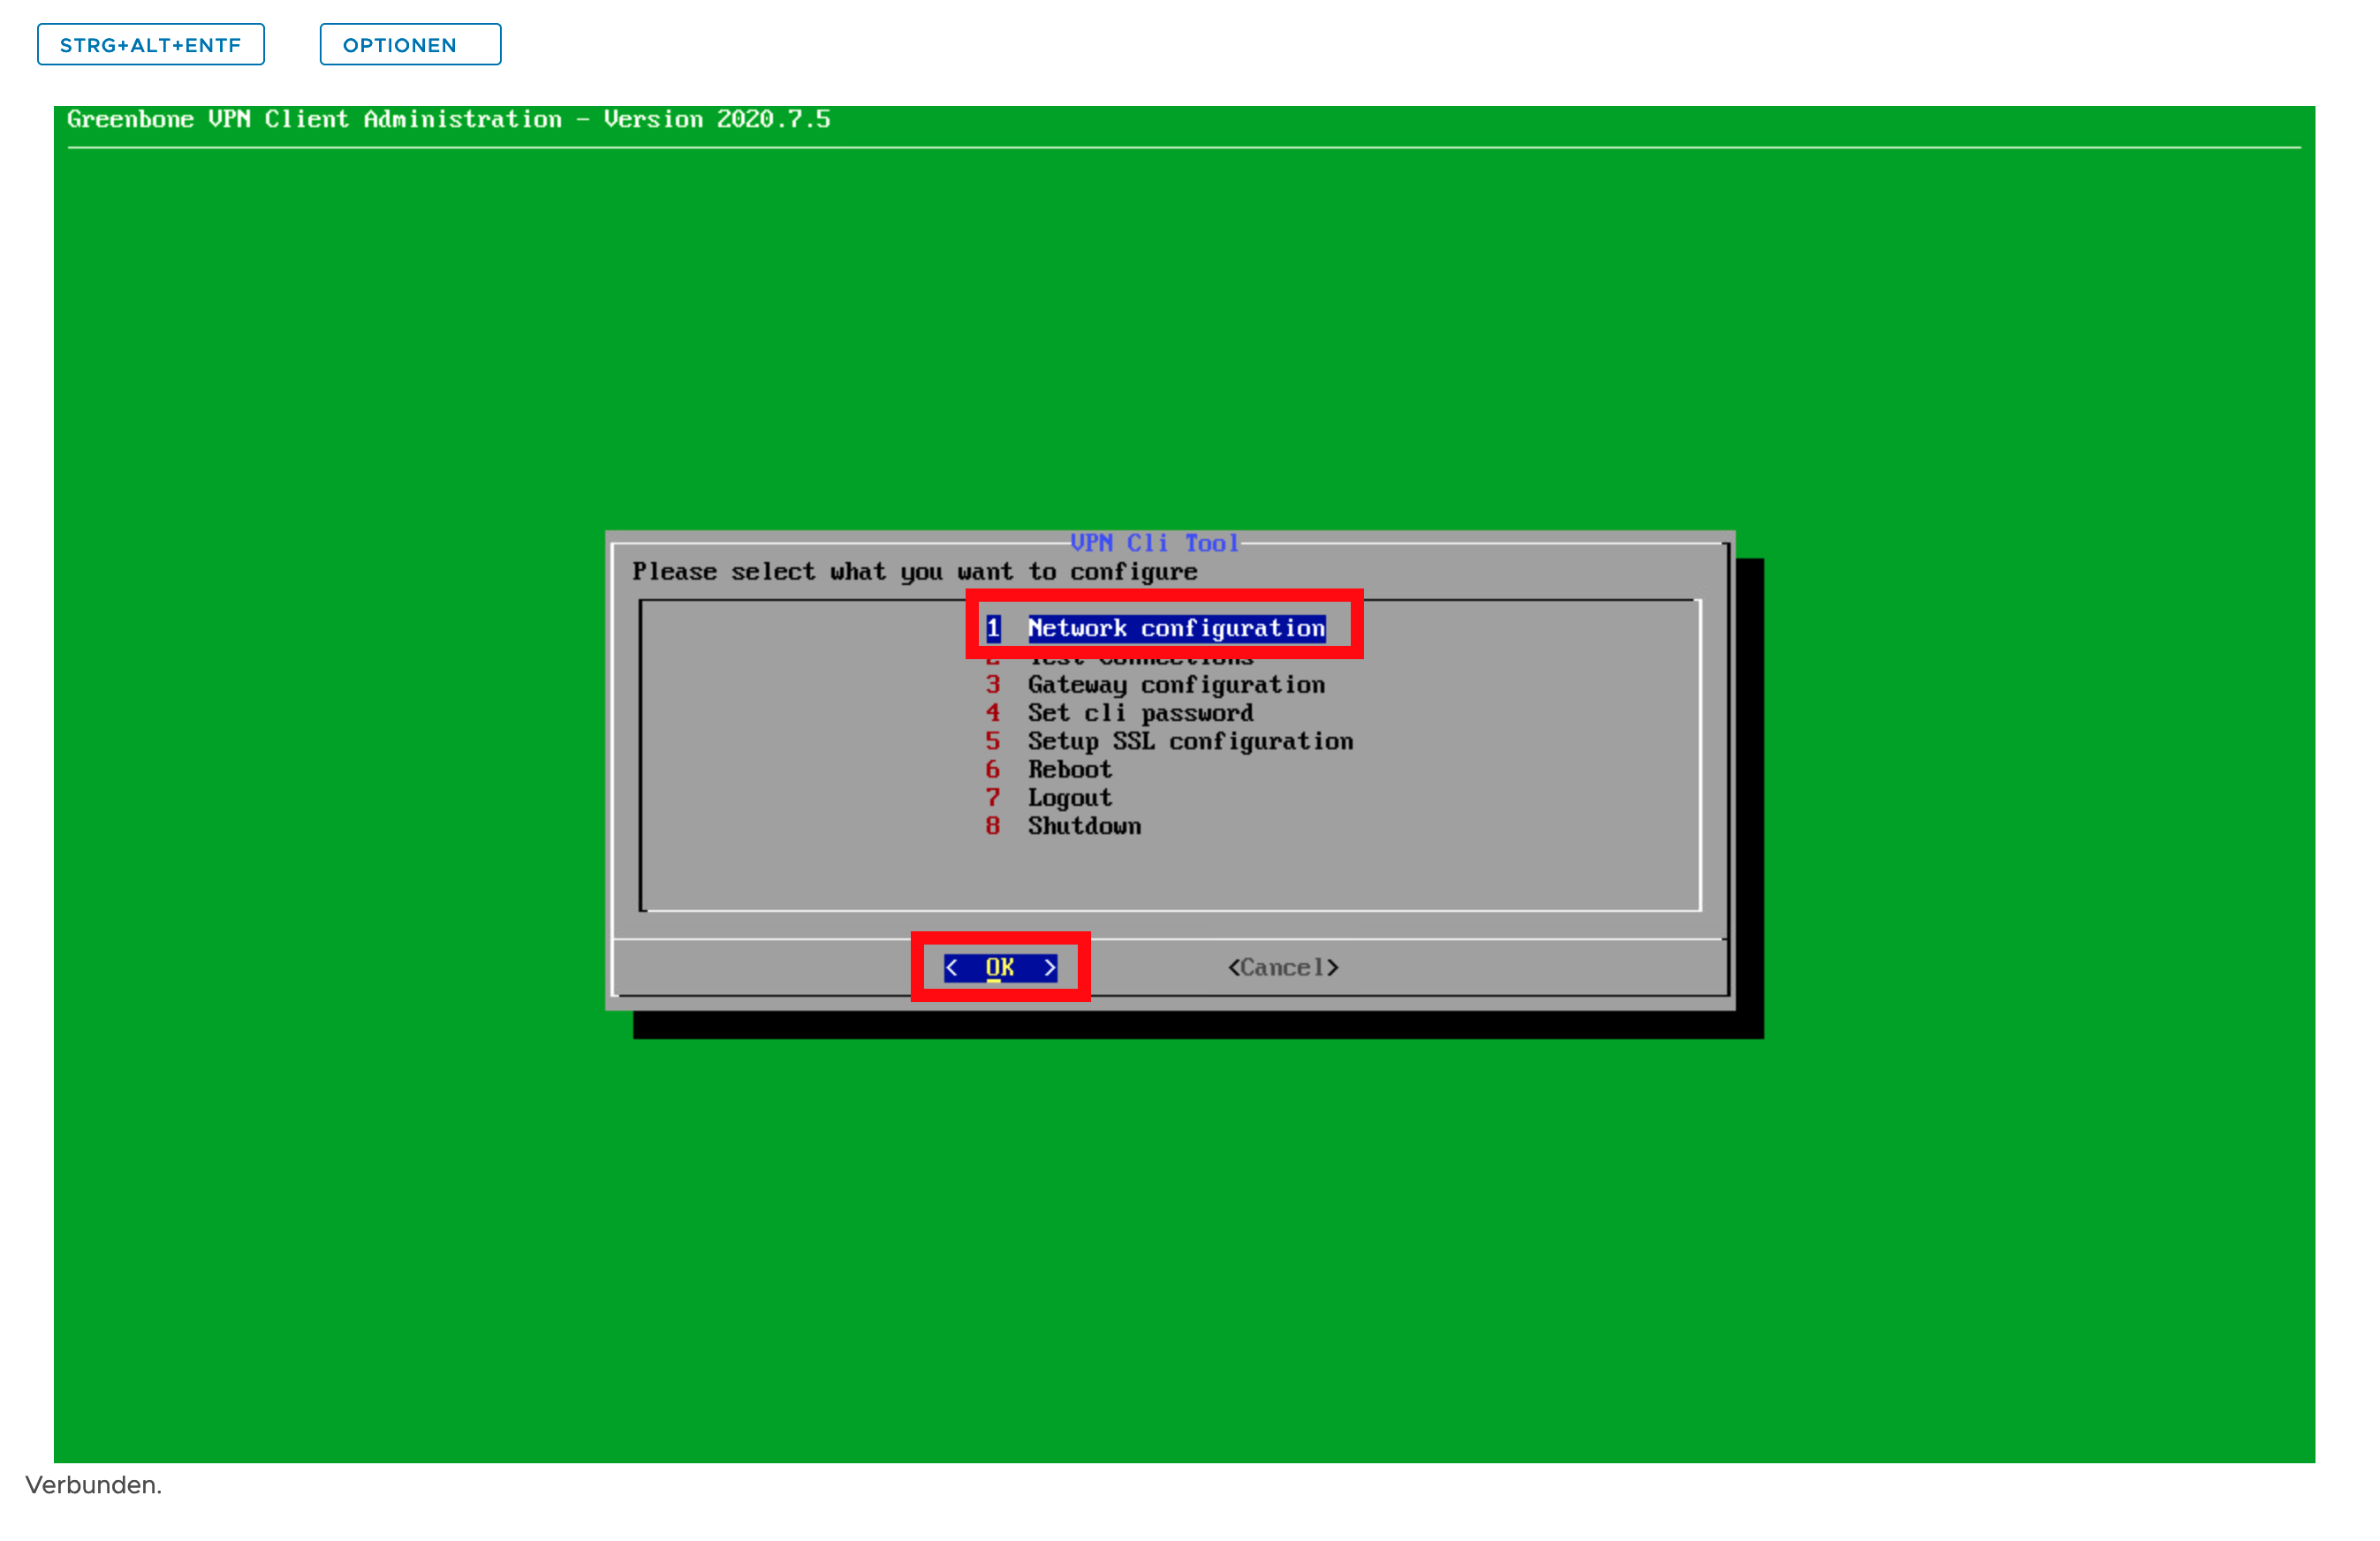
Select Network Configuration
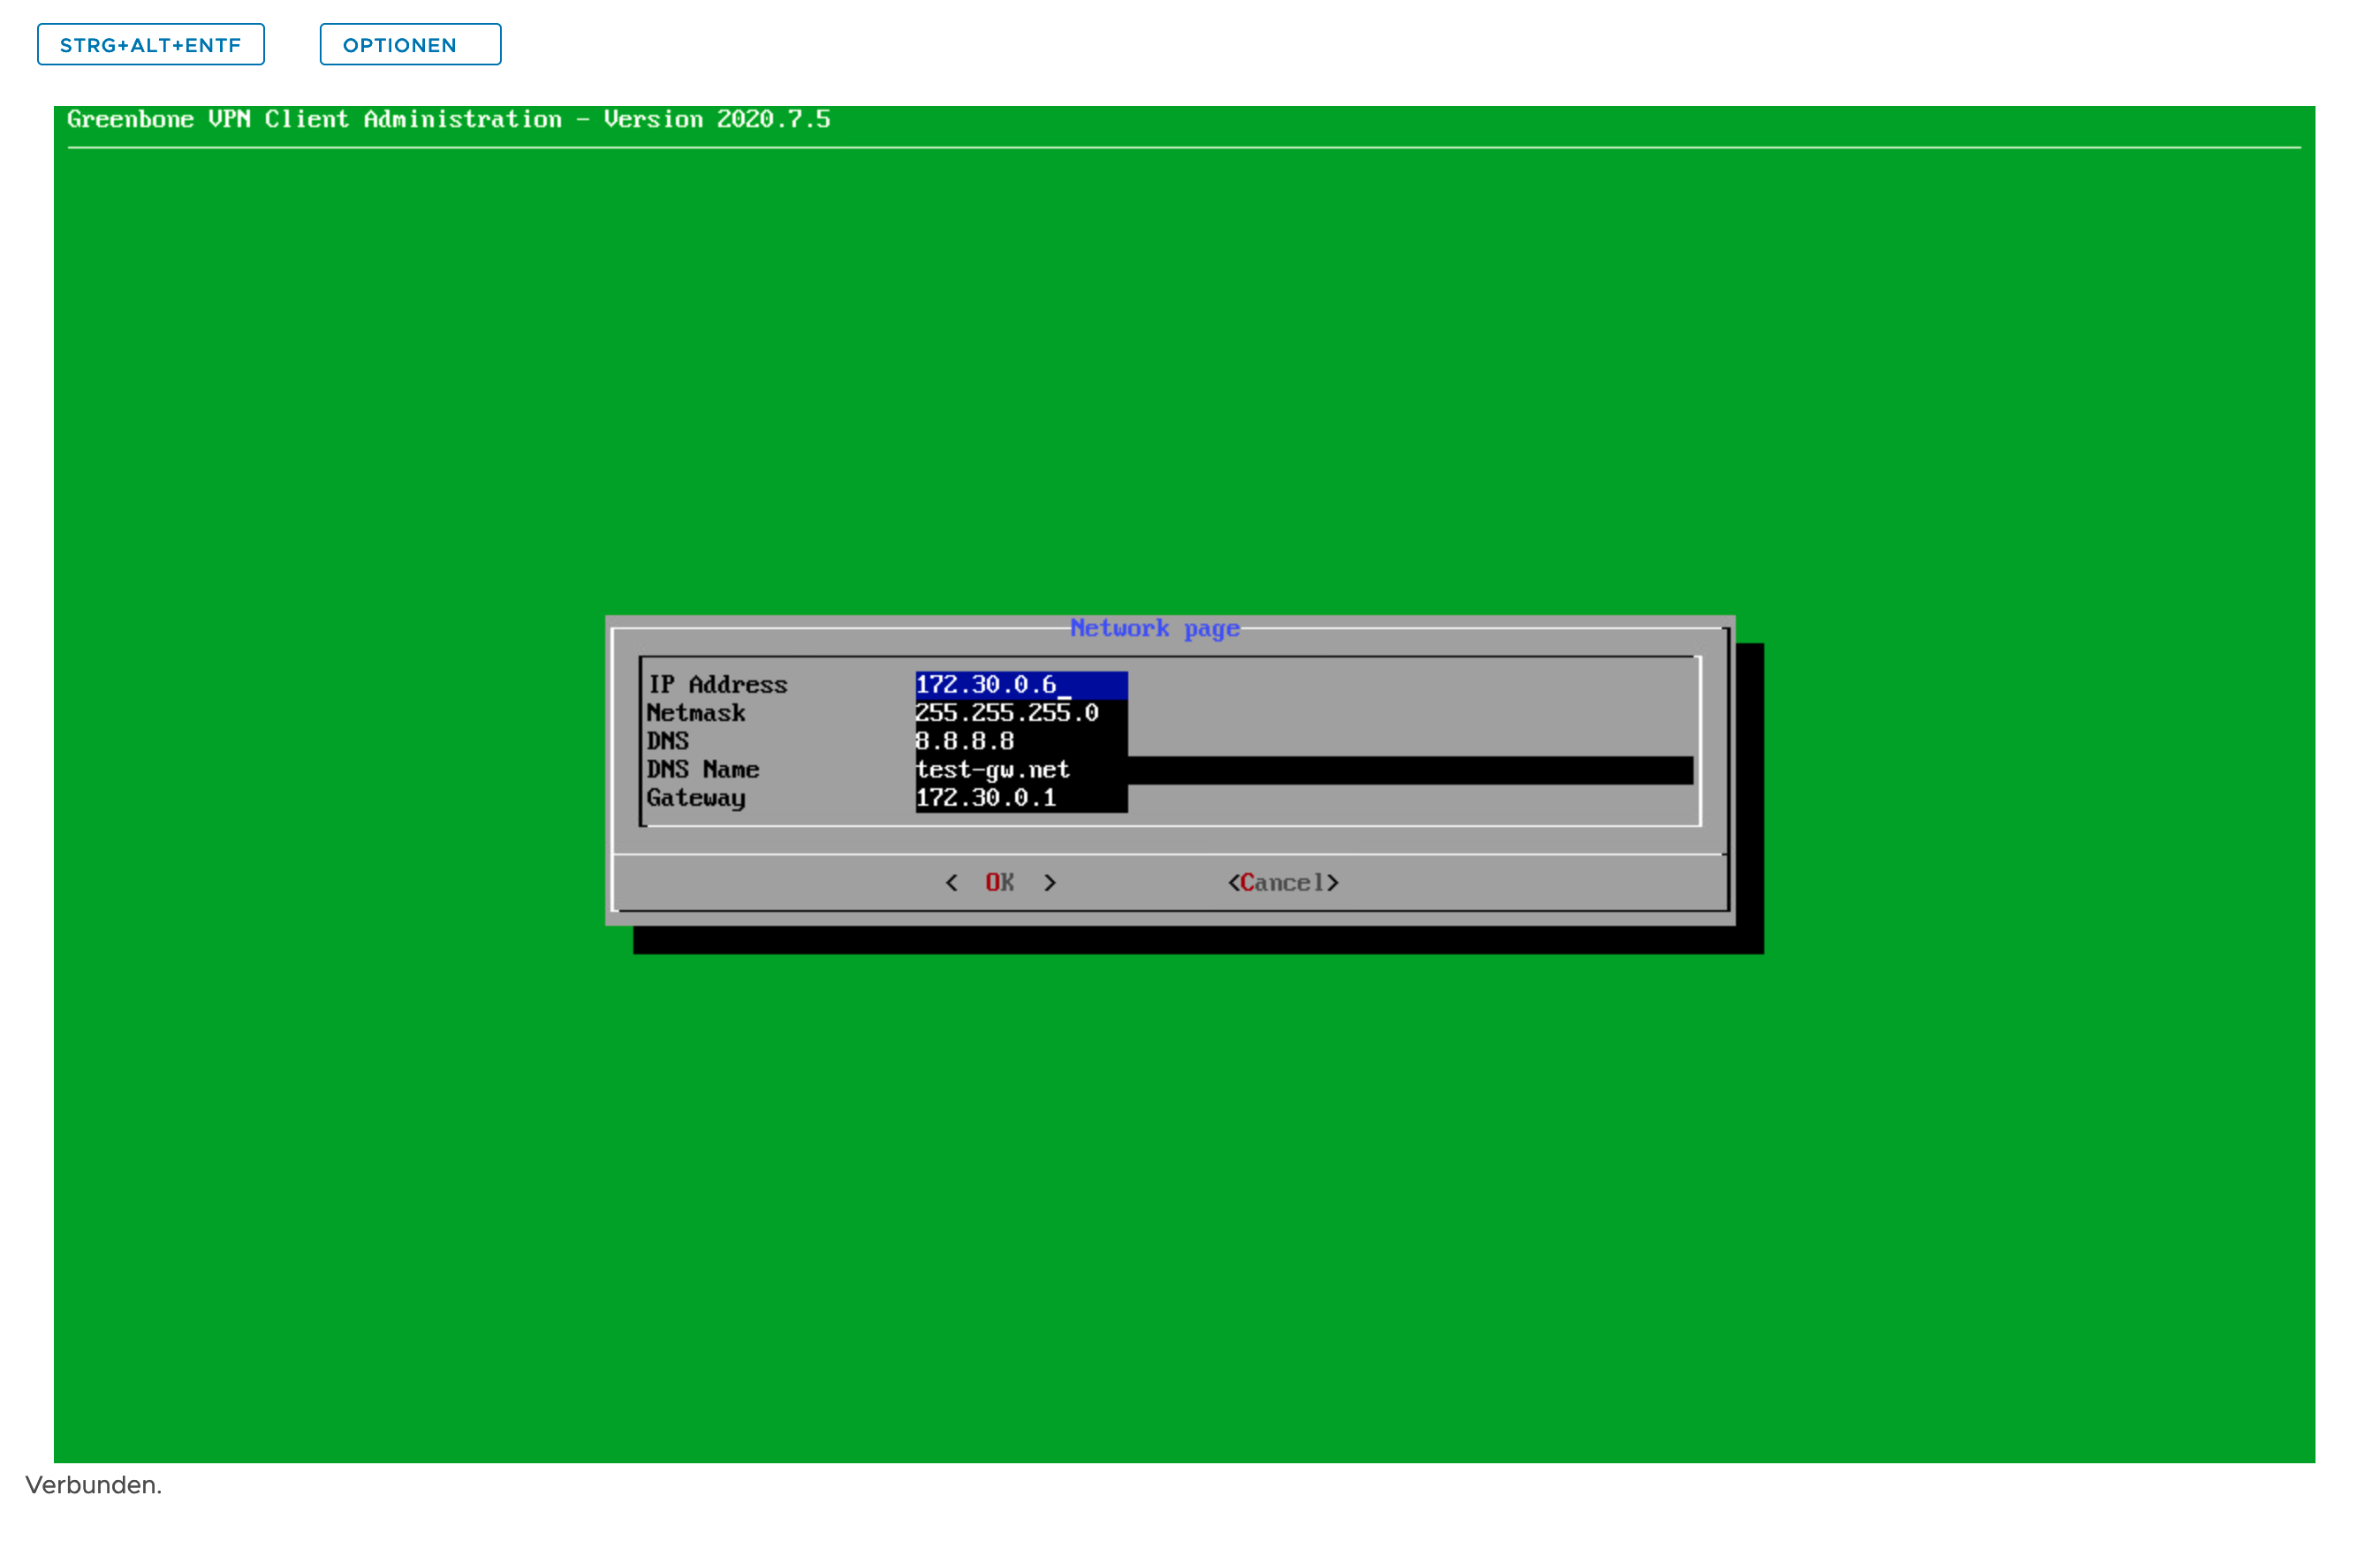
Set Network Configuration Information
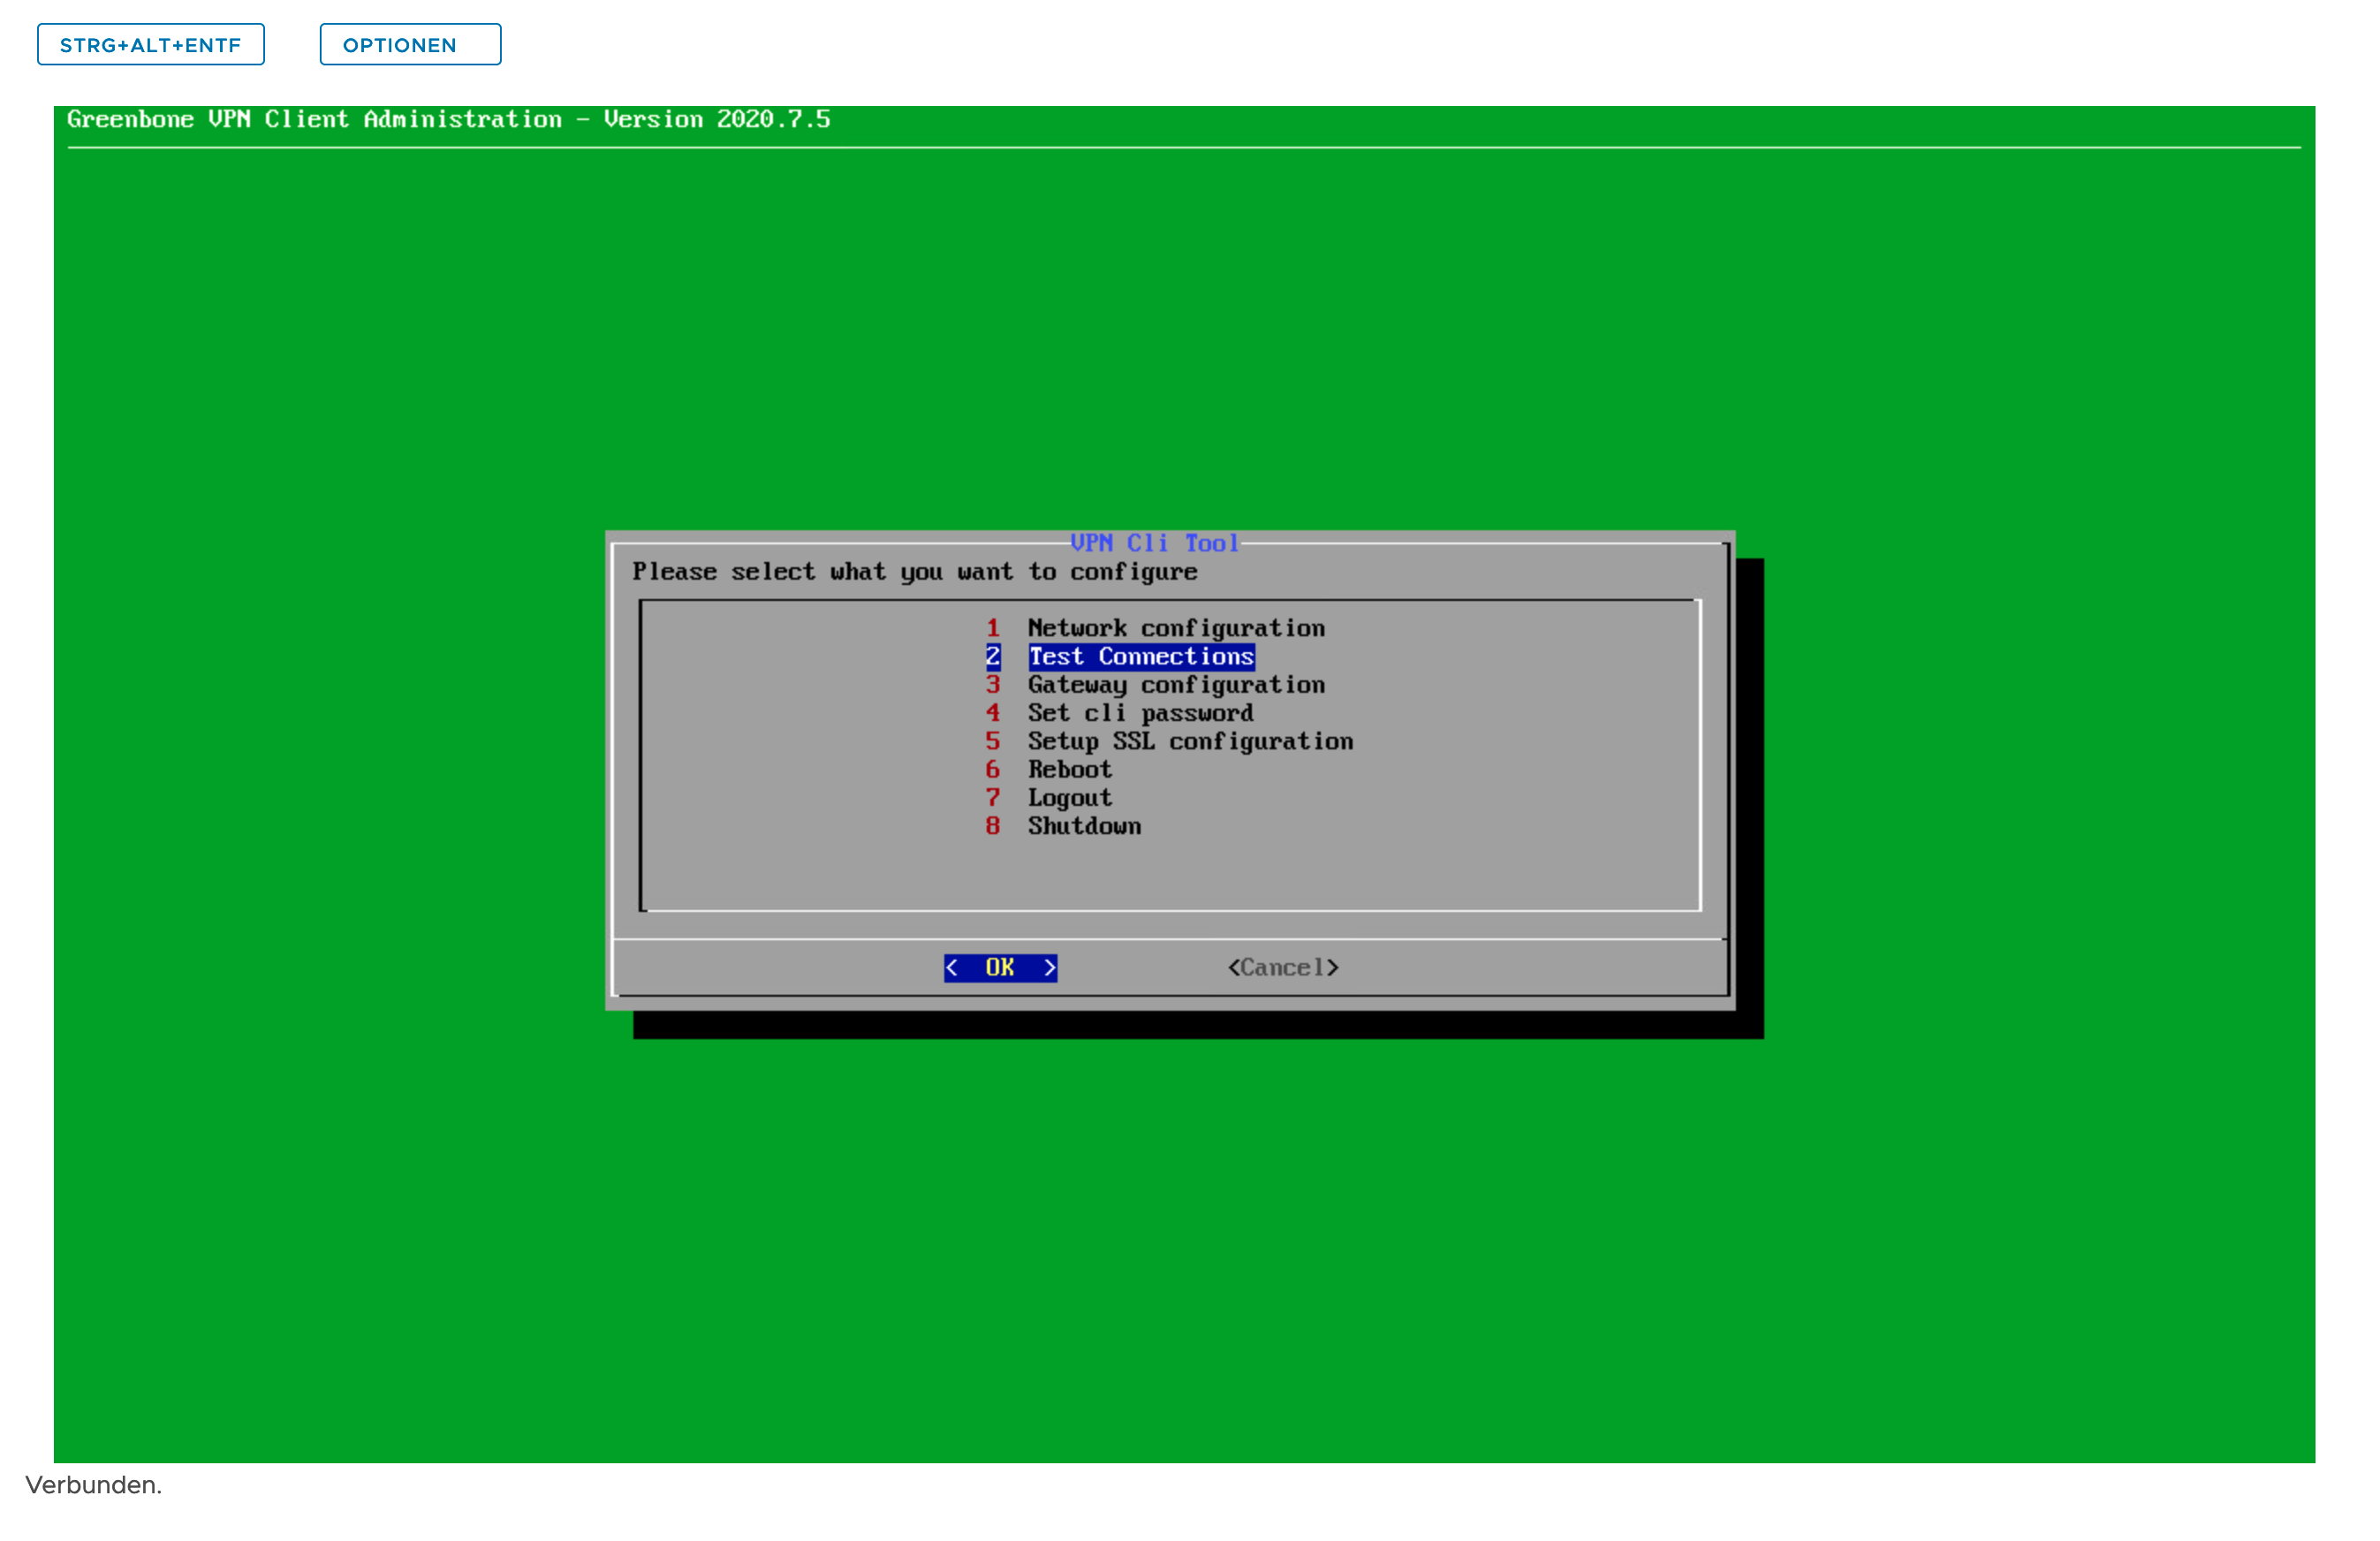
Test Network Connection to Security Scanner
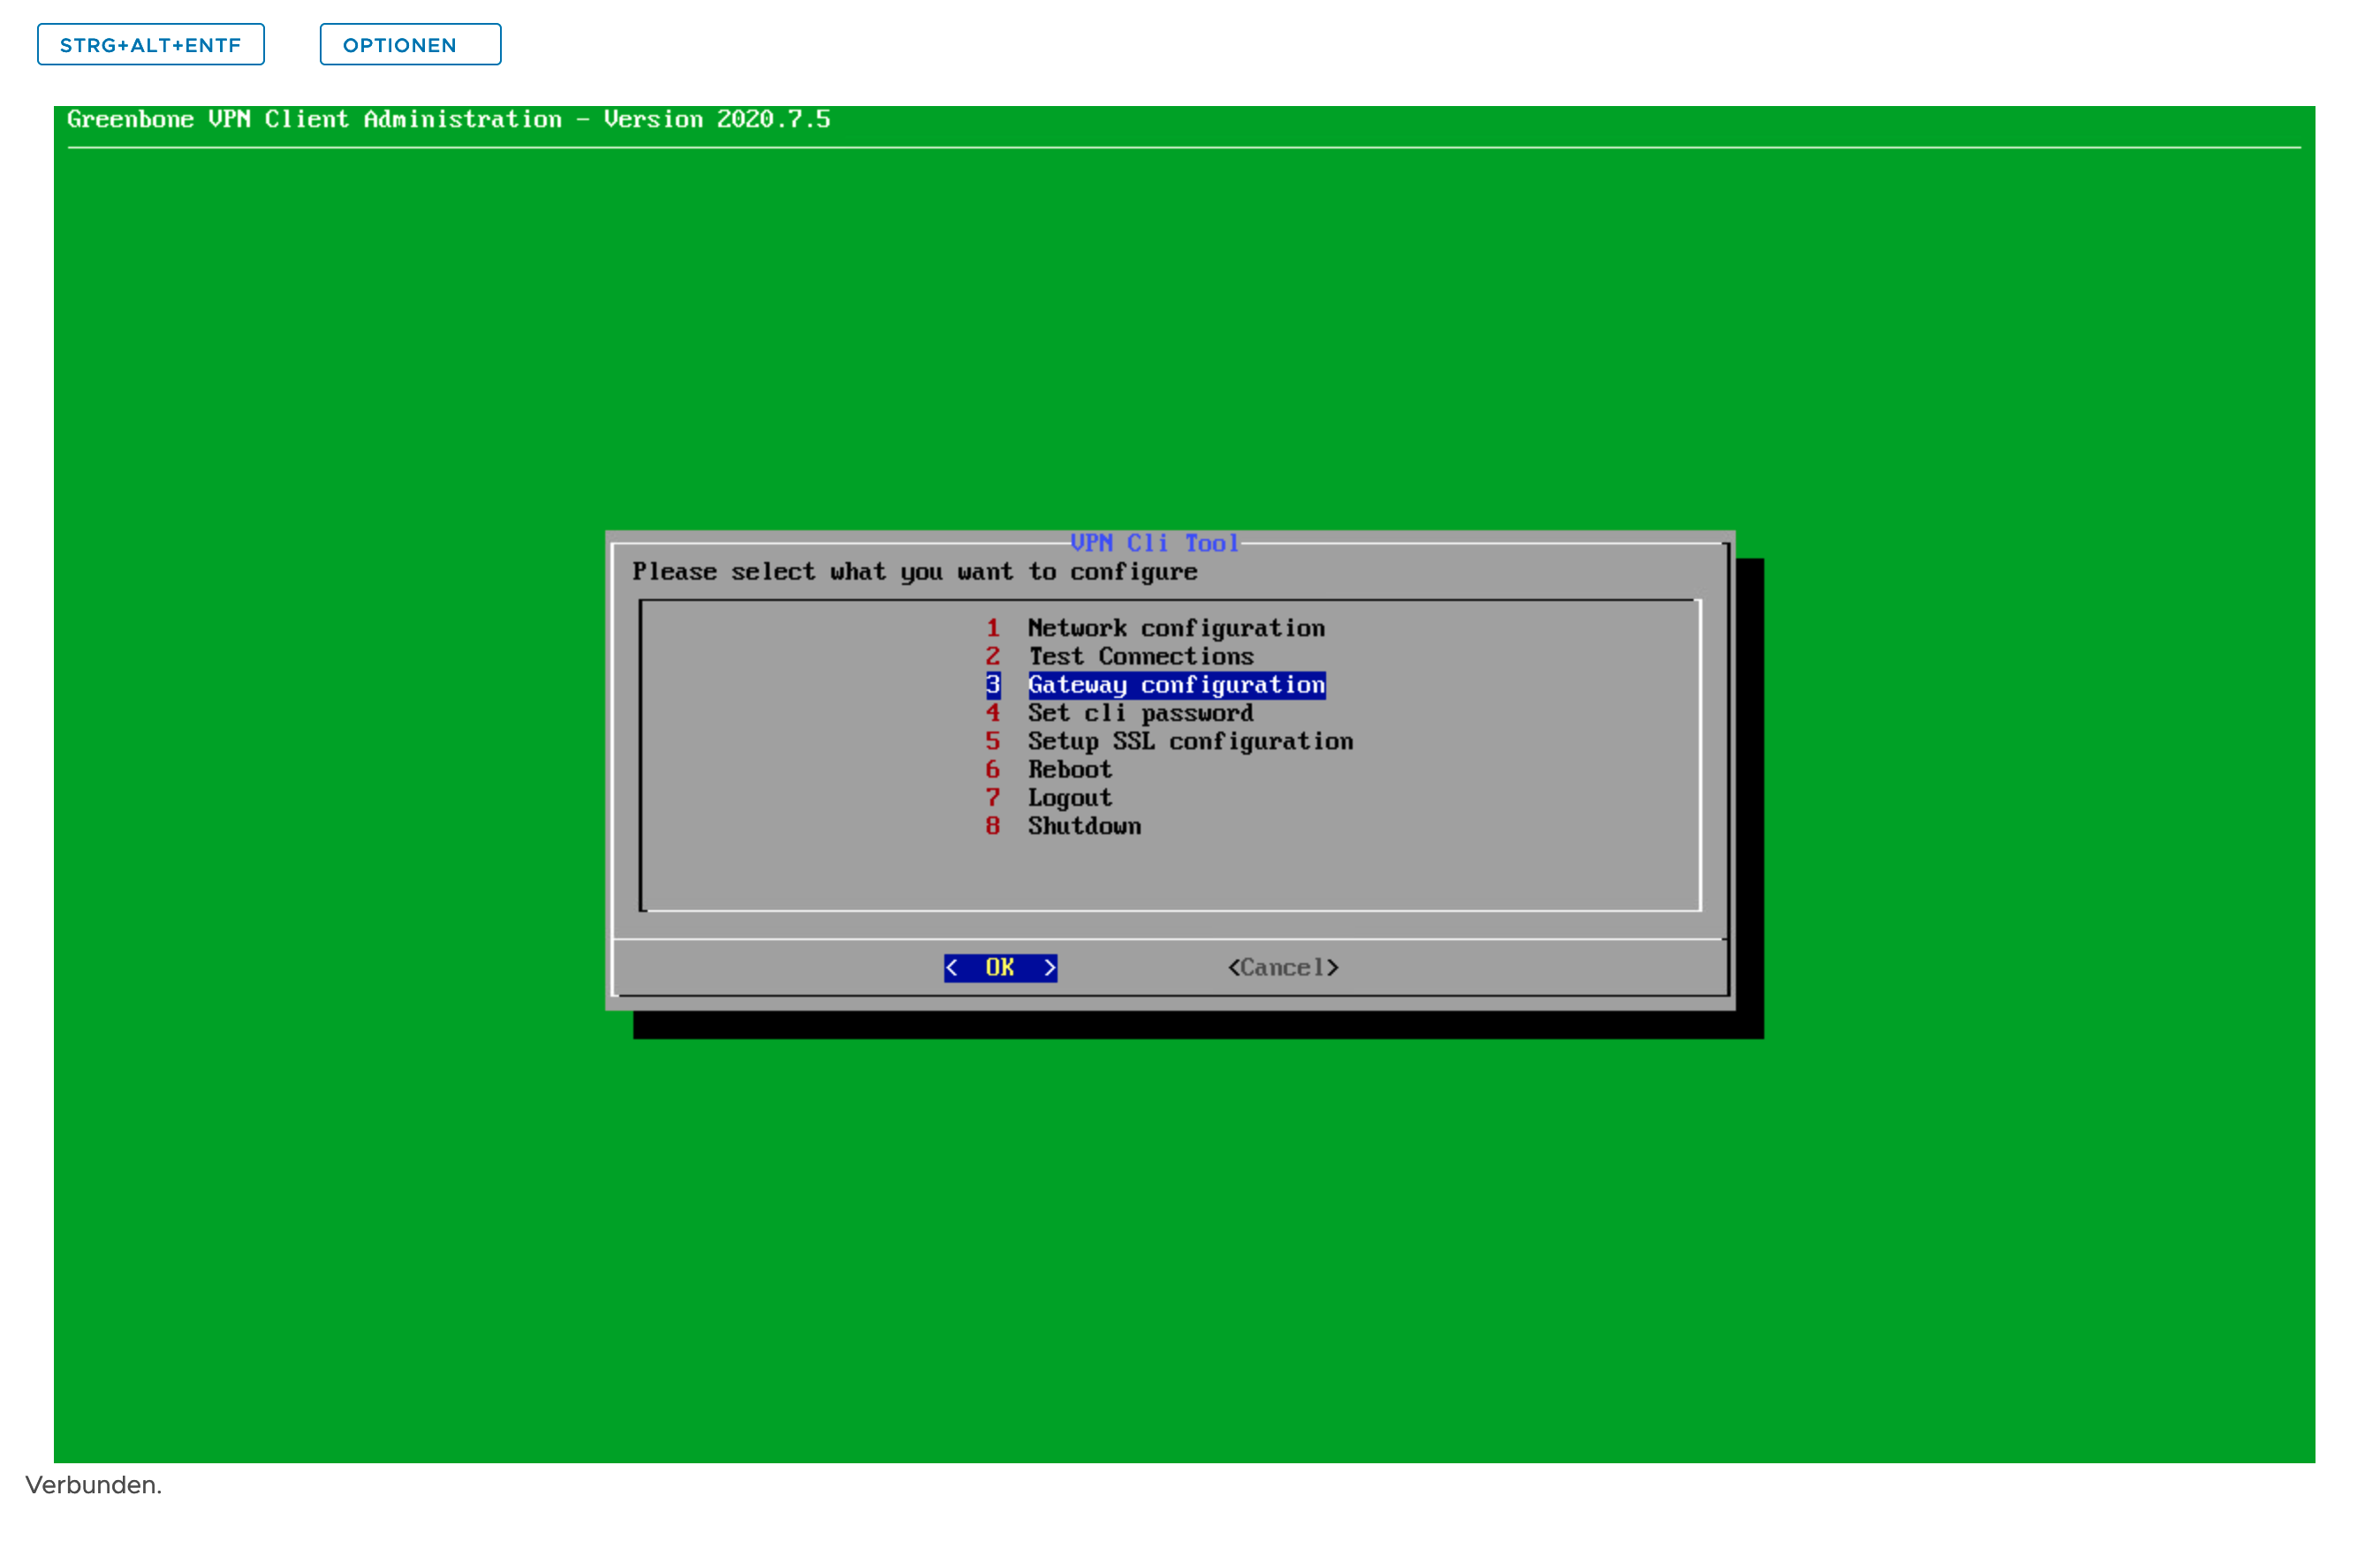
Select Gateway Configuration
Select Set Web Password & Assign Password
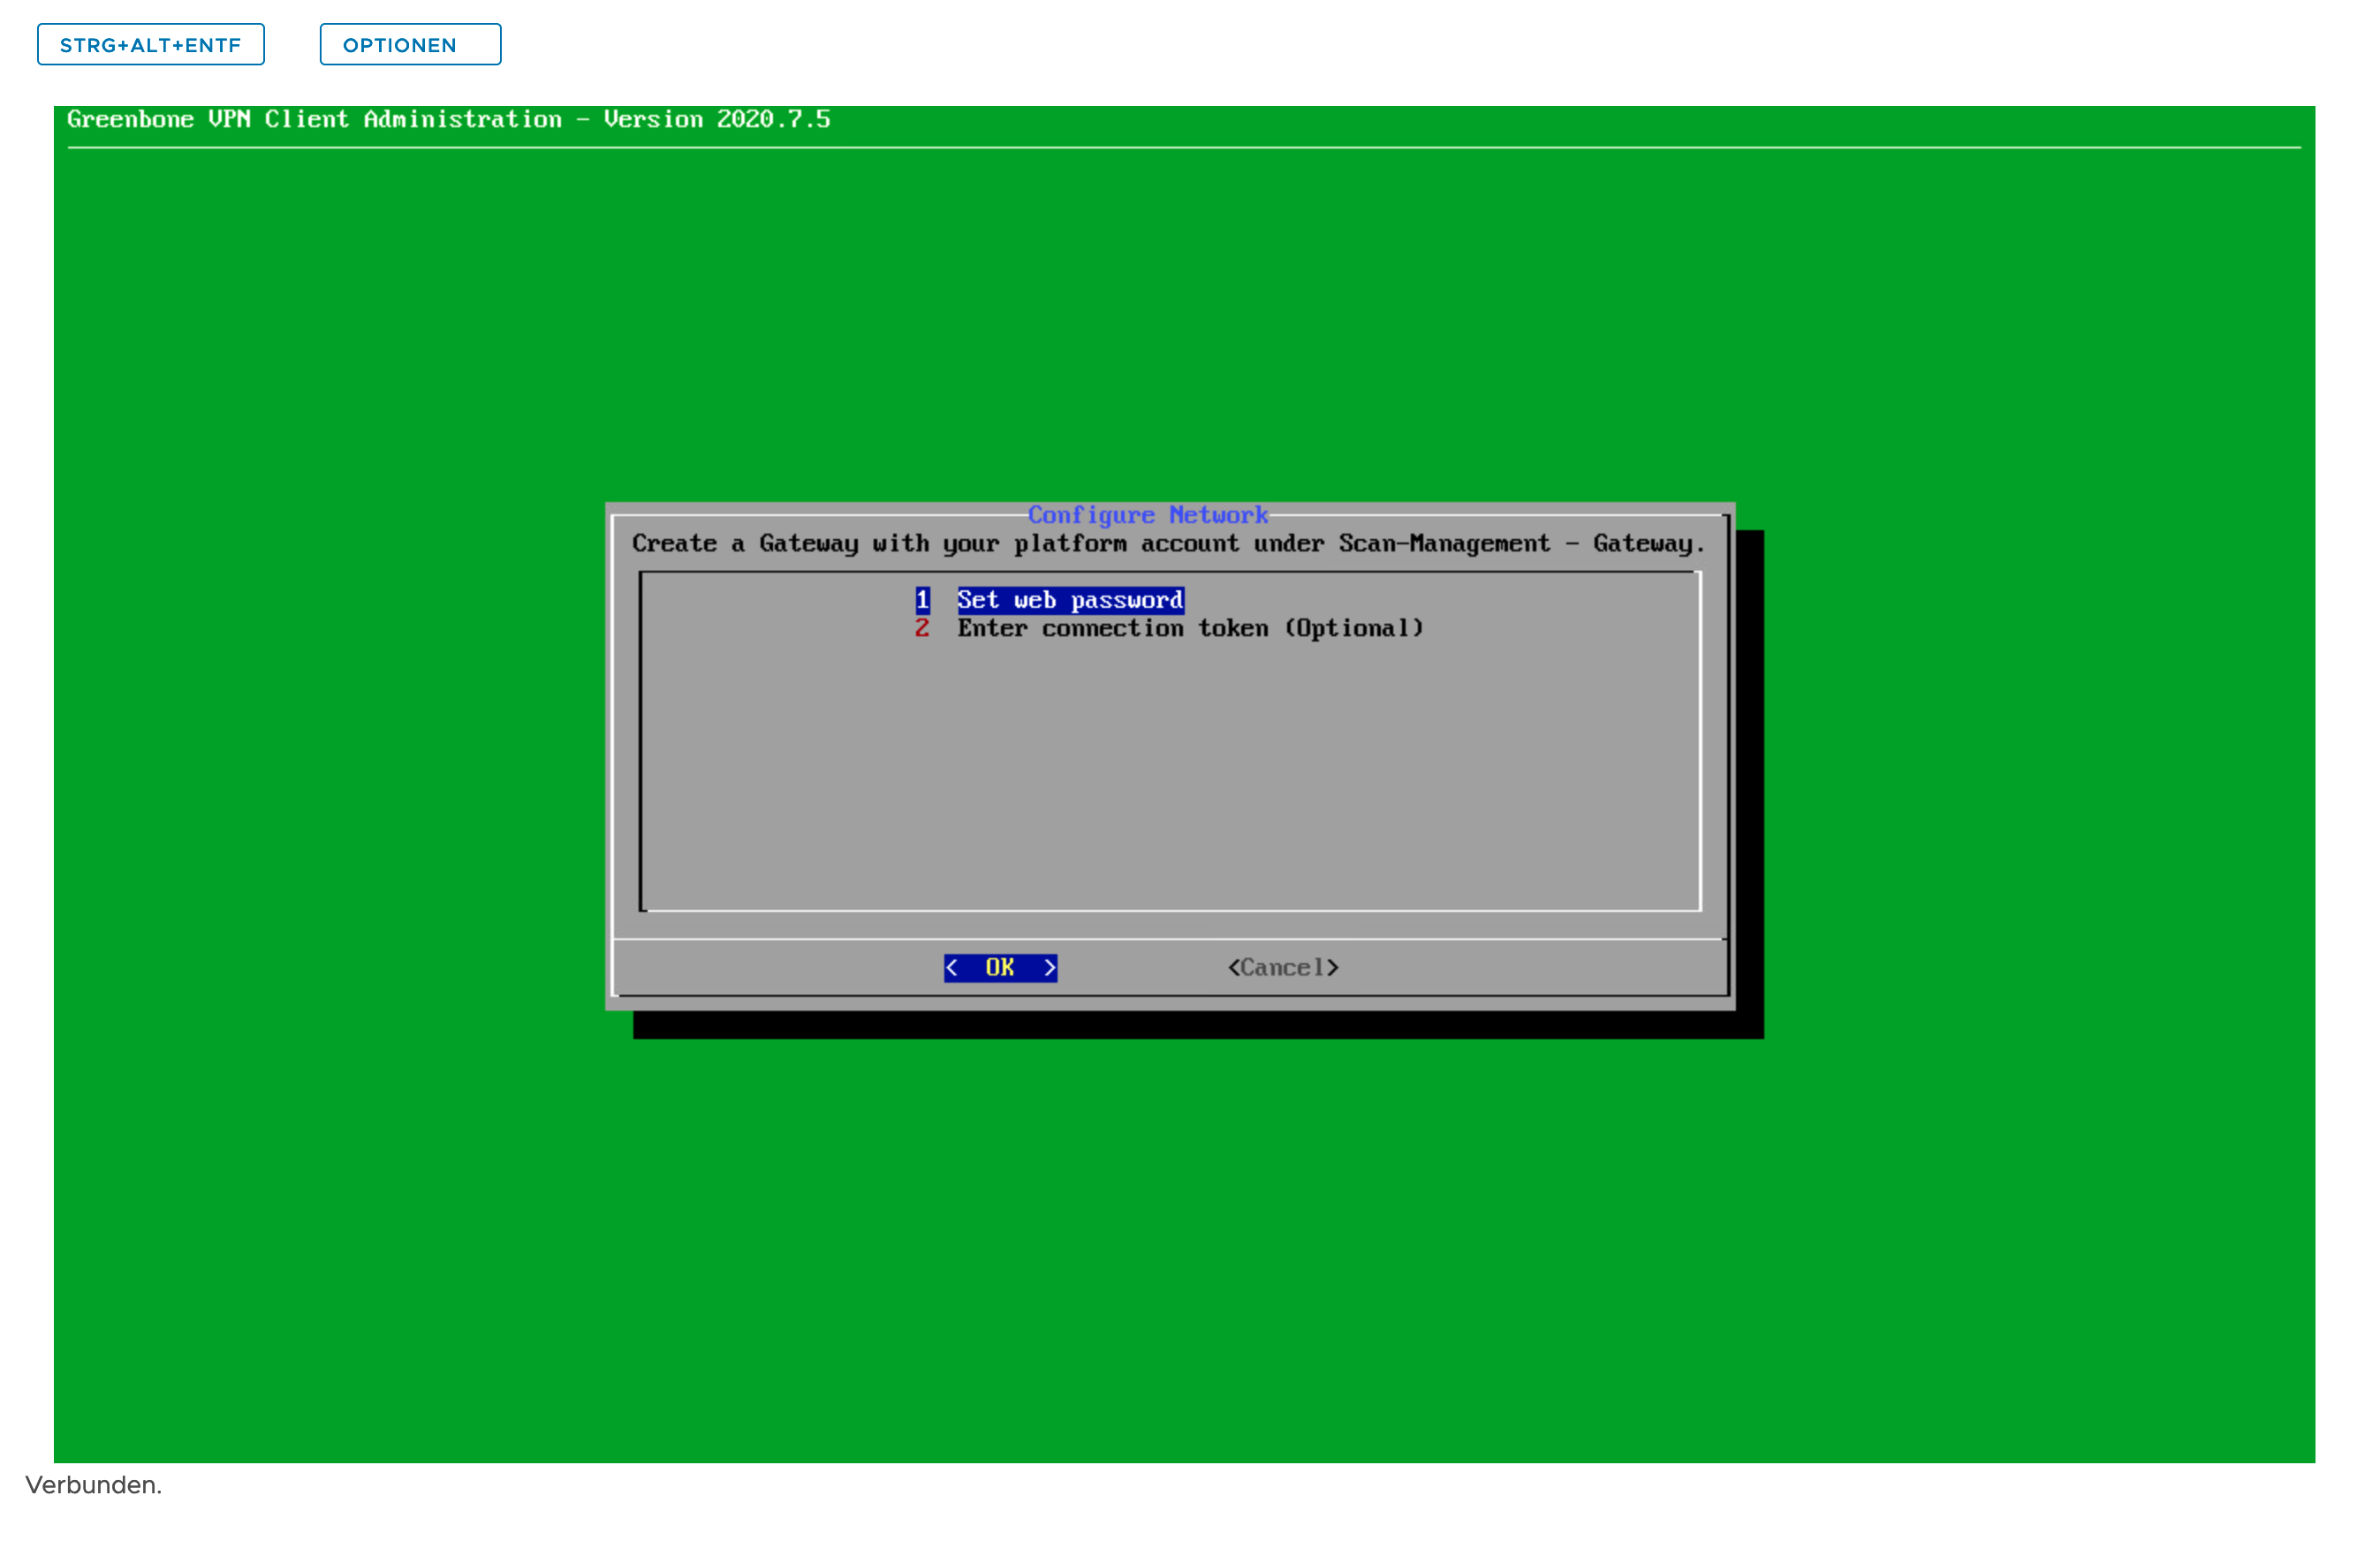
Configure Gateway
Create New Gateway
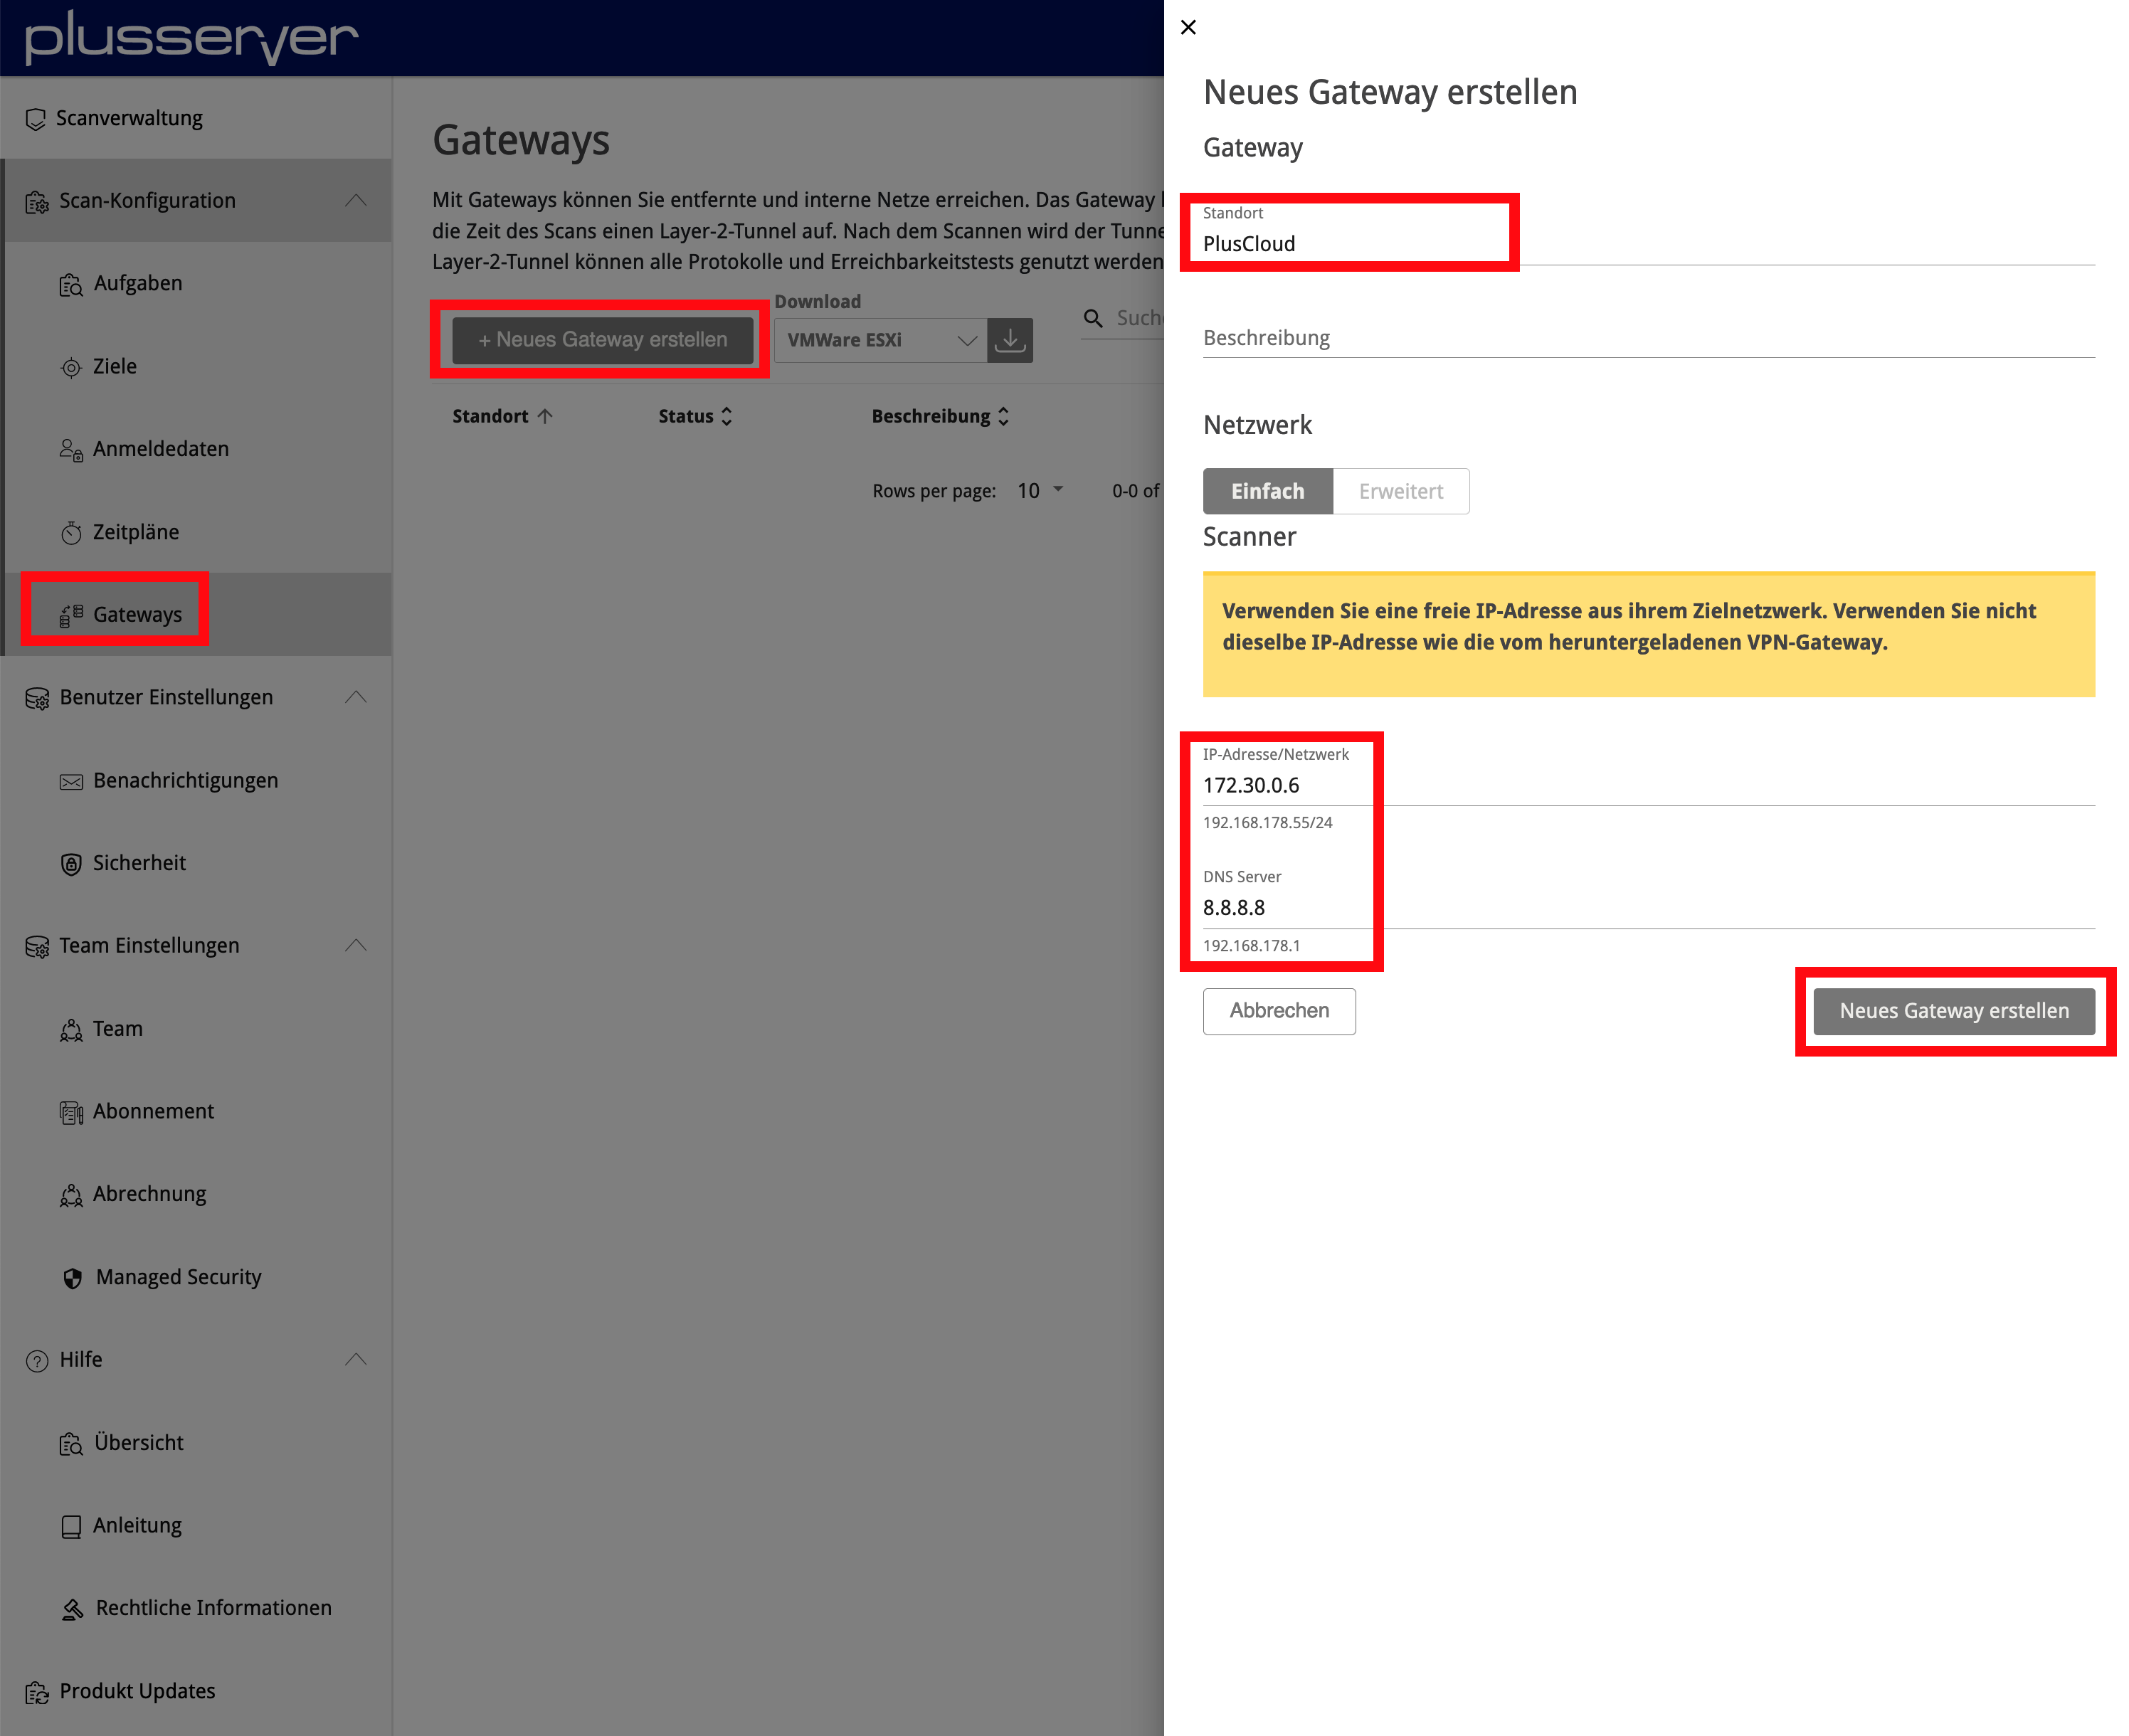 Please specify another free IP address from the network where you installed the gateway.
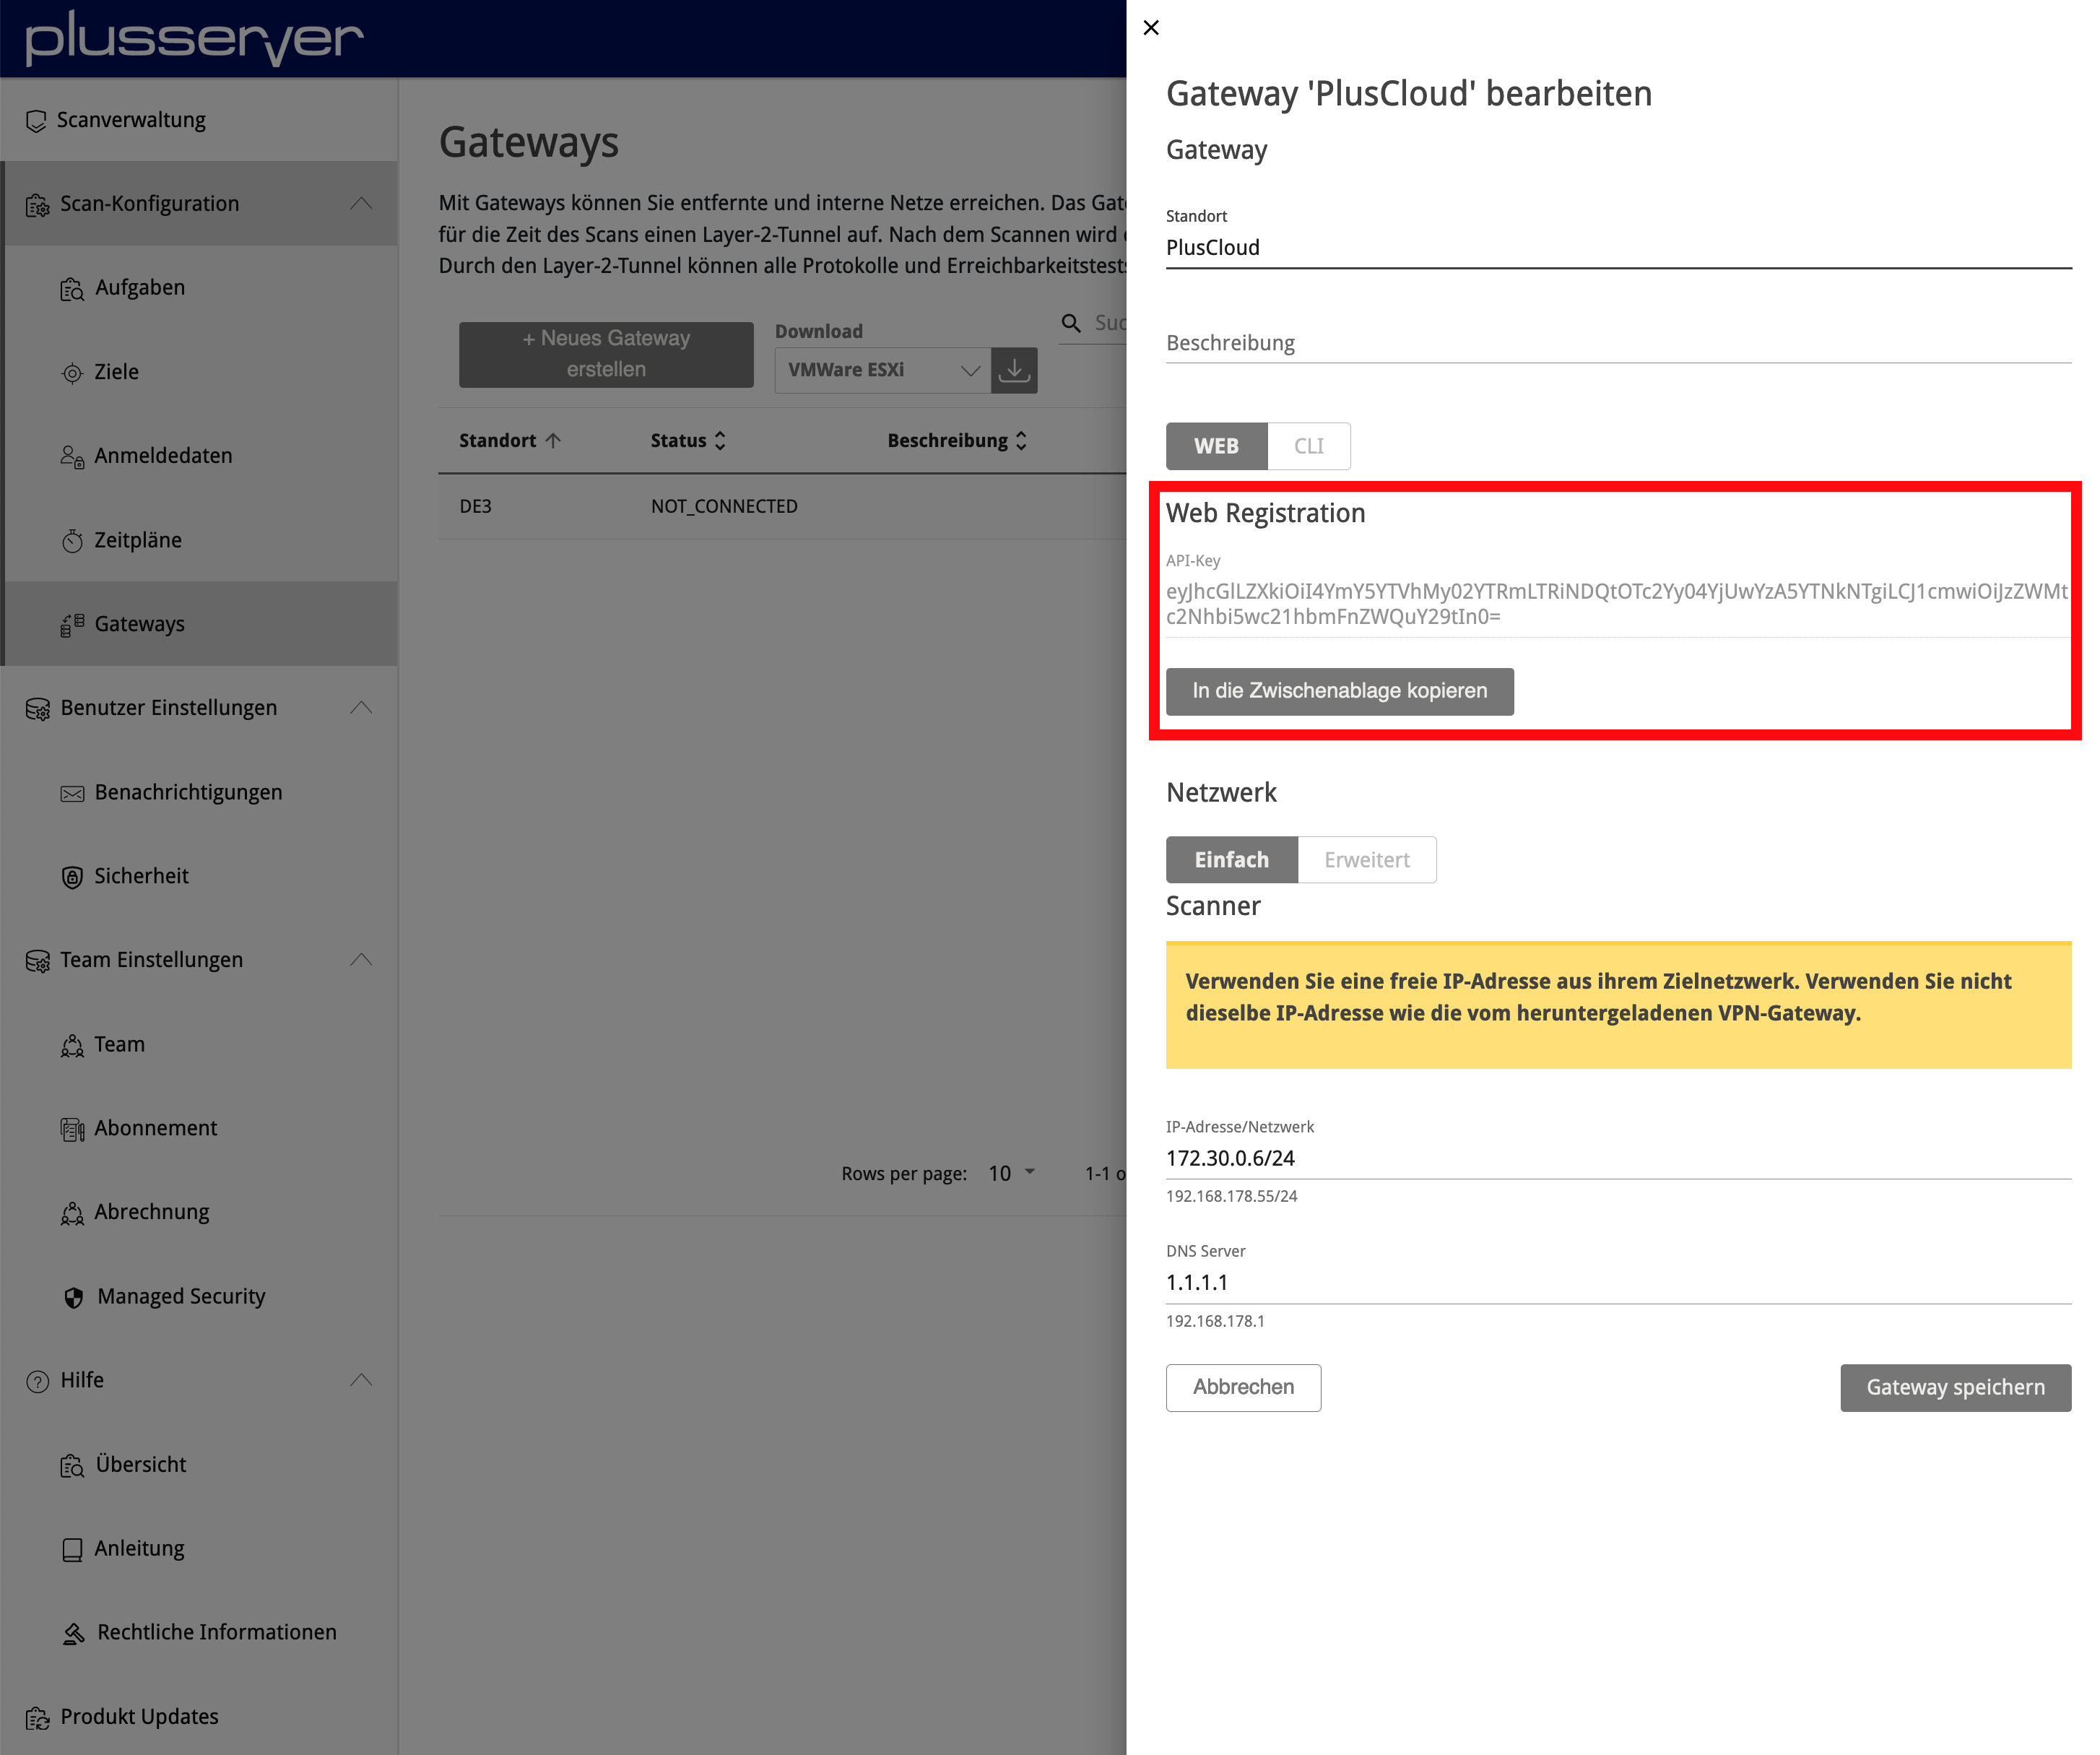
Copy Token
To connect the gateway to the Security Scanner, authentication and encryption are necessary. For this, copy the API key from the gateway settings.
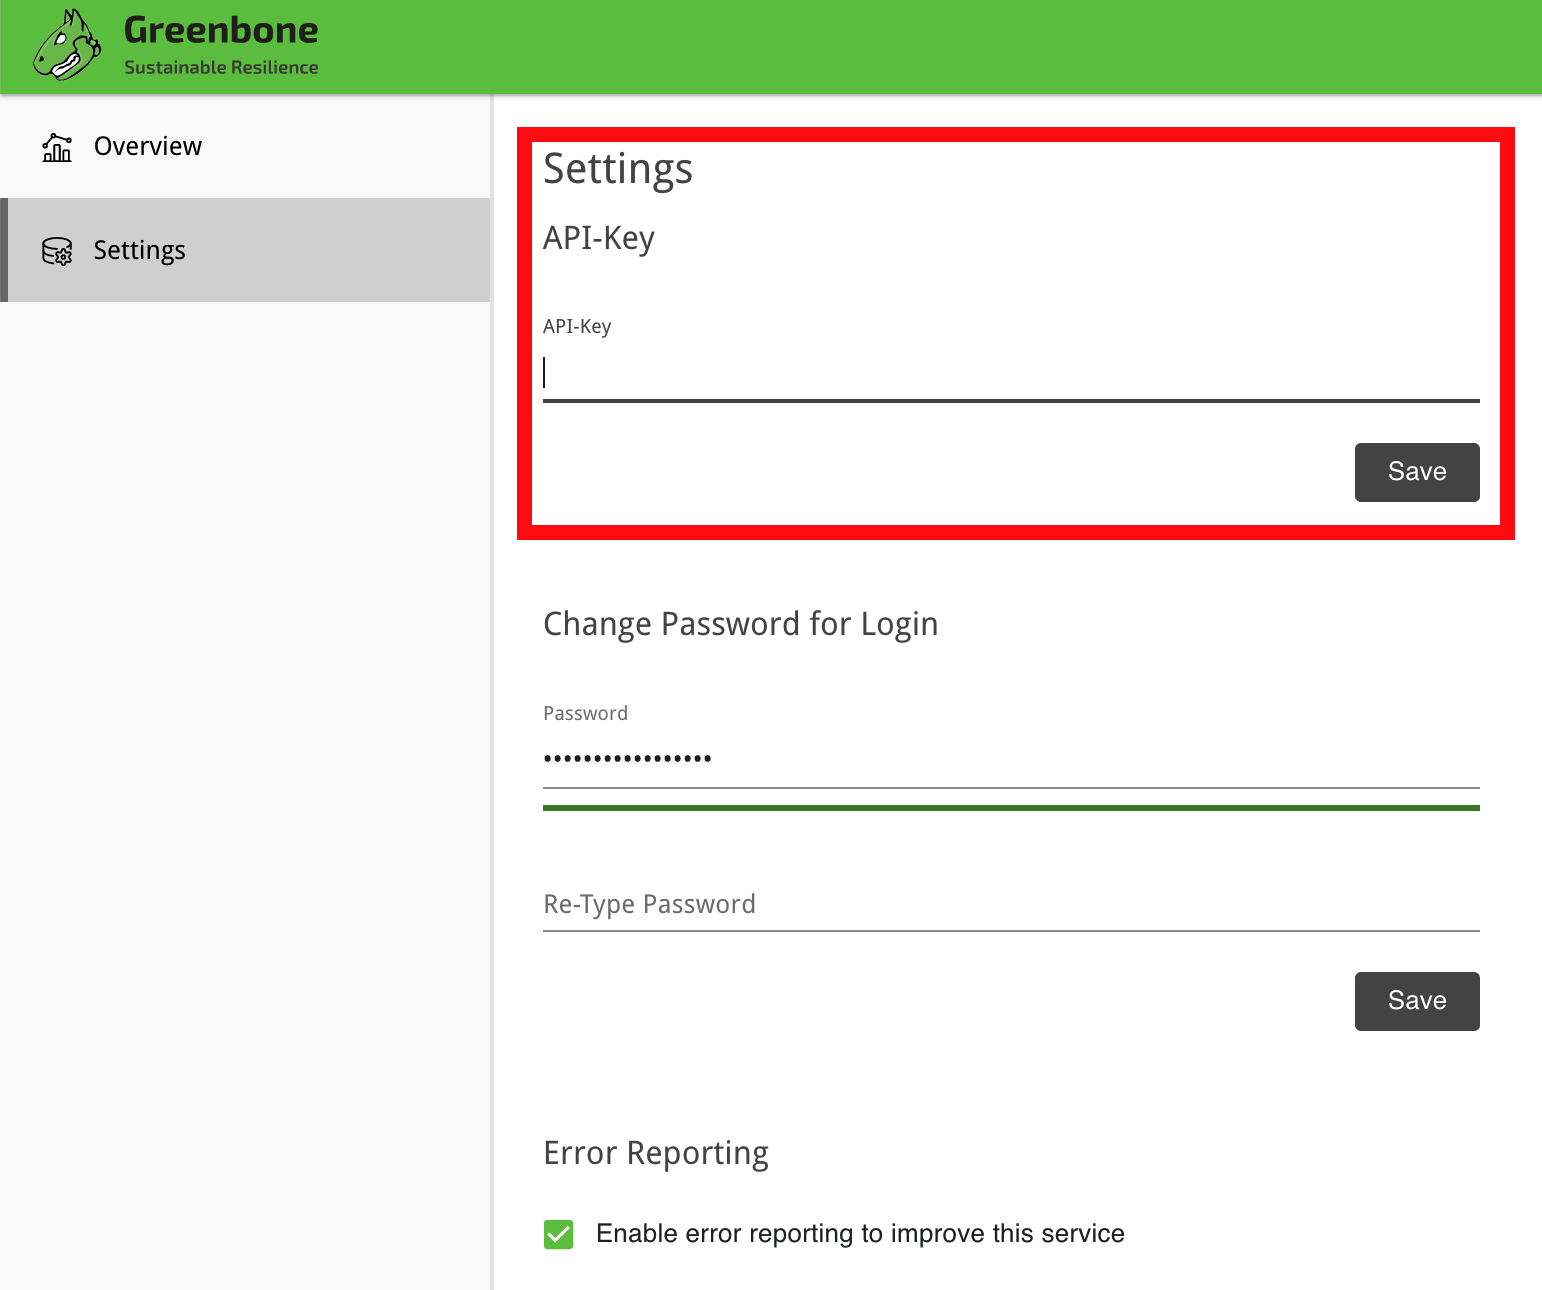
Open Gateway Web UI
In step (1.6) Configure Firewall, you made the gateway available through a publicly accessible IP address. Now enter the gateway’s IP address in your browser and log in using the assigned web password (e.g., https://195.252.XXX.XXX).
Check Gateway Status
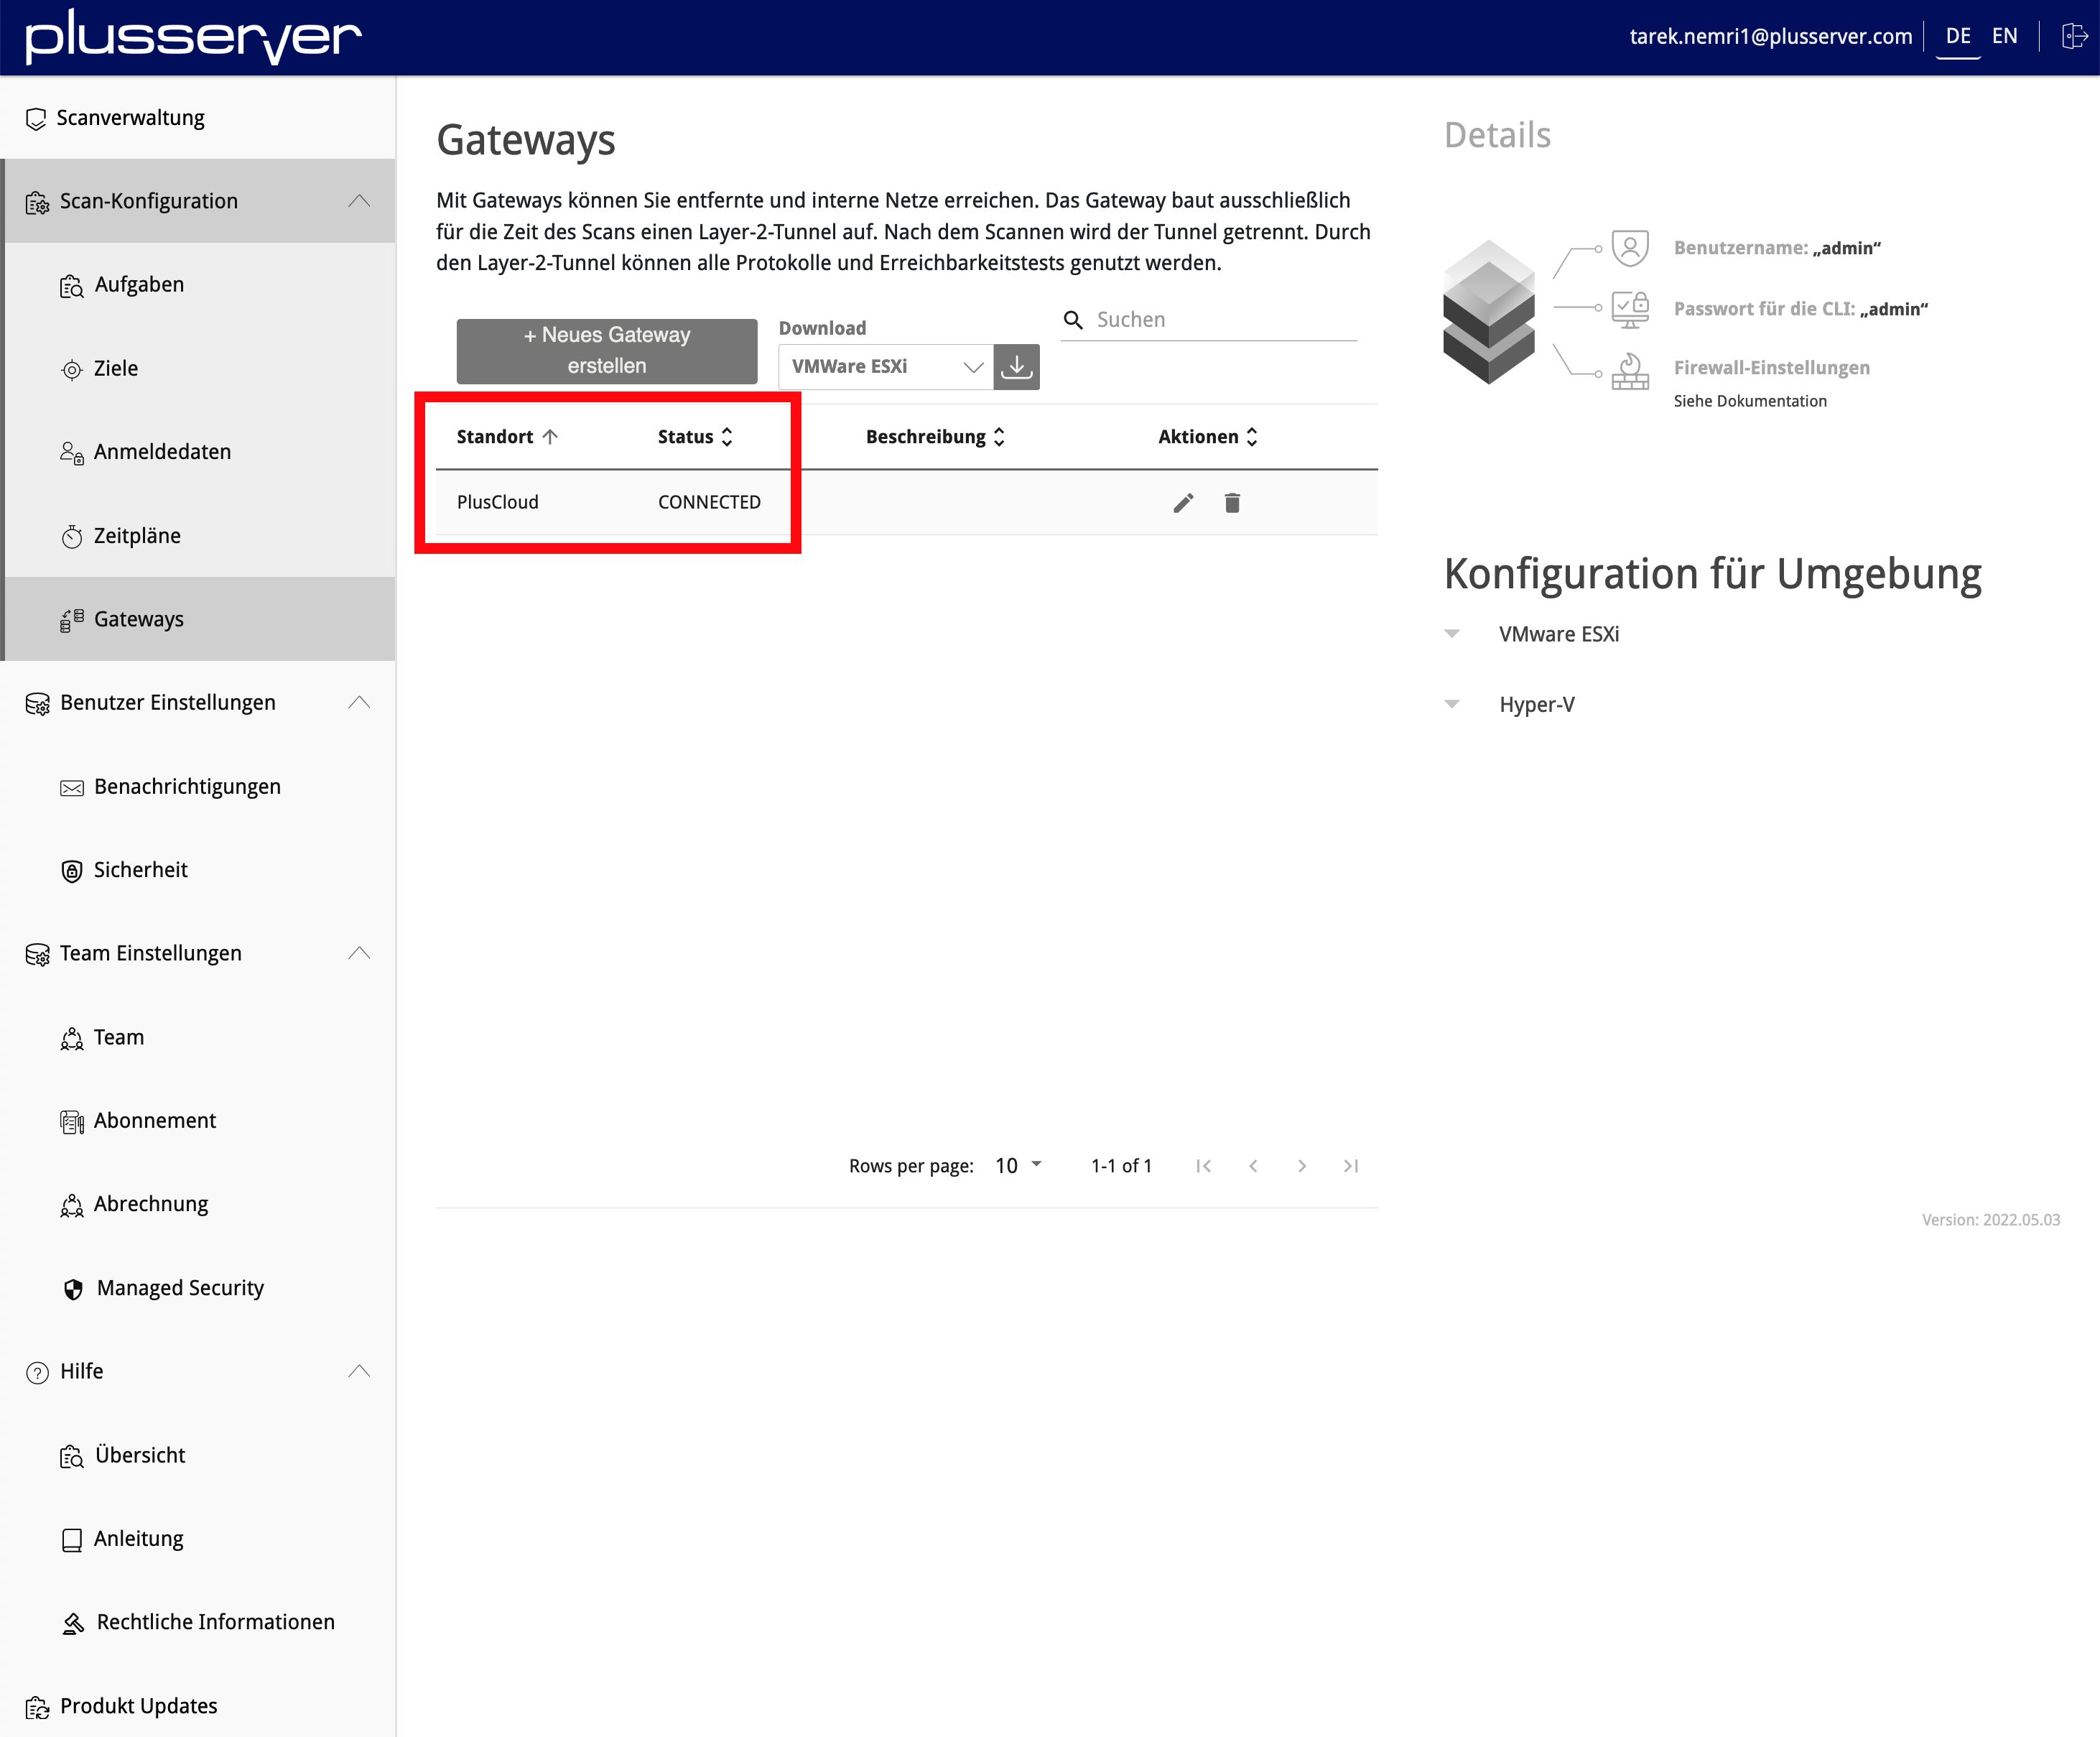
The gateway is now set up. You can select the gateway for scanning when creating a scan task.