Pluscloud VMware 2FA with Keycloak + OpenID Connect
3 minute read
Schritt 1: Preparation
- First you need to book your Keycloak instance
- and log in to the web interface with your Admin user access data.
- To do this, call up https://<DNS-Name_of_your_IAM-Keycloak_Server>/ in the address field of your Internet browser, e.g: https://node-65e84464310368a571551616.ps-xaas.io
Step 2: Keycloak
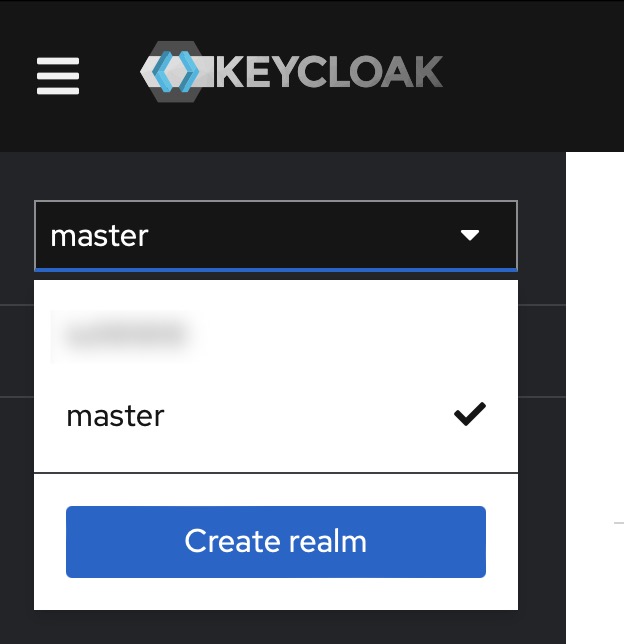
Using the access data previously received in CloudHub, log into the Keycloak under “Administration Console” and click on “Create realm” in the dropdown in the top left-hand corner.
Under “Realm name” we enter e.g. “vcd” and confirm with “Create”.
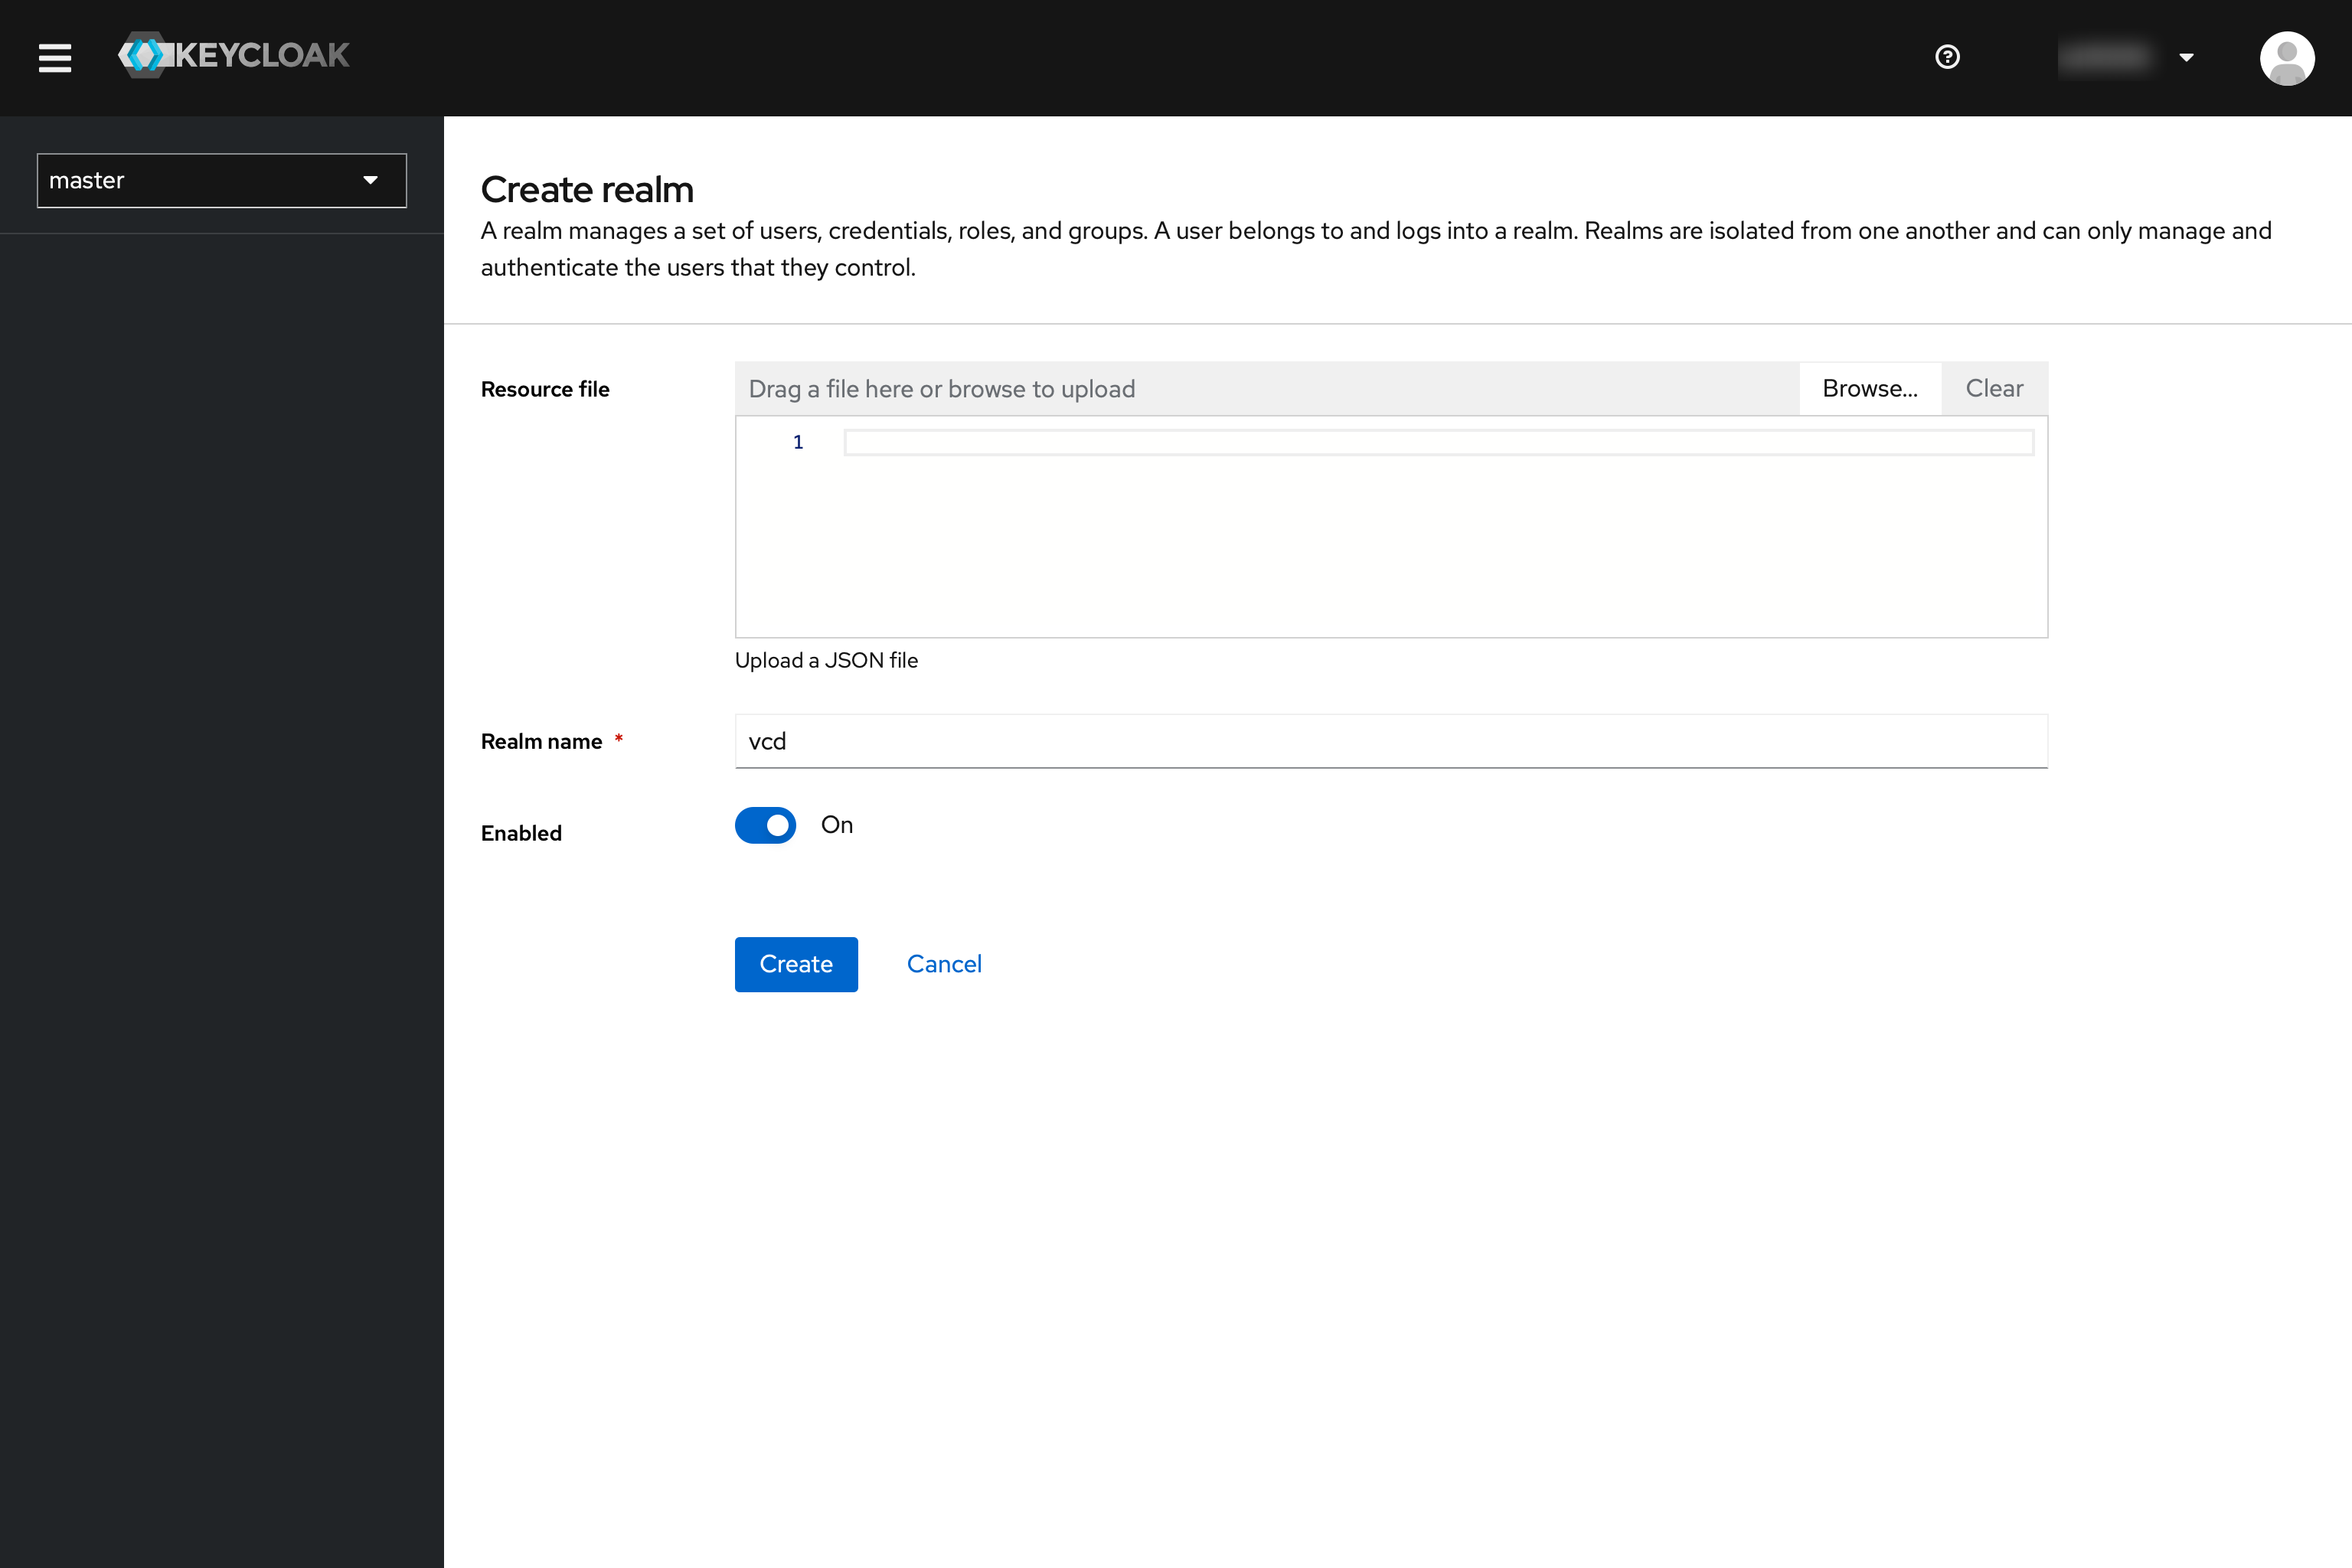
The realm (top left) is then automatically changed to the newly created realm, in this example with the name “vcd”.

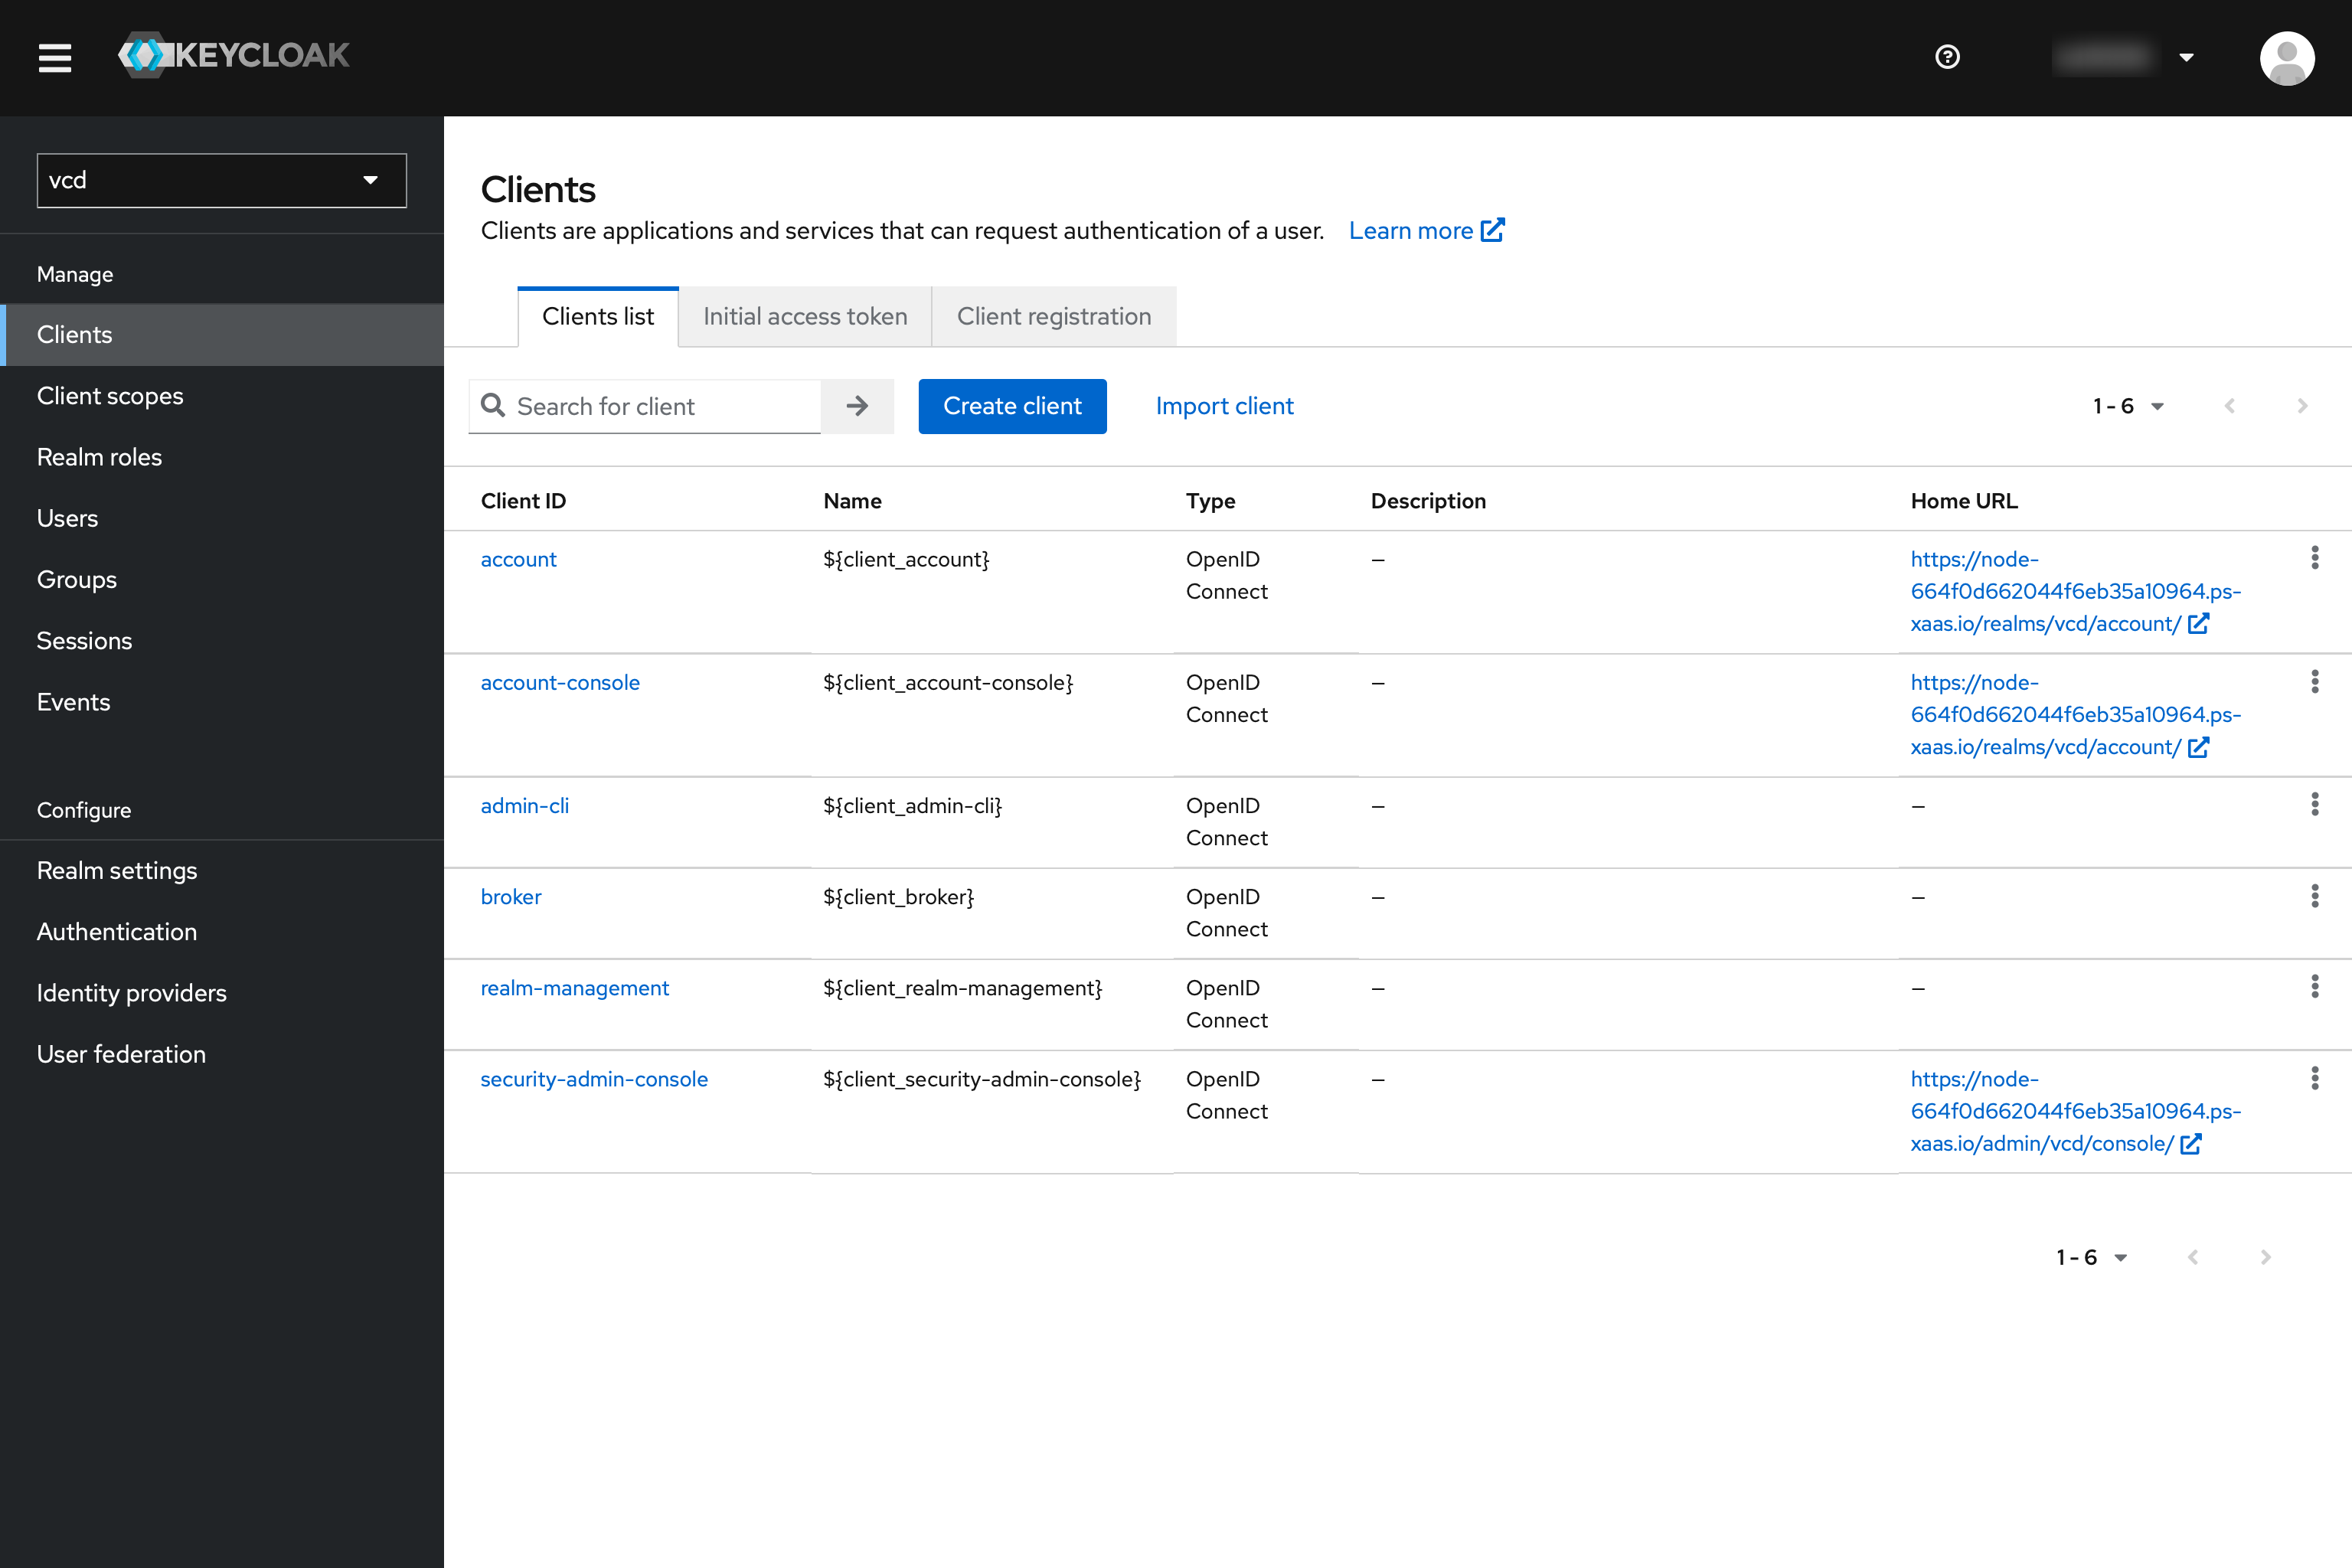
Go to “Clients” in the menu and click “Create client”.
Select “OpenID Connect”, Client ID is in our example. “de11gupor”, which for the test is the name of the region plus the PCV tenant.
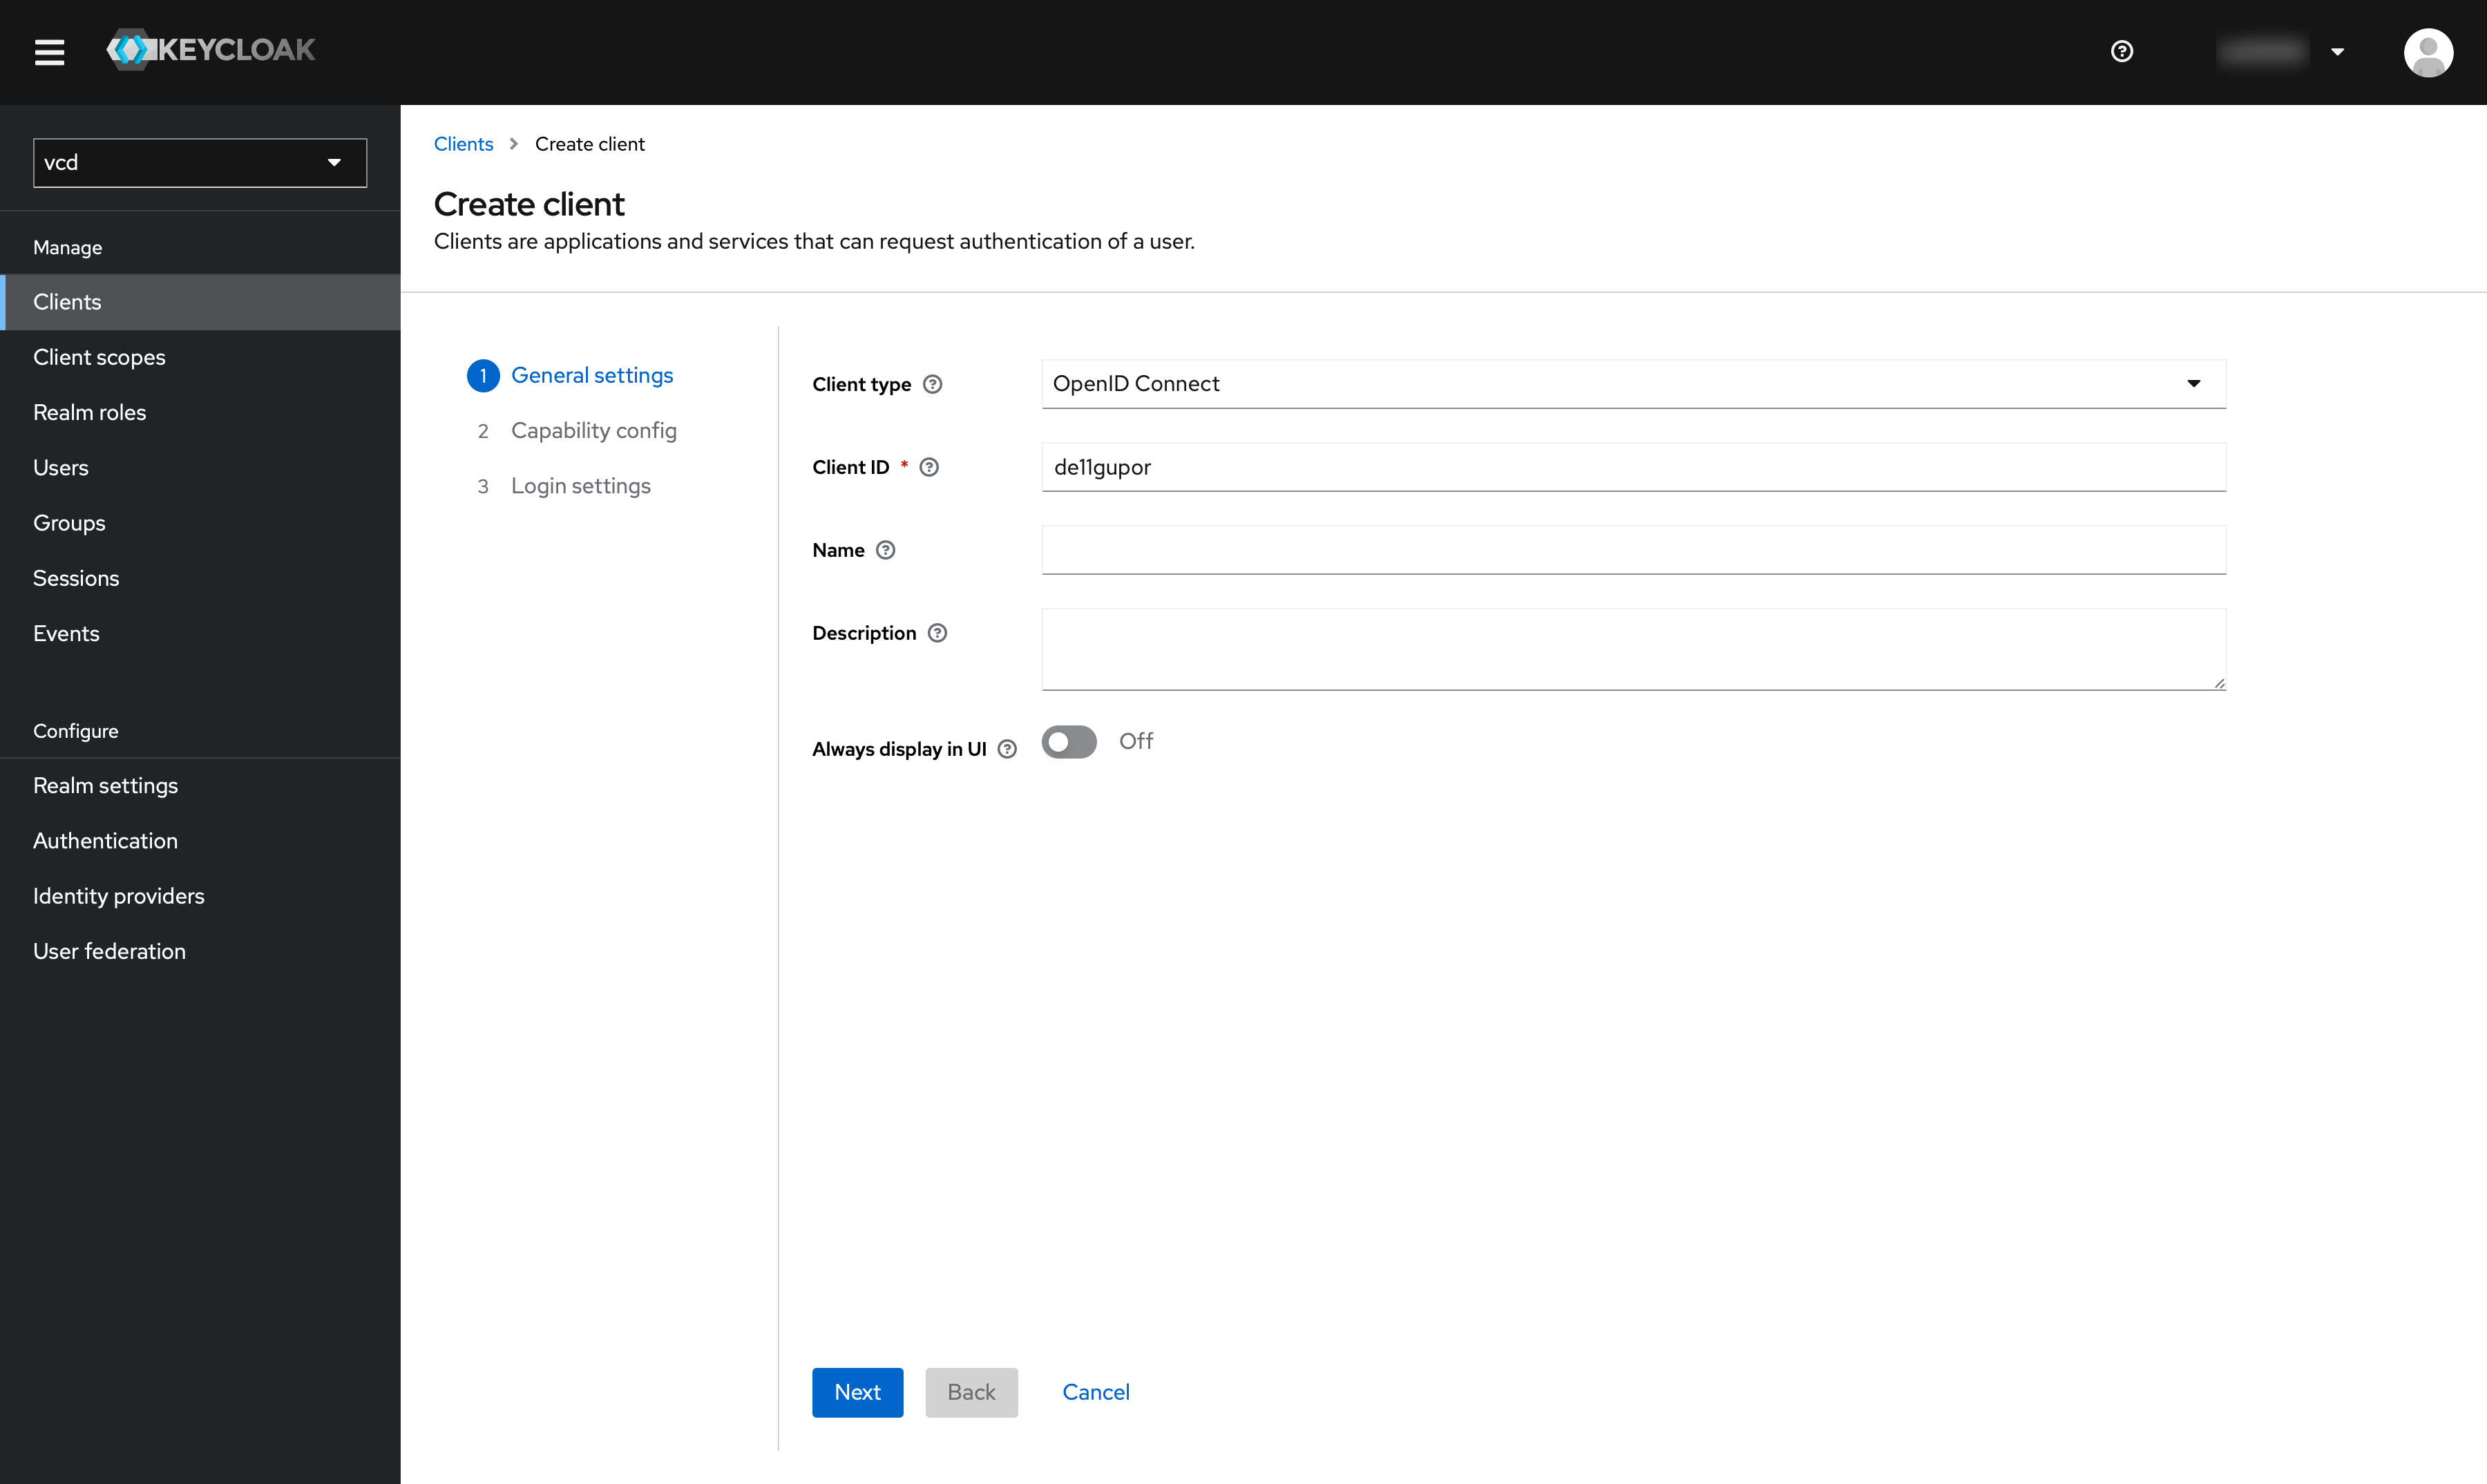
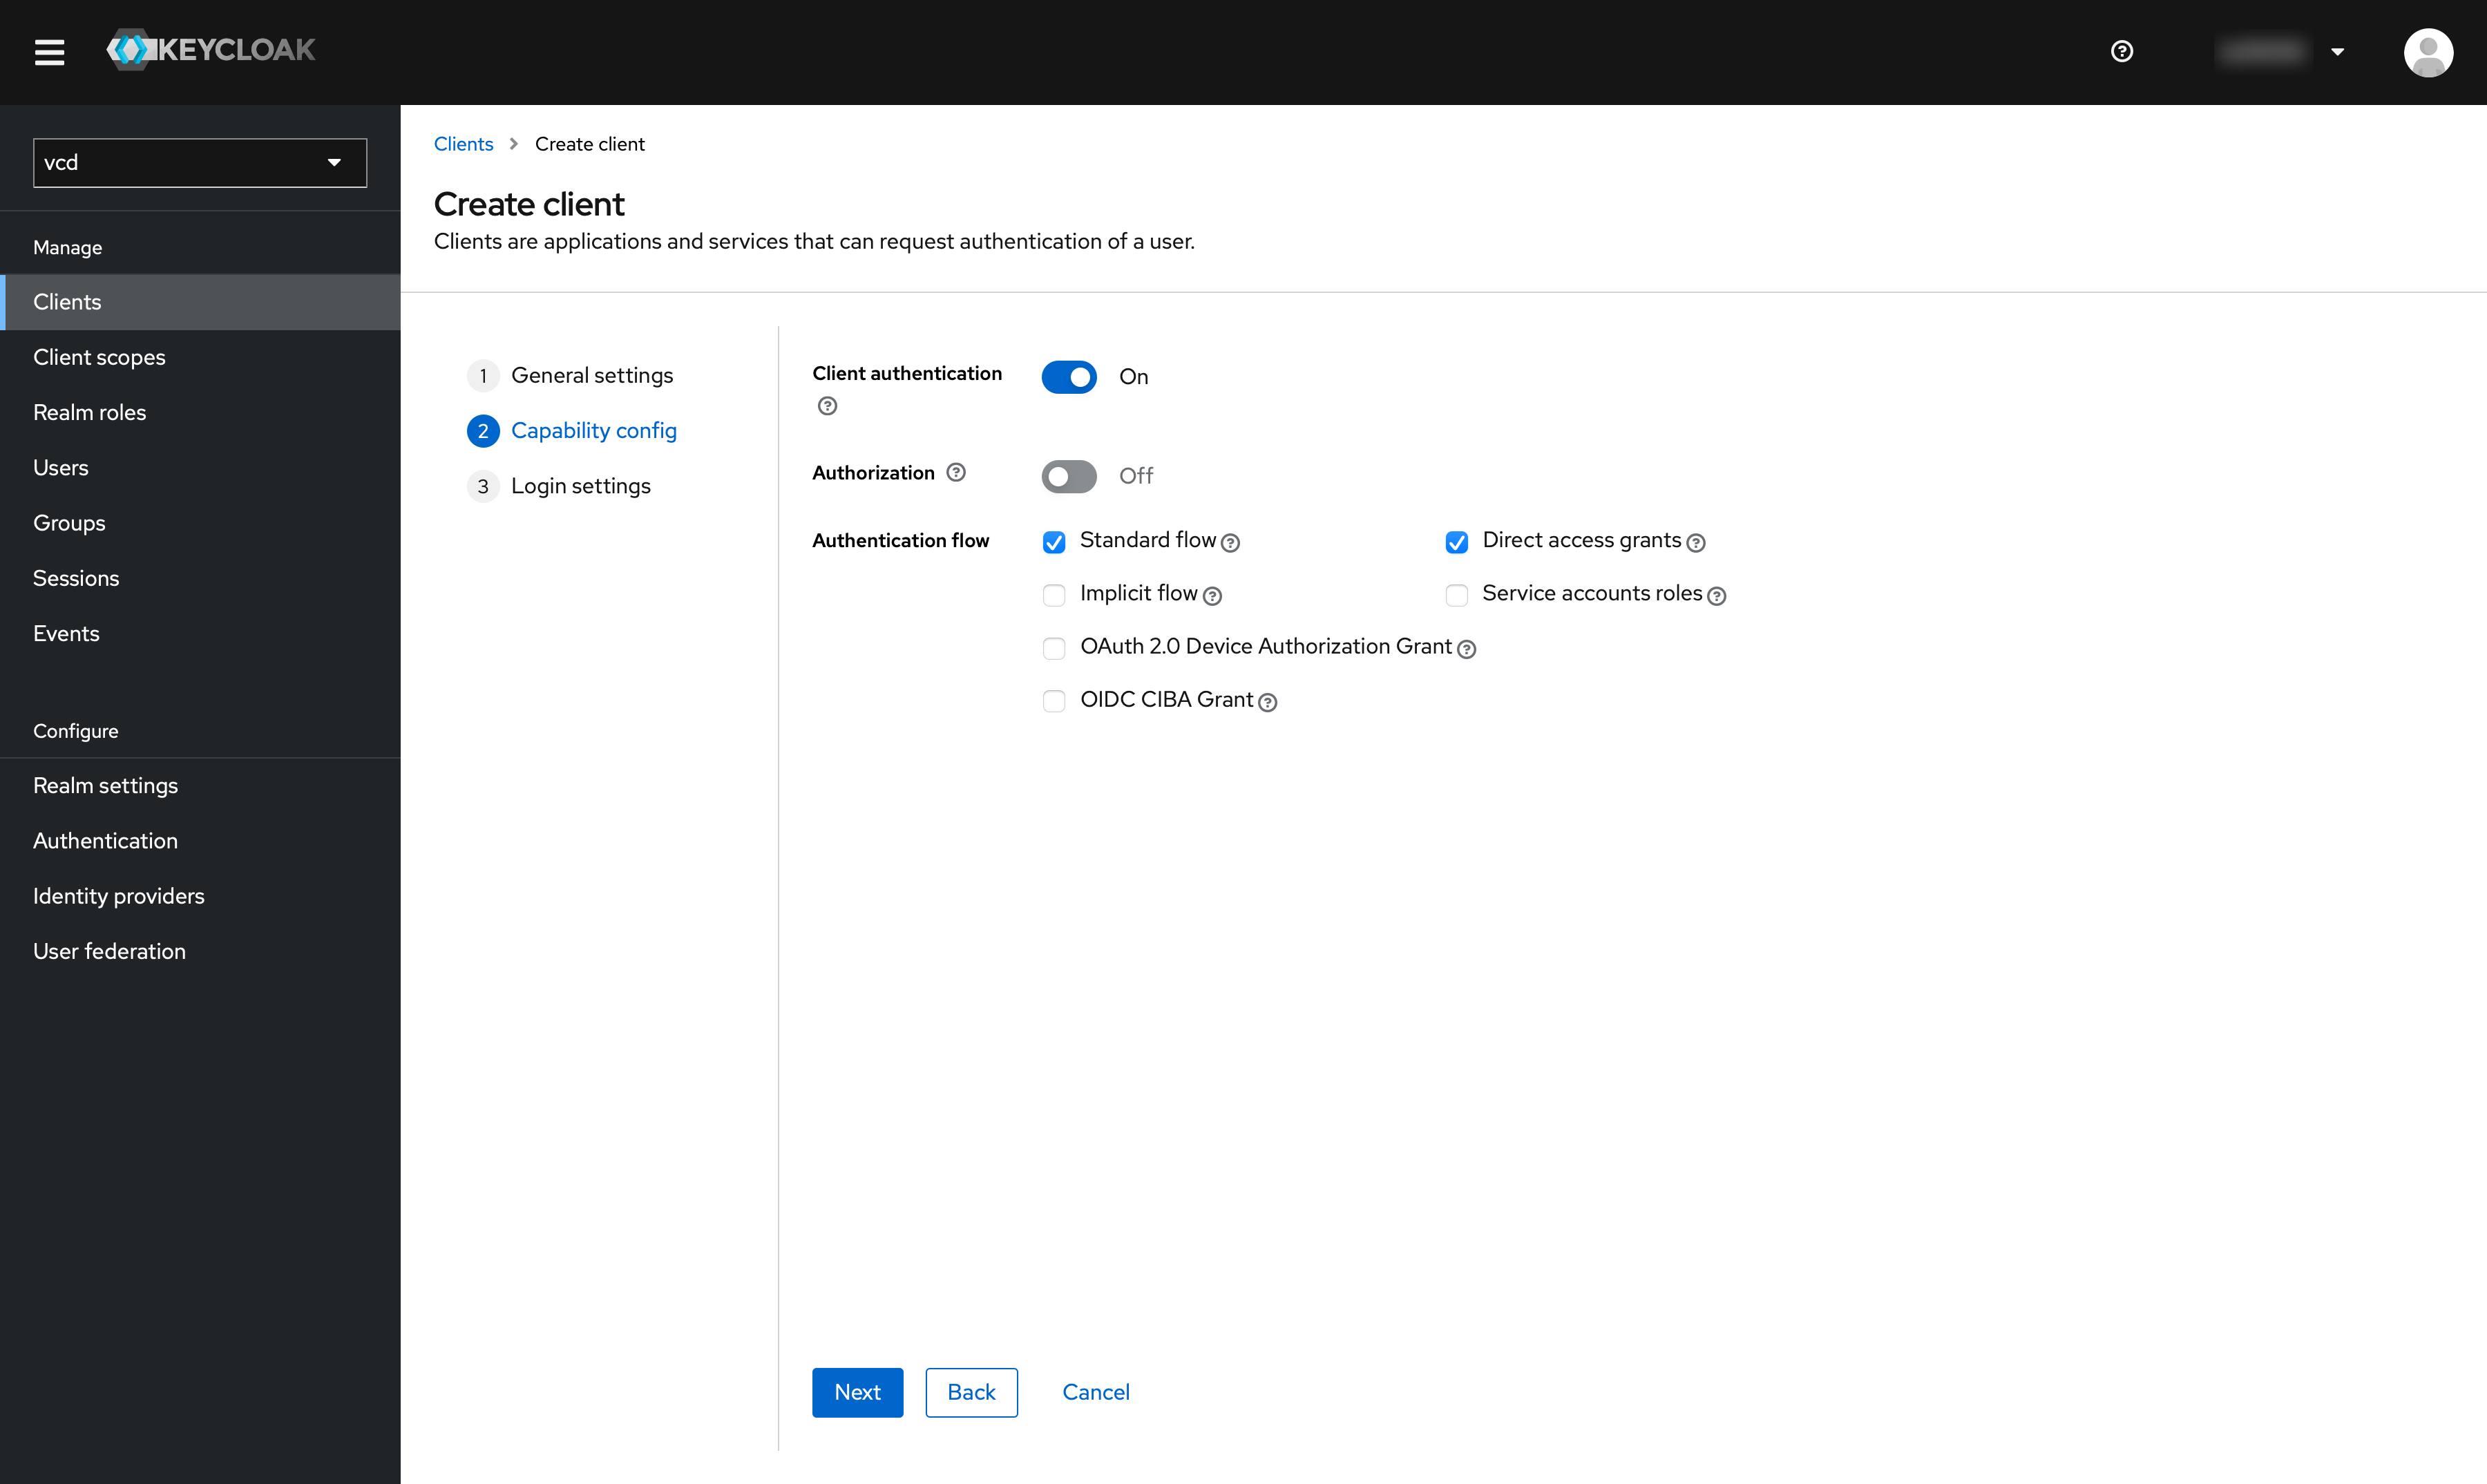
Press “Next” and activate “Client authentication”.
Step 3: pluscloud vmware
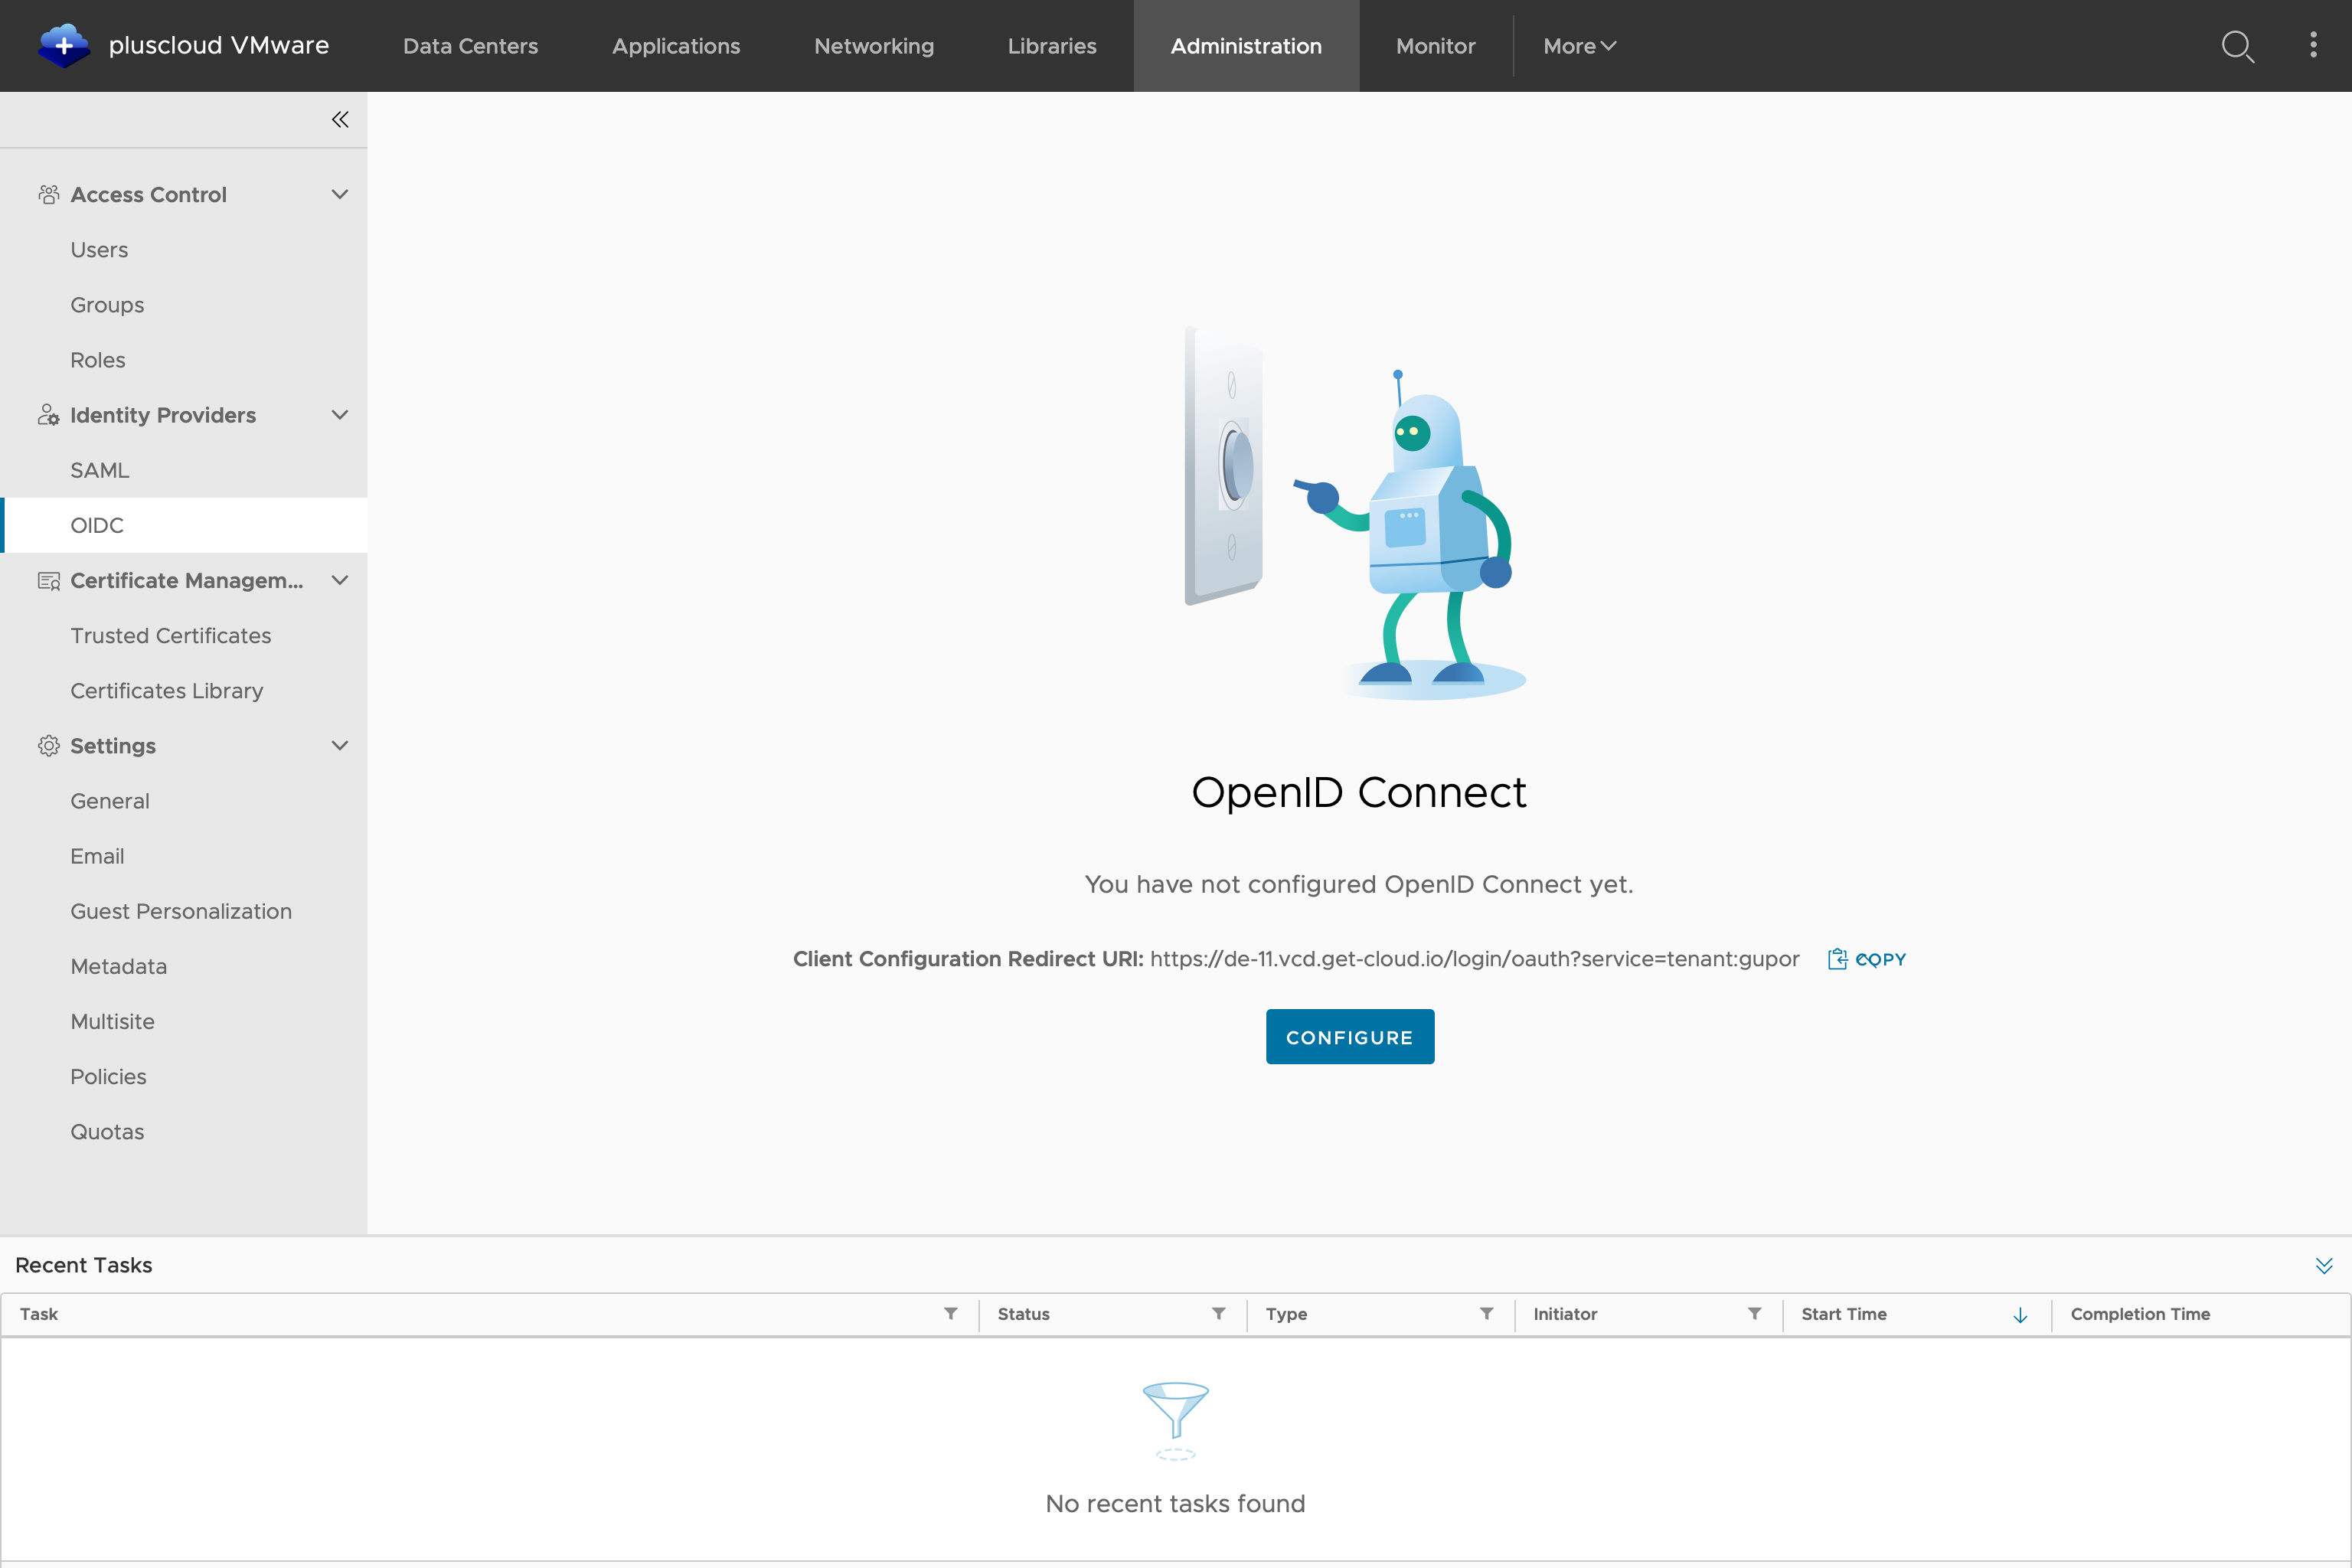
Now we jump in a parallel tab or browser window to (our example) PCV de-11 -> Administration -> OIDC and copy the link to the “Redirect URI for Client Configuration/Client Configuration Redirect URI”.
Step 4: Keycloak
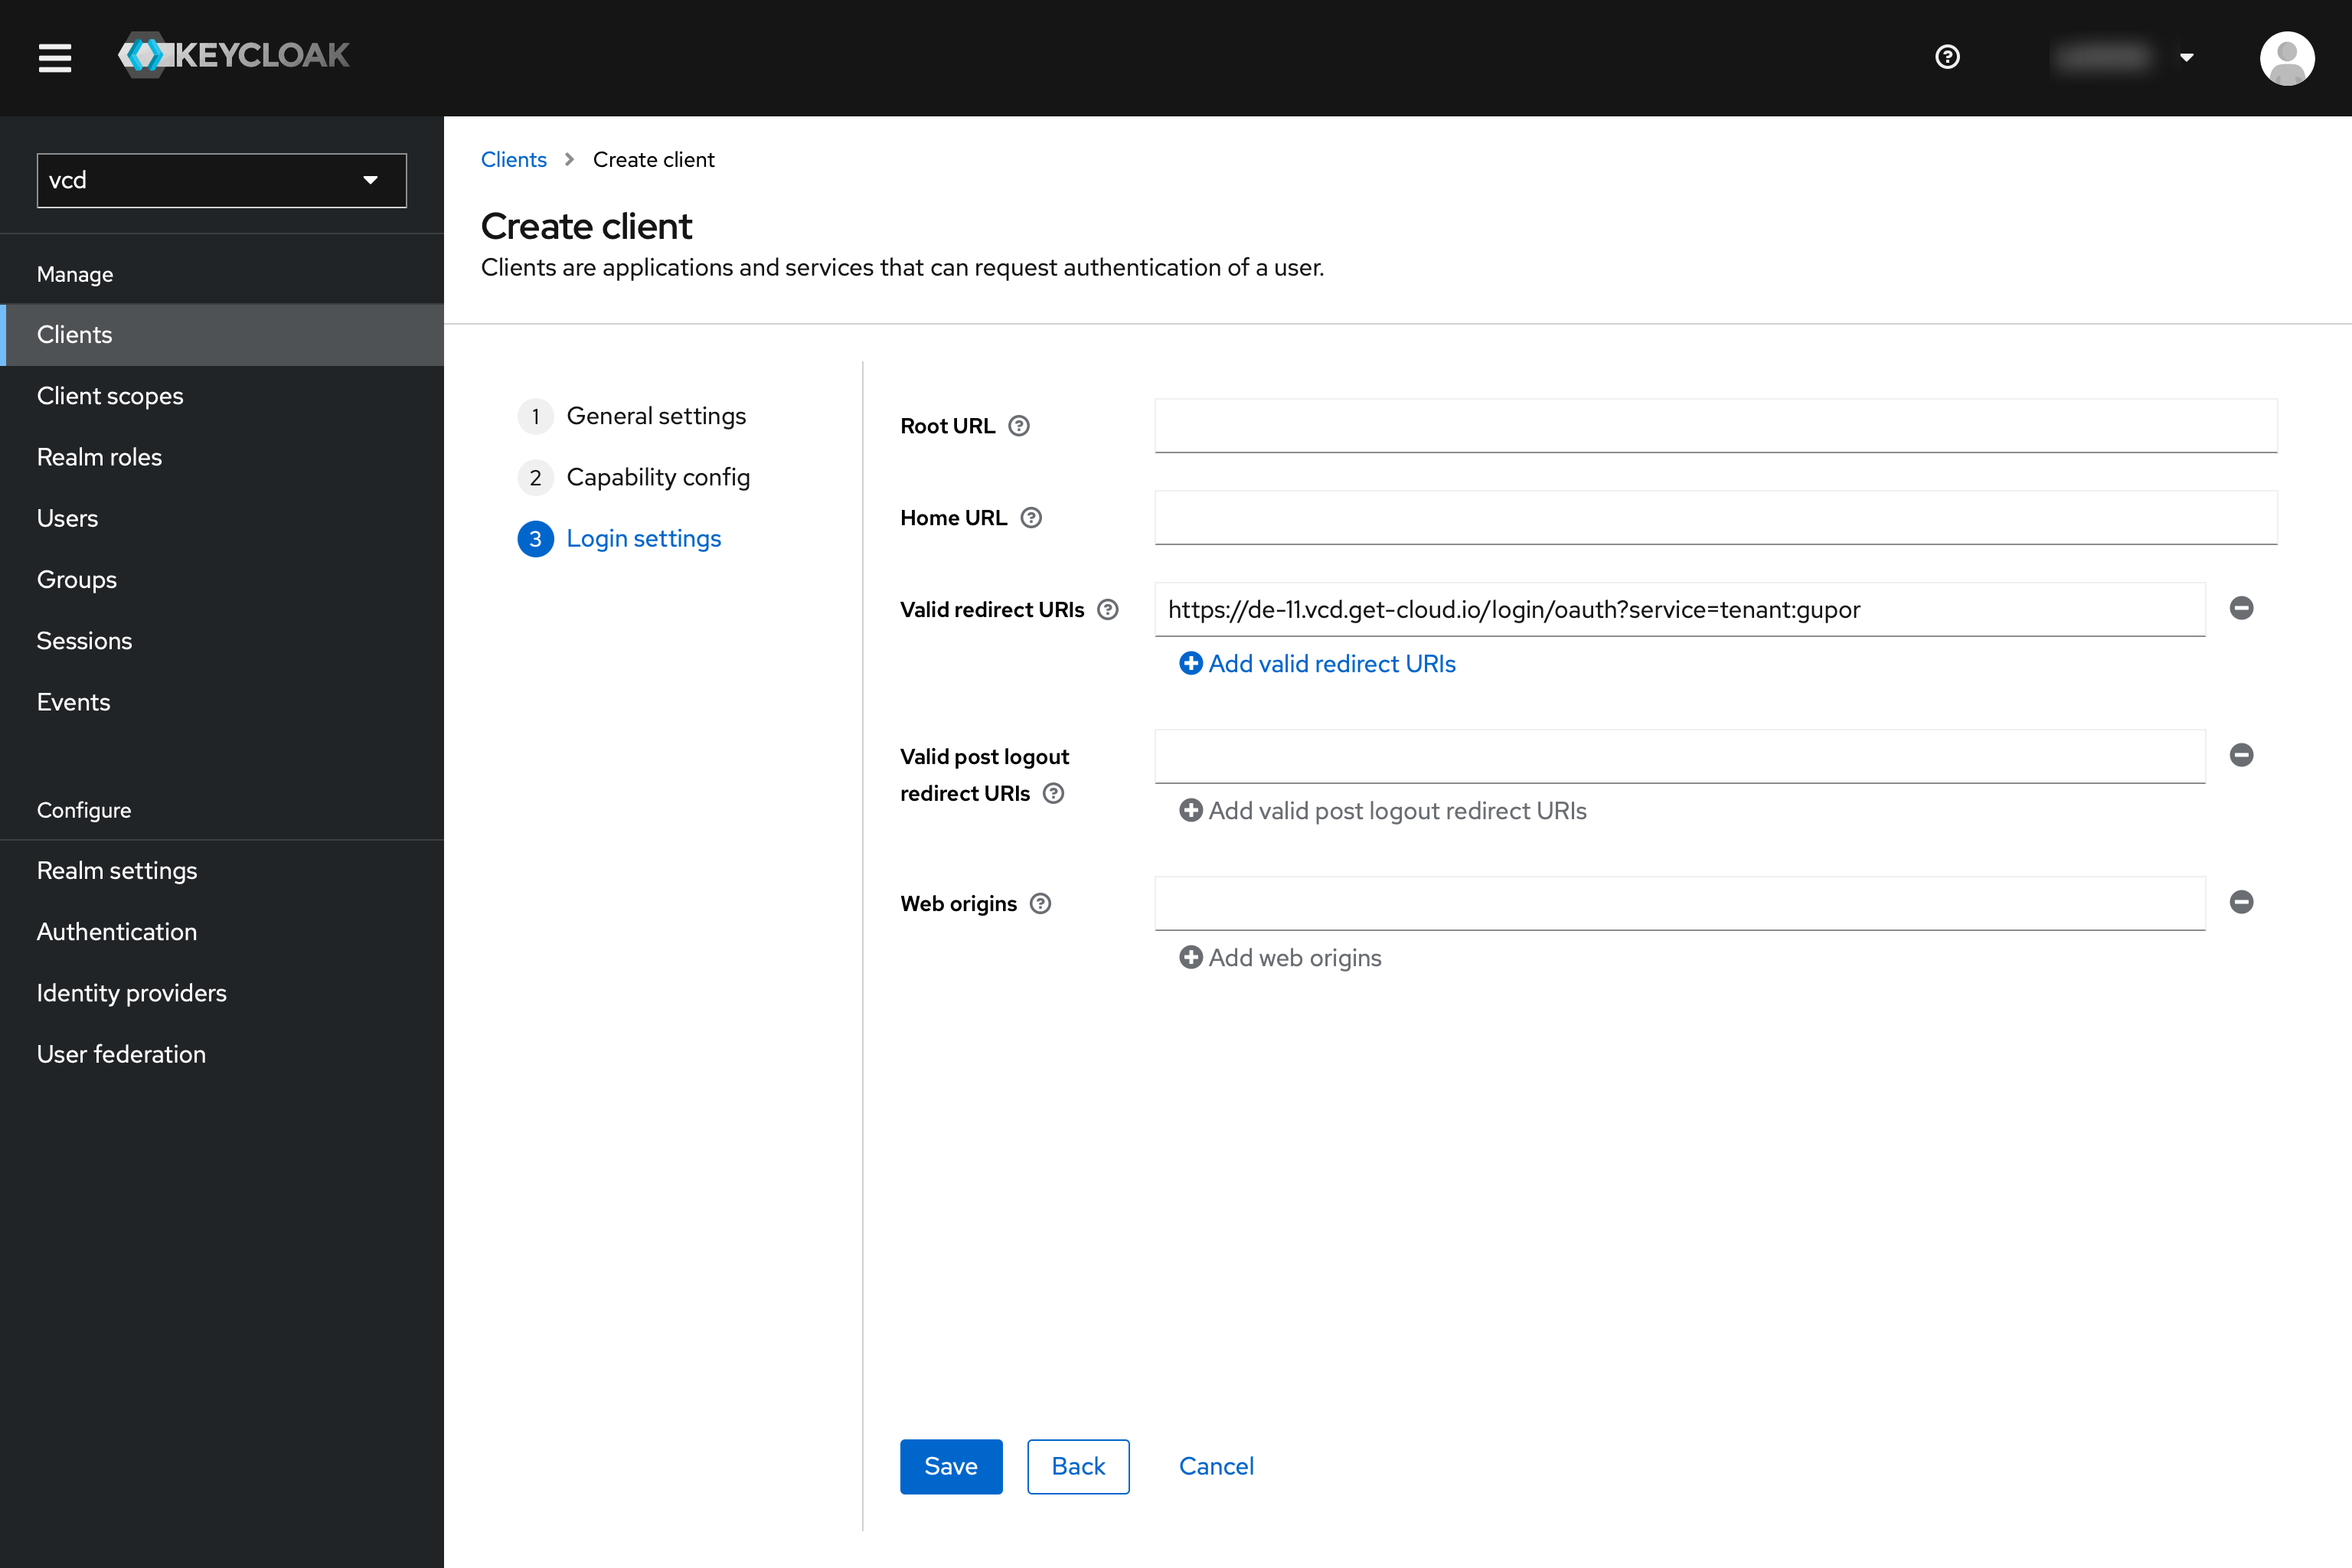
Back in the Keycloak tab/window, we now press “Next” and fill “Valid redirect URIs” with the previously received “Redirect URI for client configuration/Client Configuration Redirect URI” for our test tenant, which we then confirm with “Save”.
Step 5: pluscloud vmware
Now switch back to the browser/tab of the PCV, in the test case the de-11 and click on “Configure” in the lower centre of the main window

The following entries are made there. Where this information can be obtained can be found below:
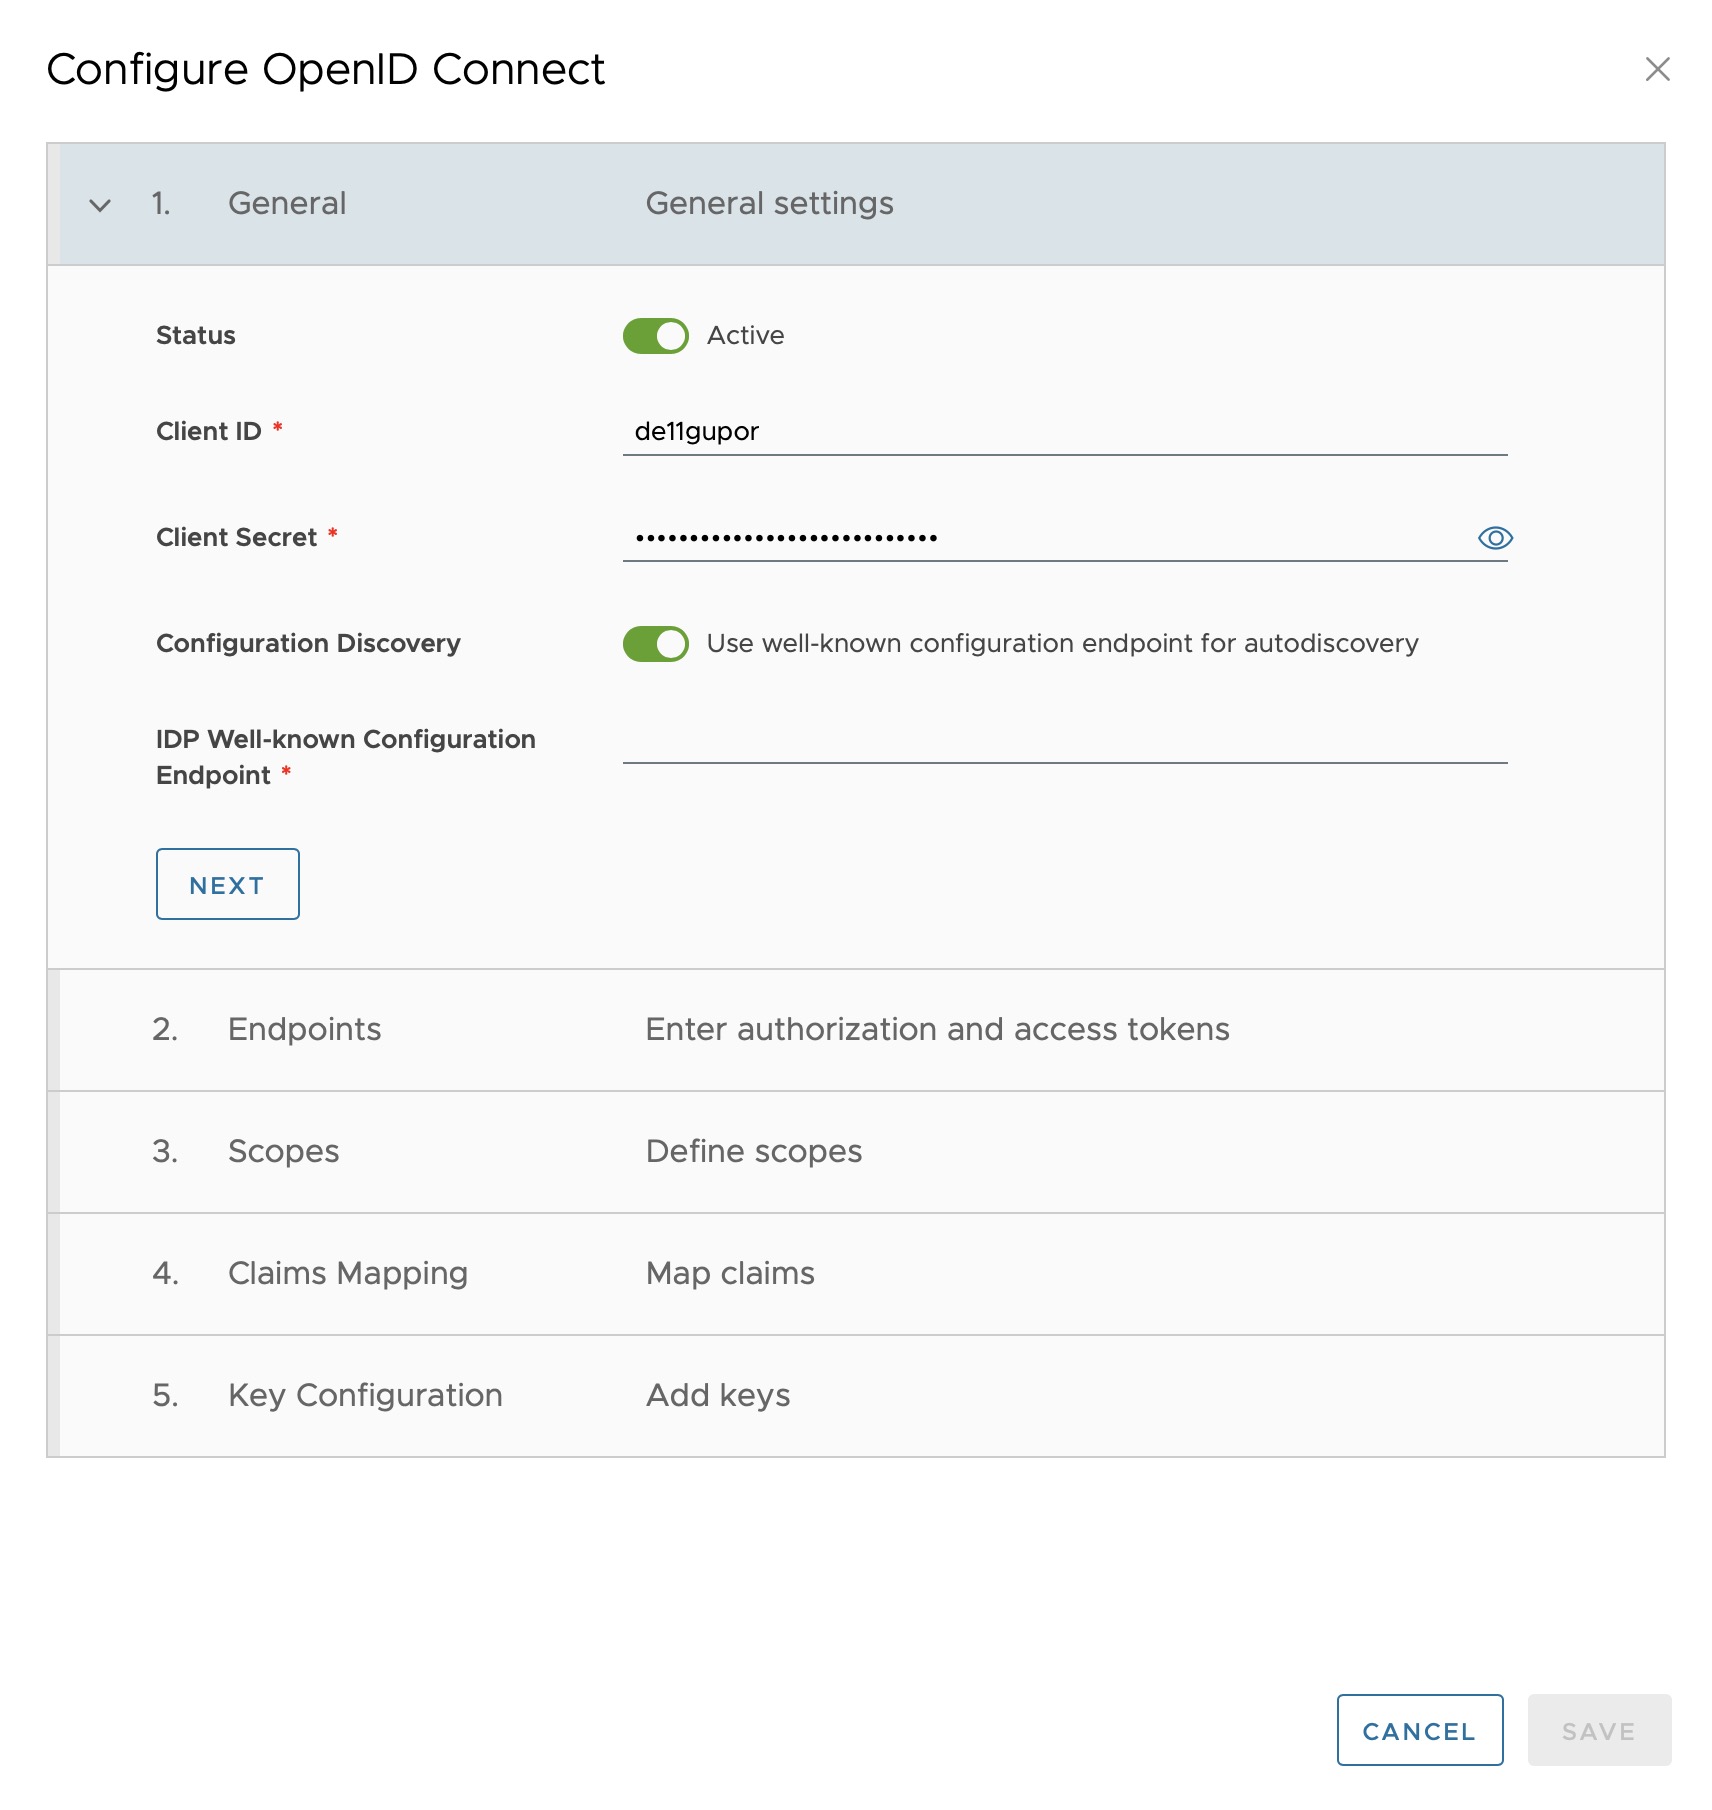
Client ID: “de11gupor” (or corresponding entry from the previous step) Secret client key: (can be found in Keycloak > Clients > “de11gupor” > Credentials > Client Secret)

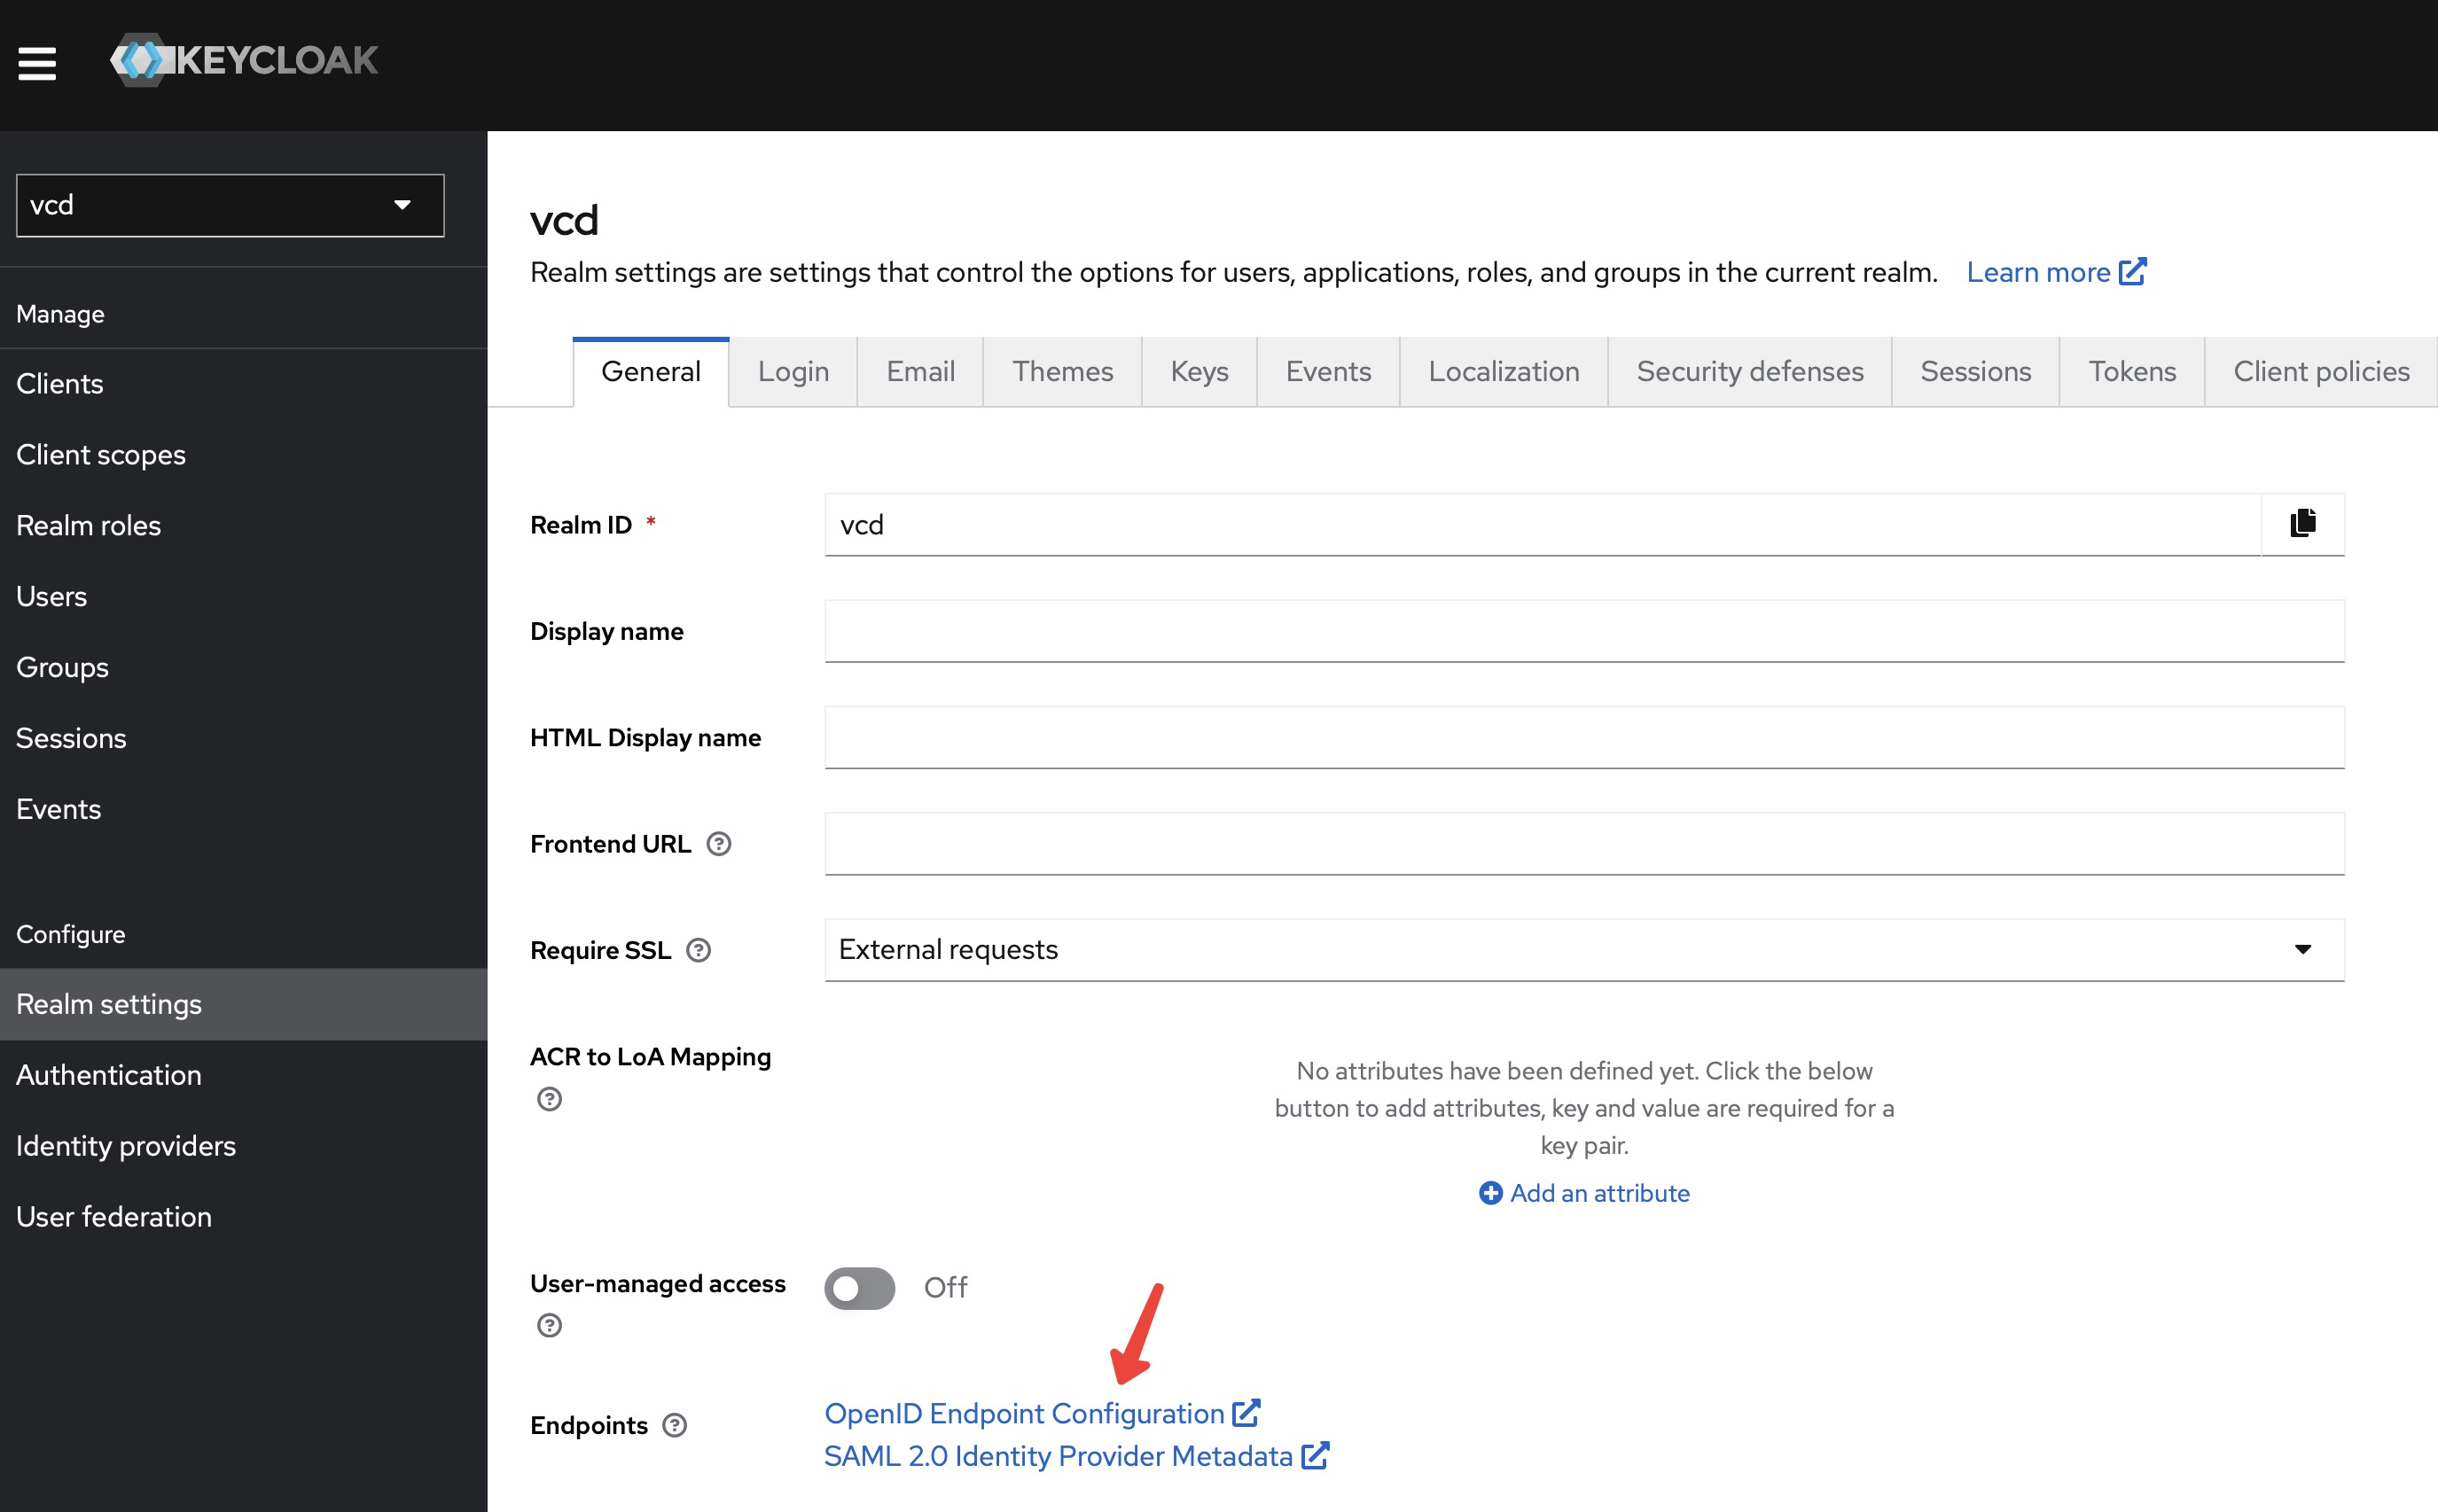
Known IDP configuration endpoint: (can be found in Keycloak > Realm settings > Endpoints > Copy link from “OpenID Endpoint Configuration”)
Confirm with continue to “4. Claims Mapping” and change the subject to “email”!
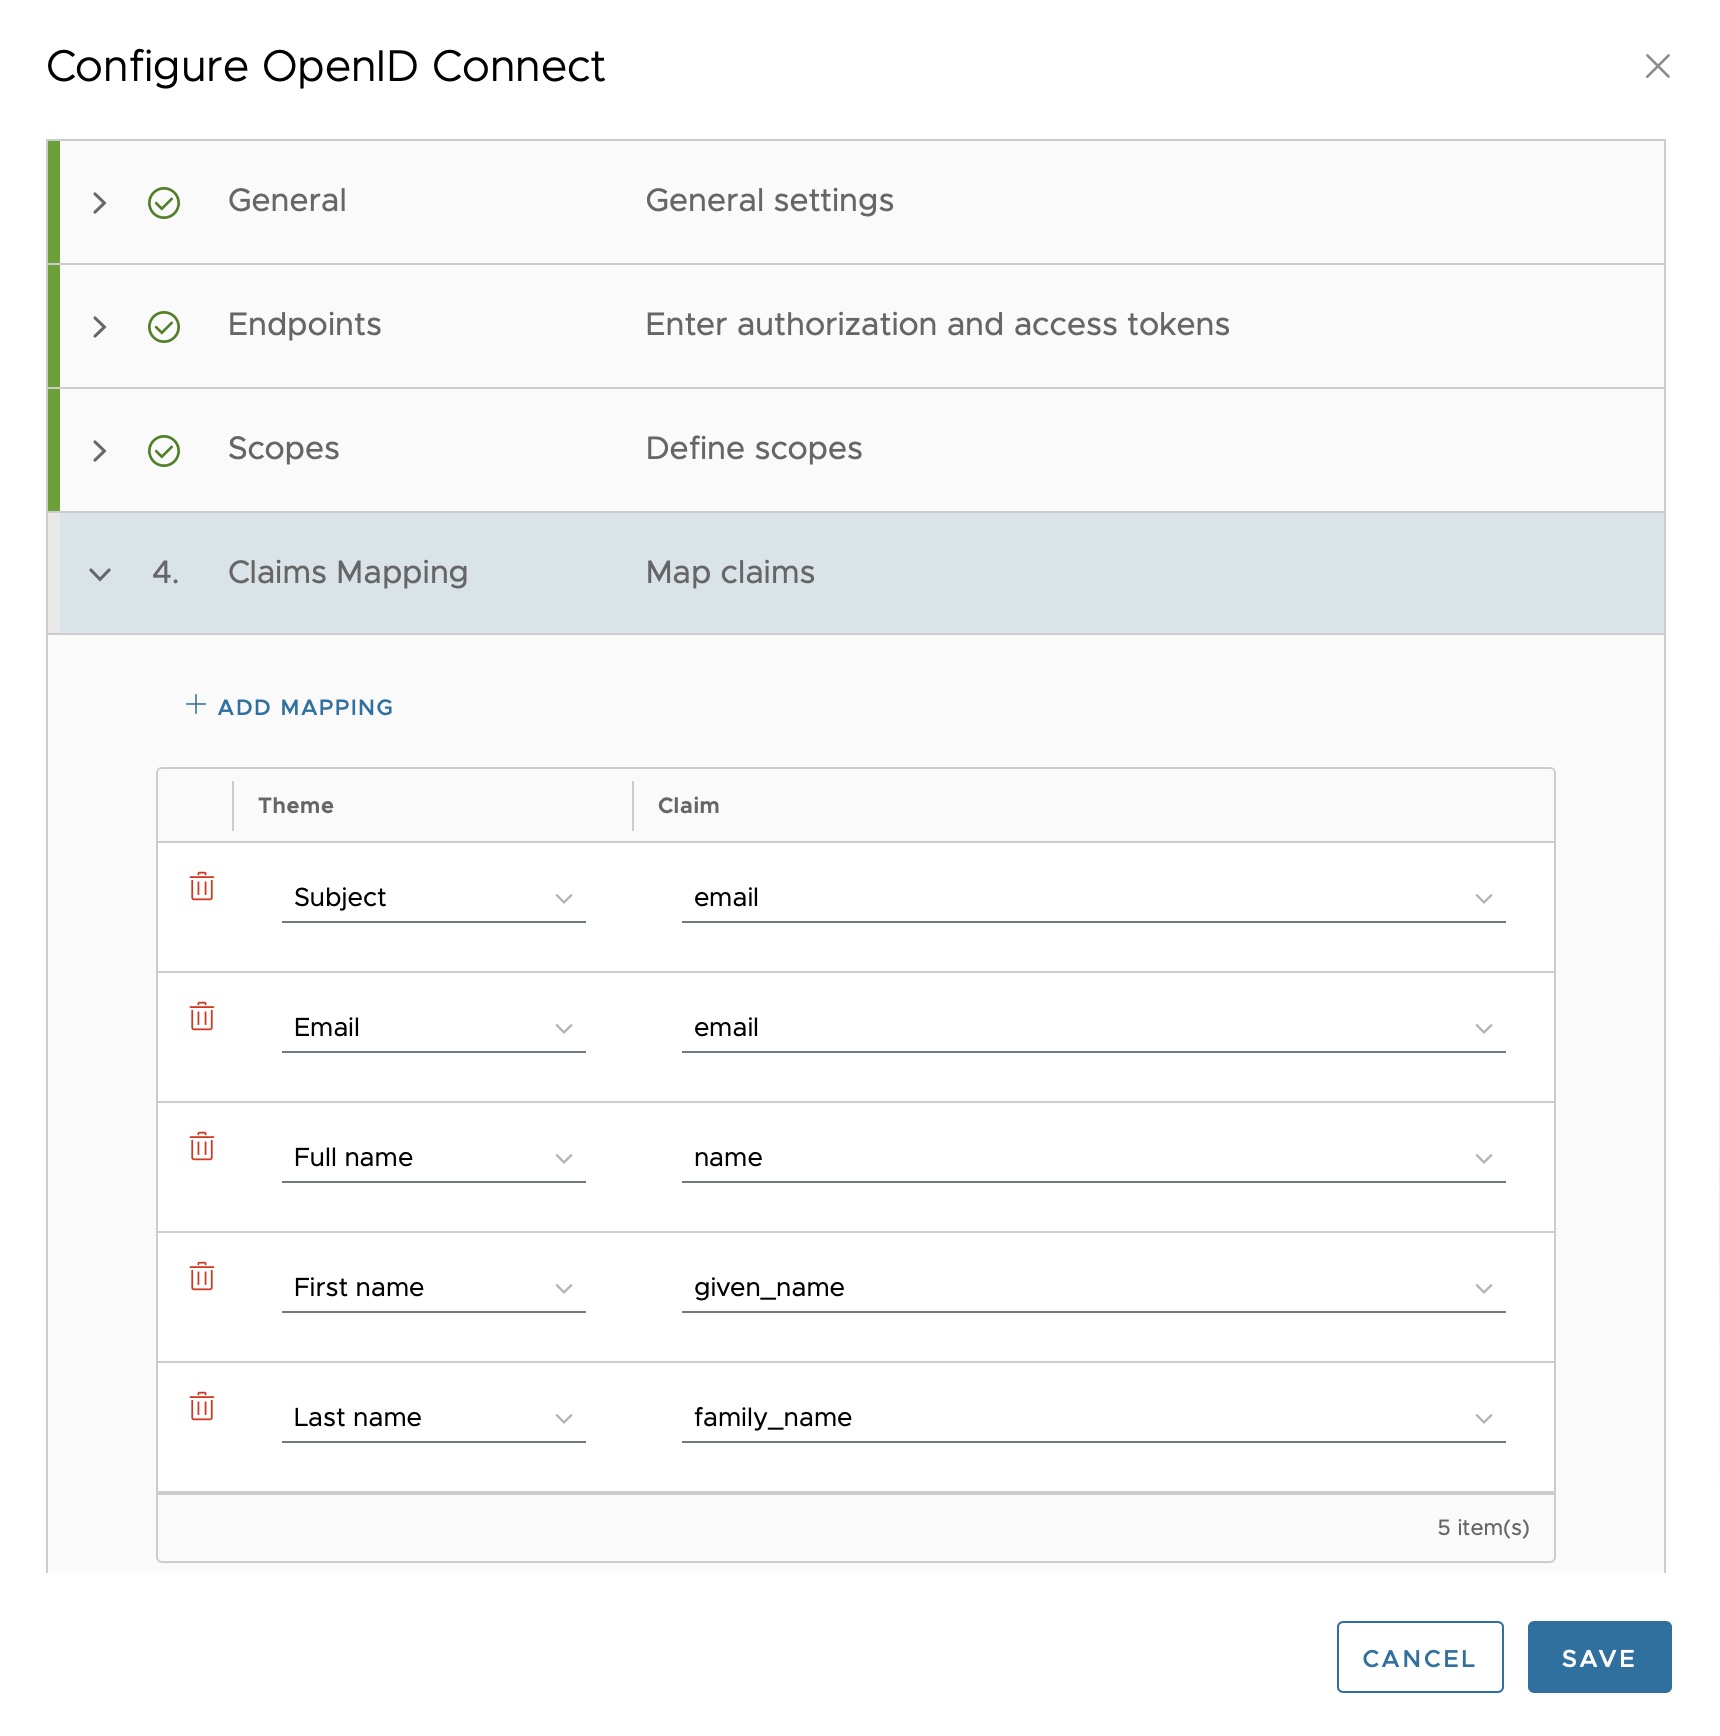
and confirm with “Next”.
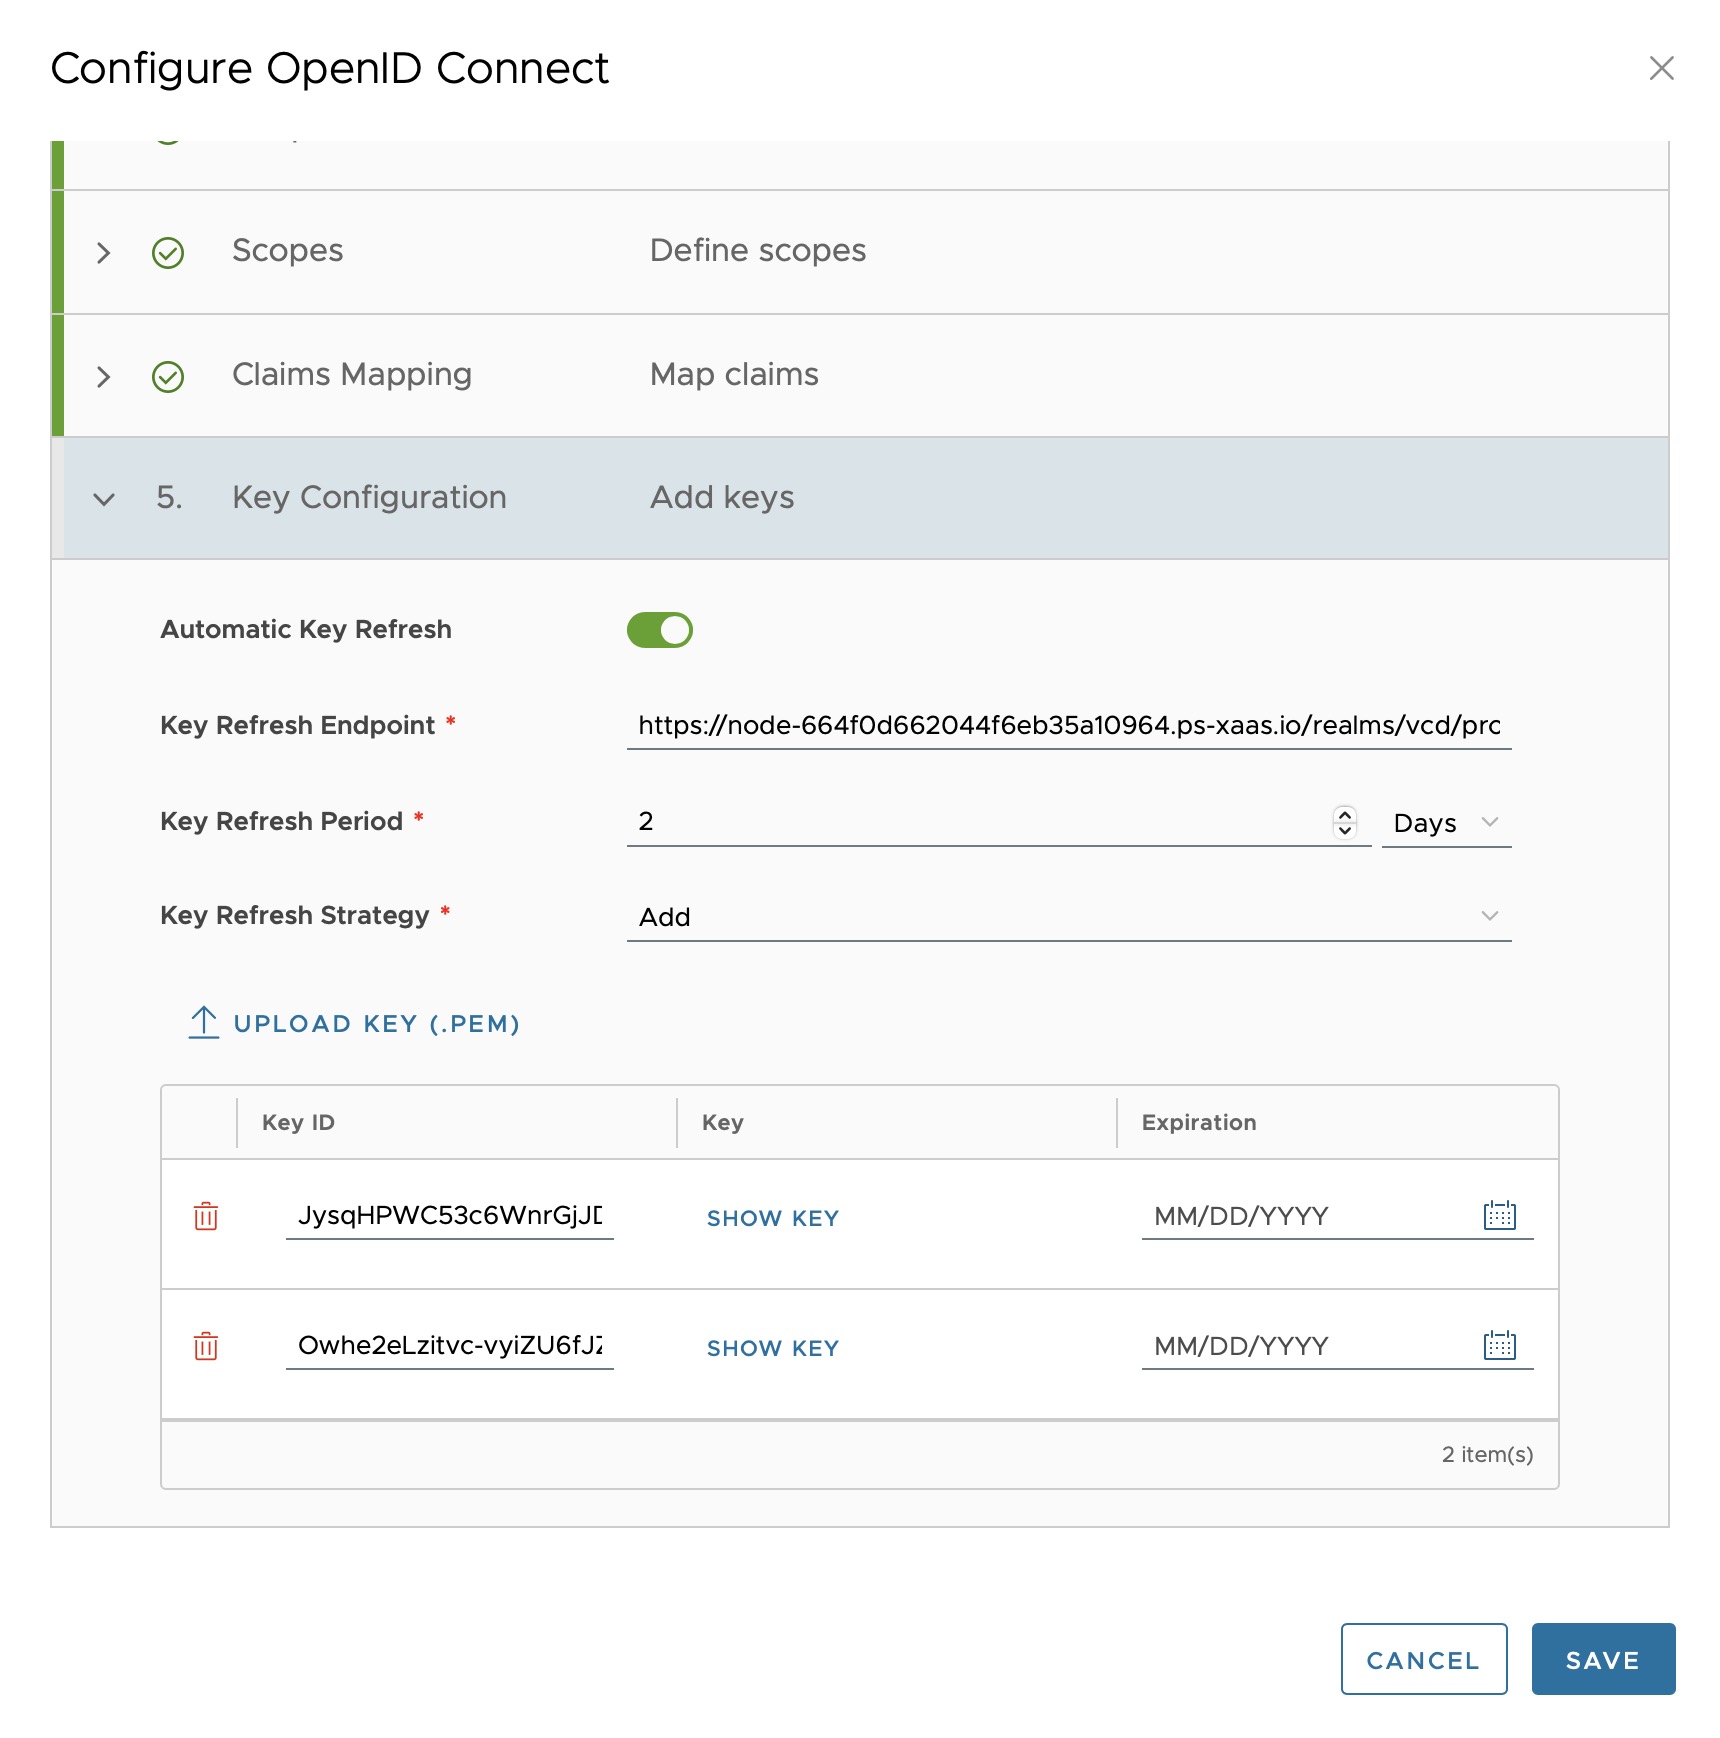
Set automatic key configuration to 2 days with the strategy “Add” and finish with “Save”.
Step 6: Keycloak
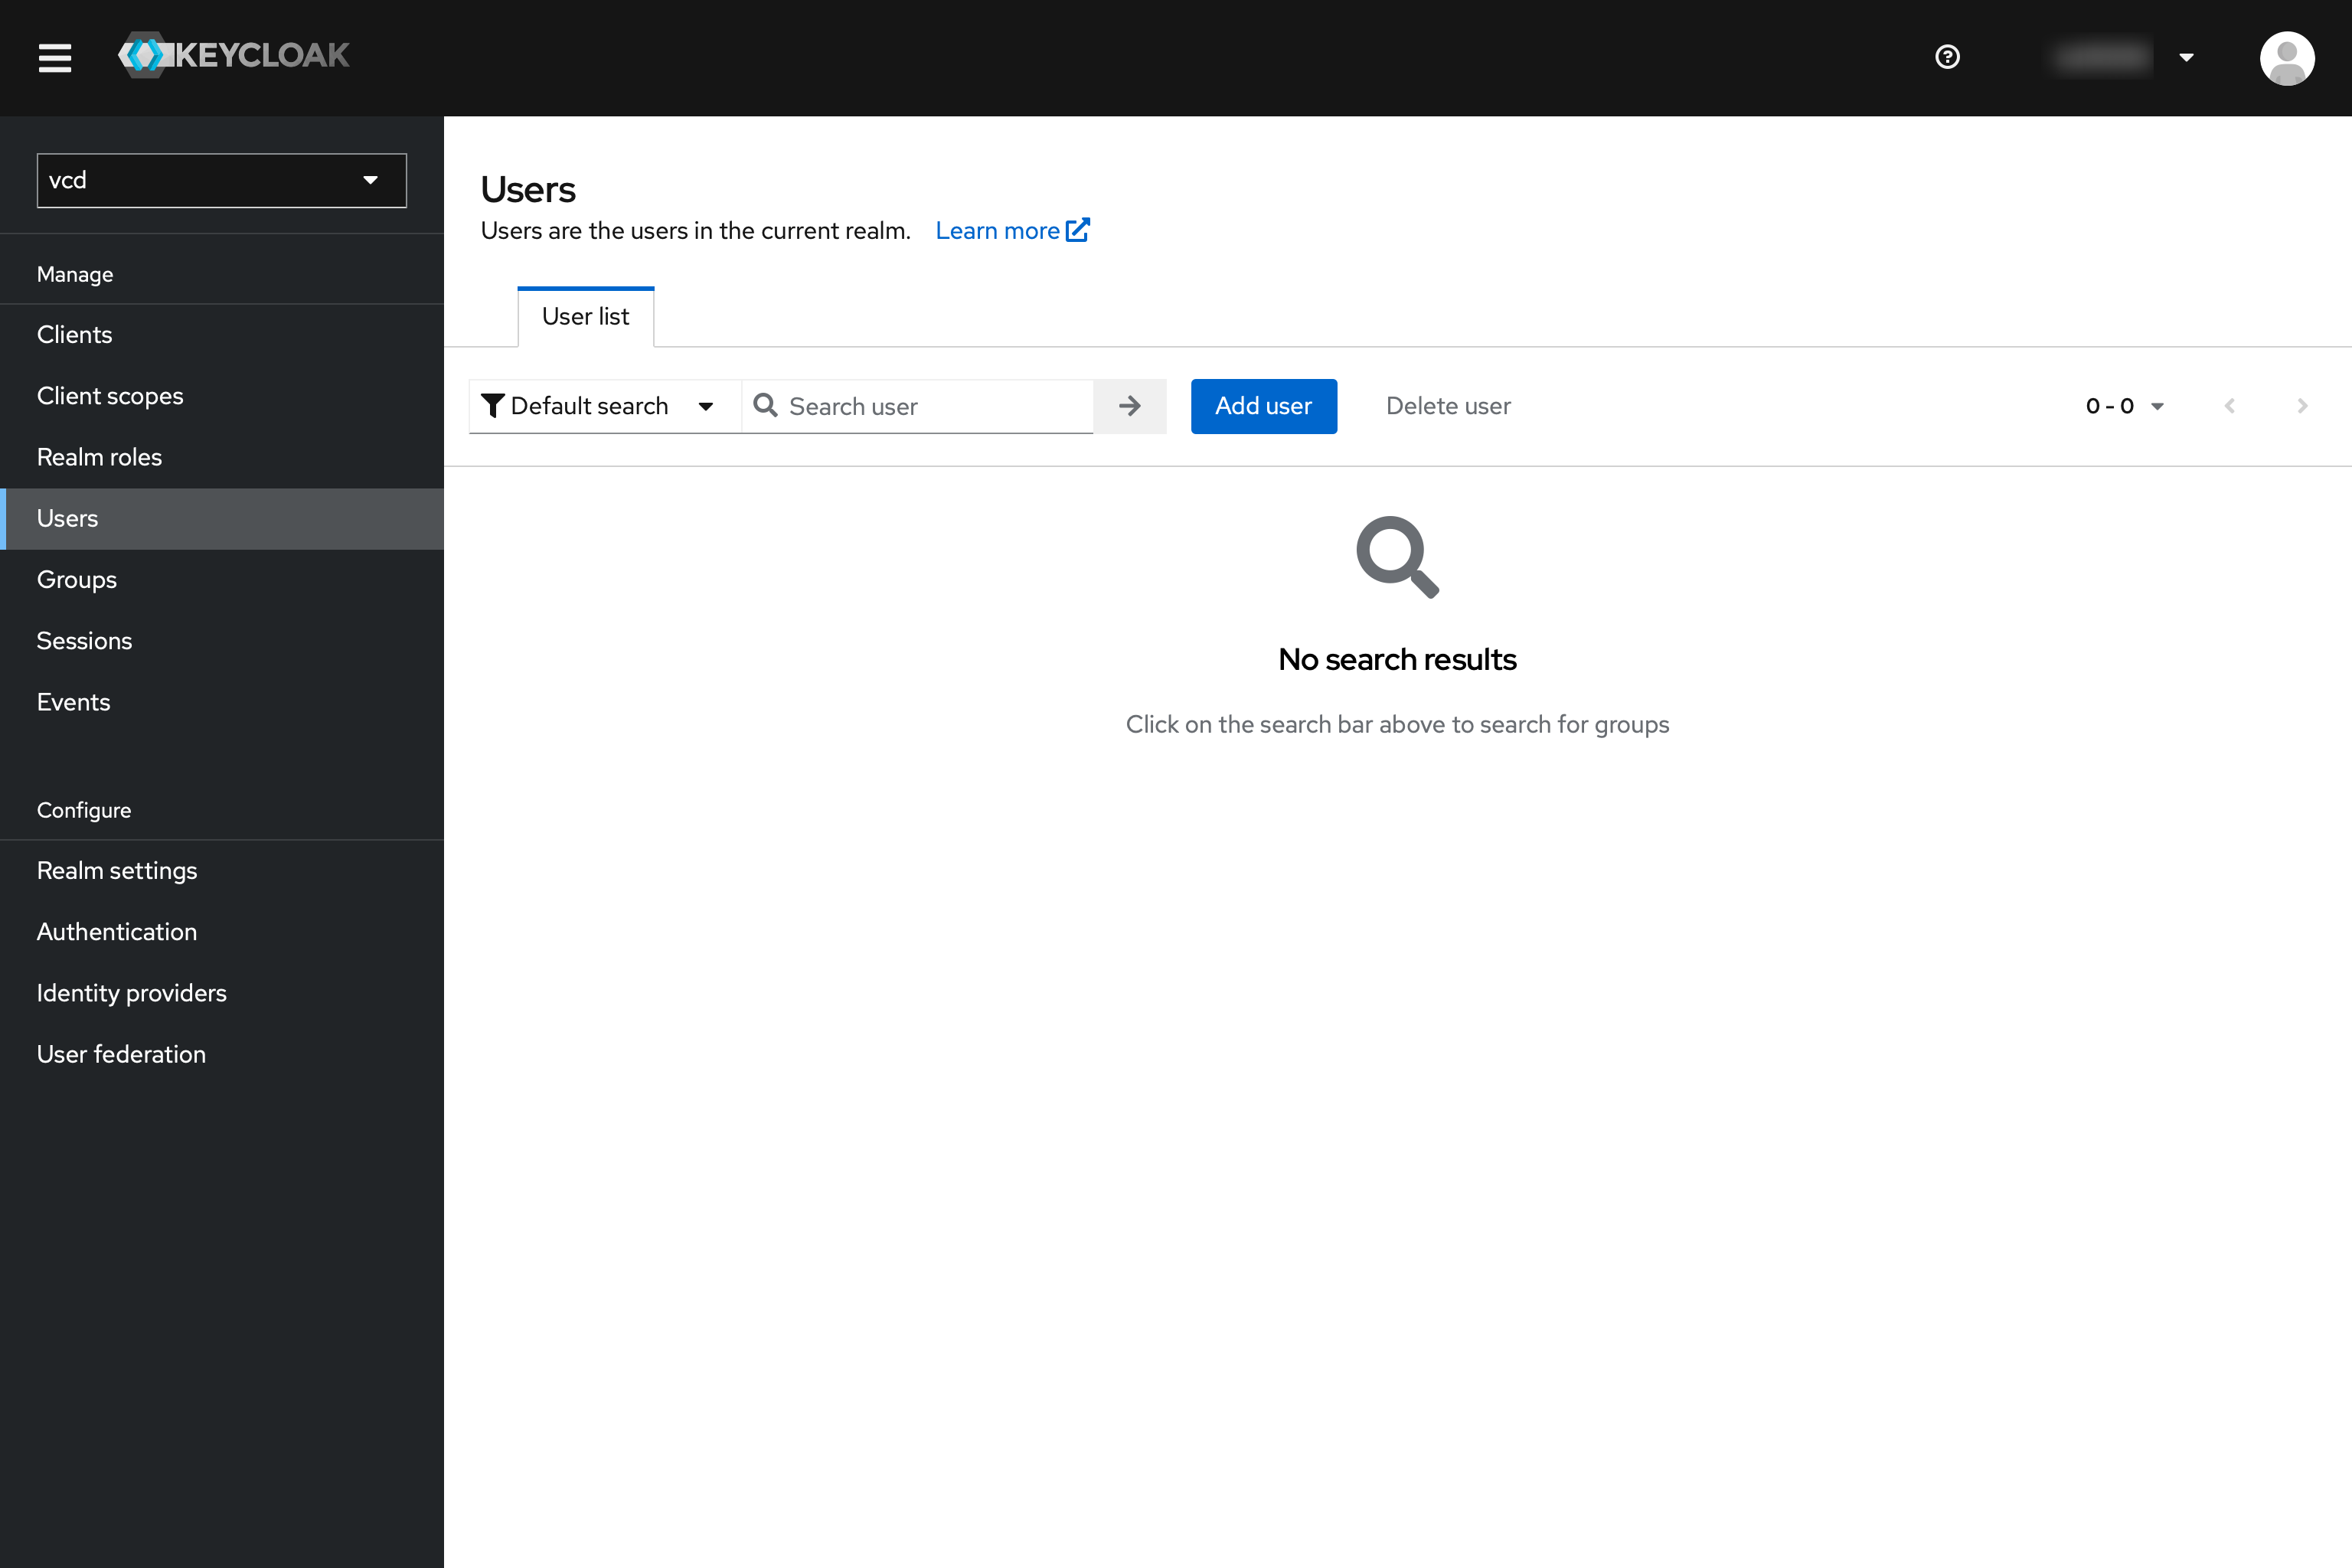
Switch back to Keycloak and create a user there: To do this, go to “Users” and press the “Add user” button
All fields must be filled in accordingly:
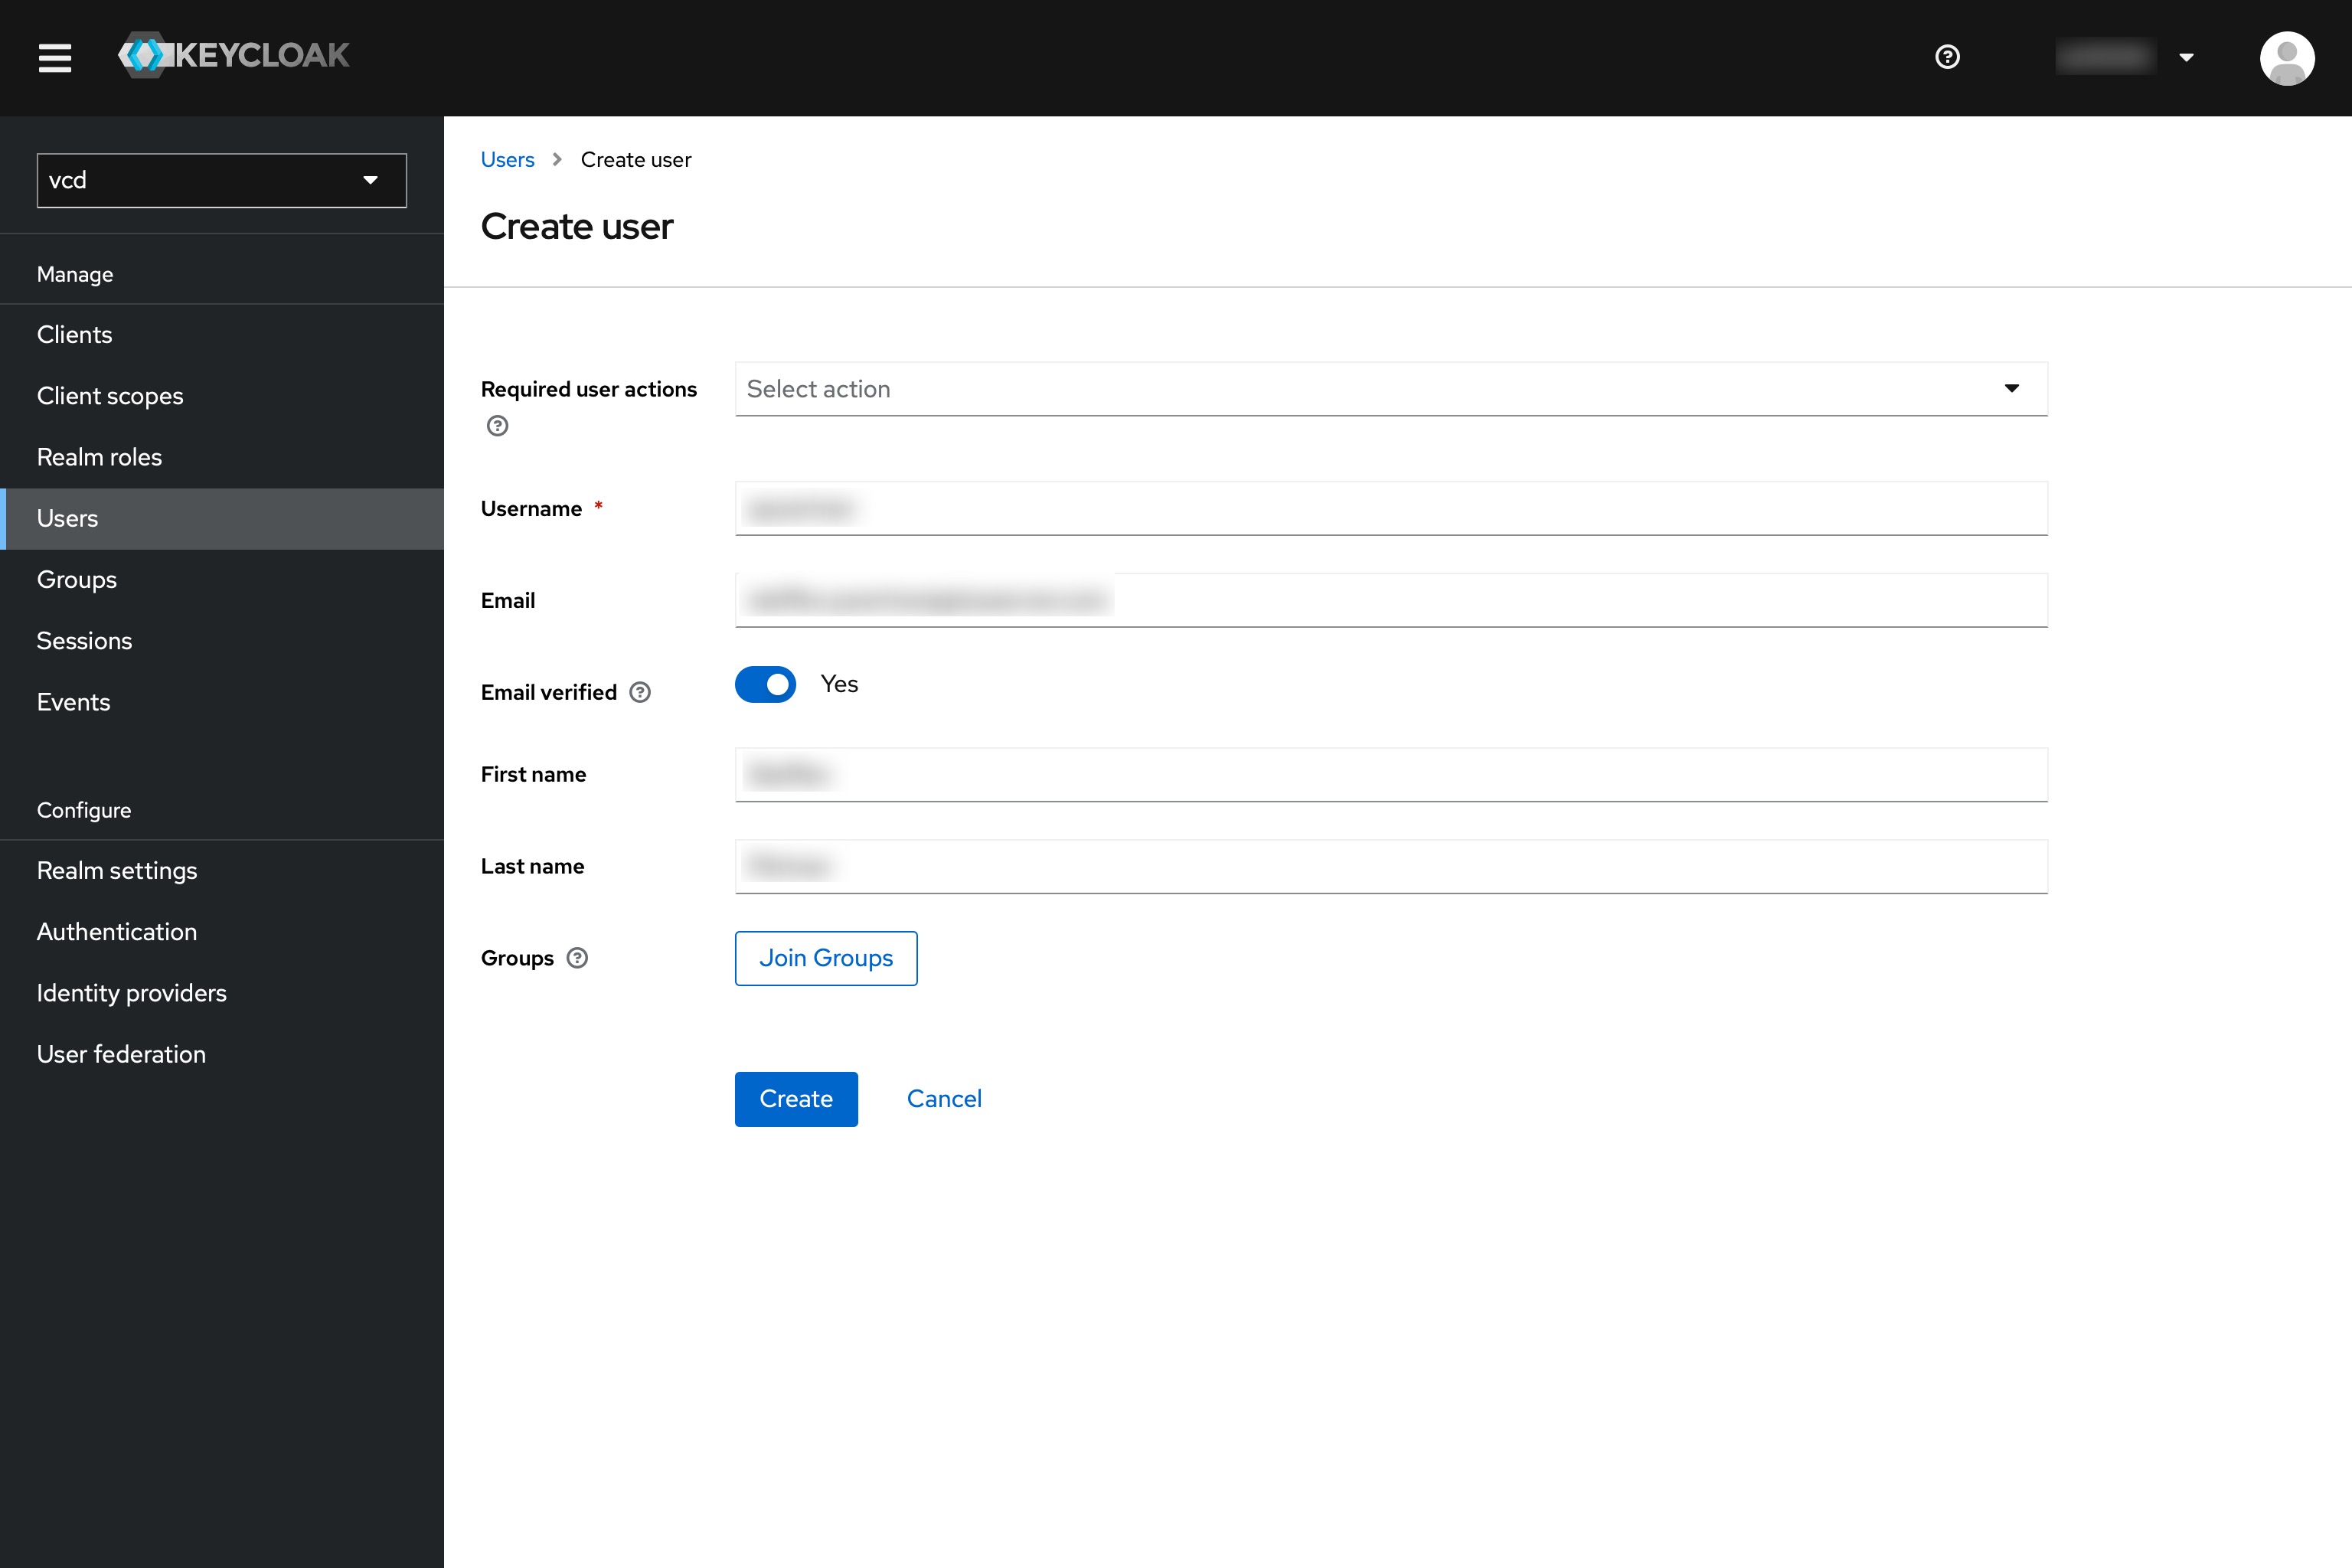
Then press “Create”.
Select the “Credentials” tab and click on “Set password”.
Define a password:
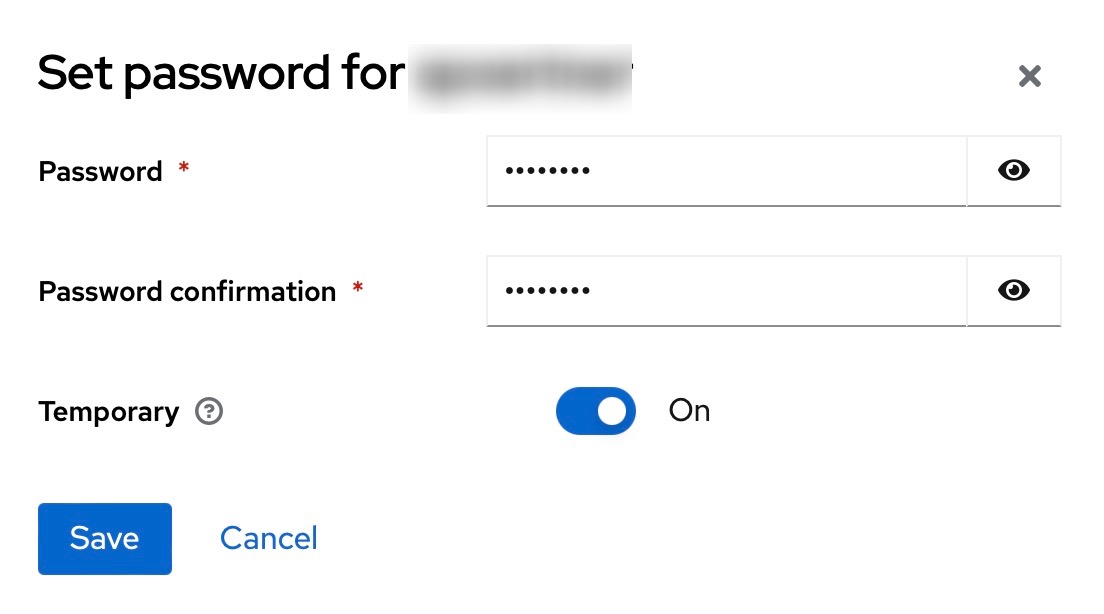
Confirm with “Save”.
Activate 2FA for the realm: Also click on “Authentication” in the menu in Keycloak.
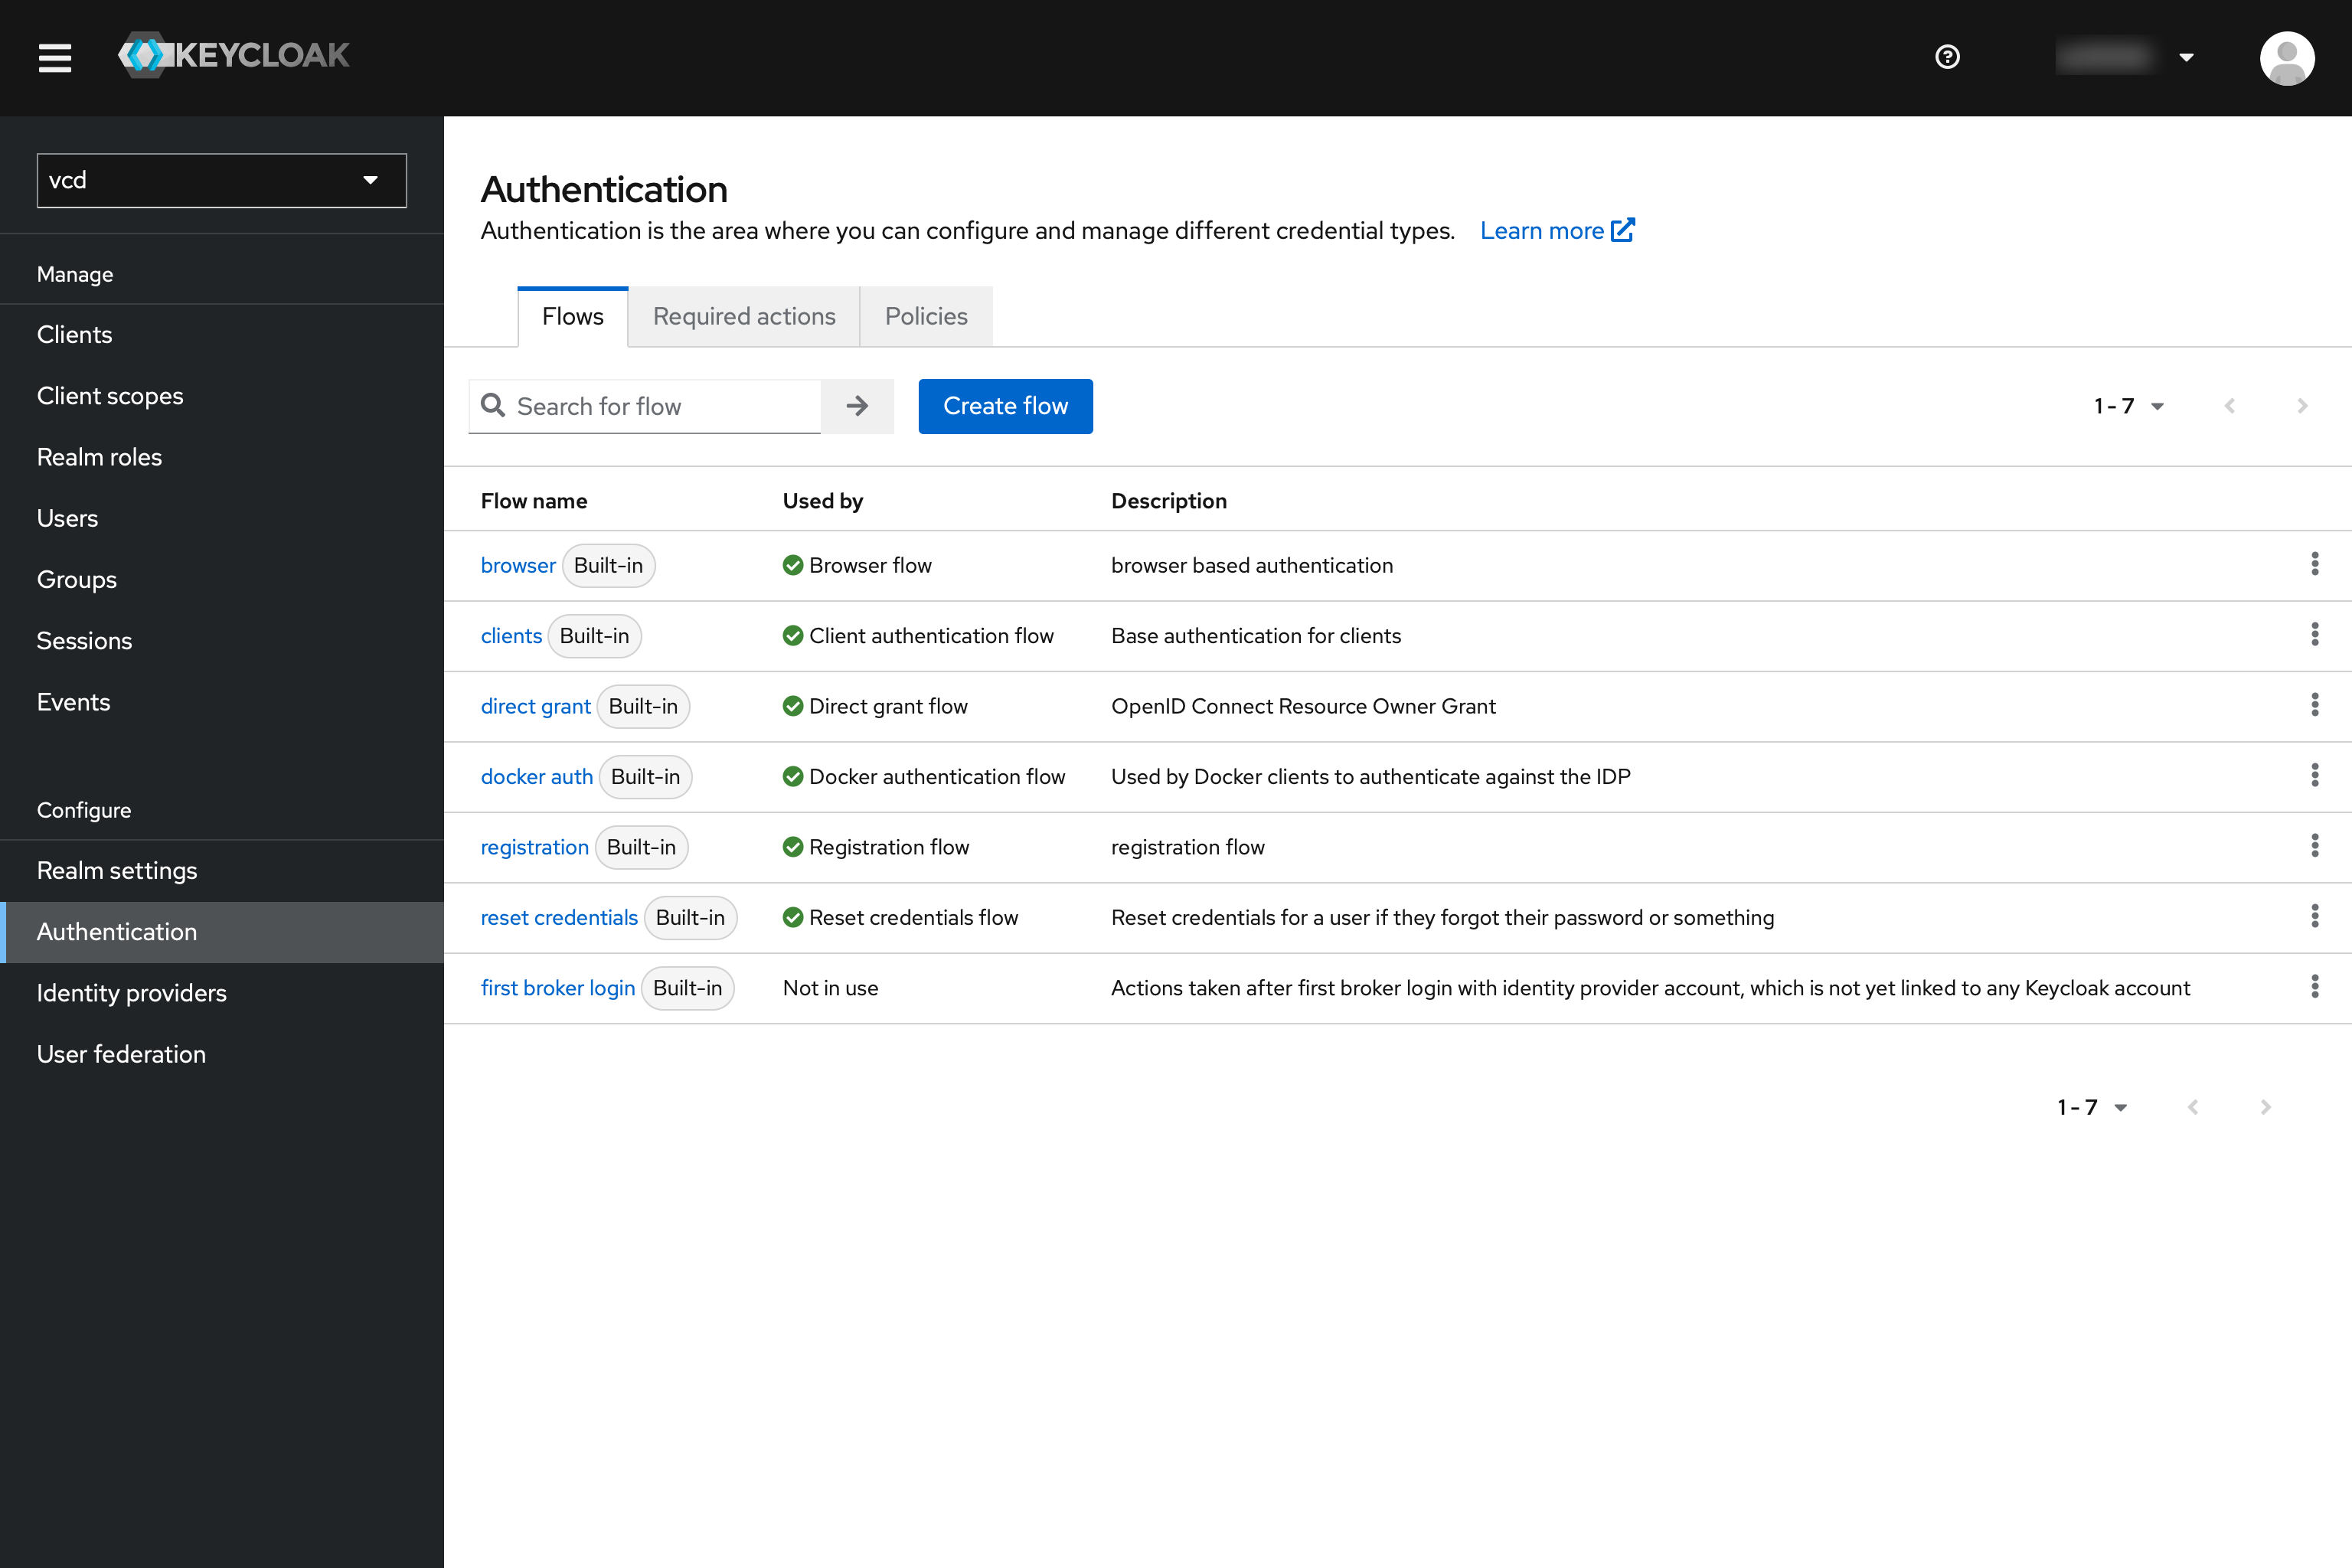
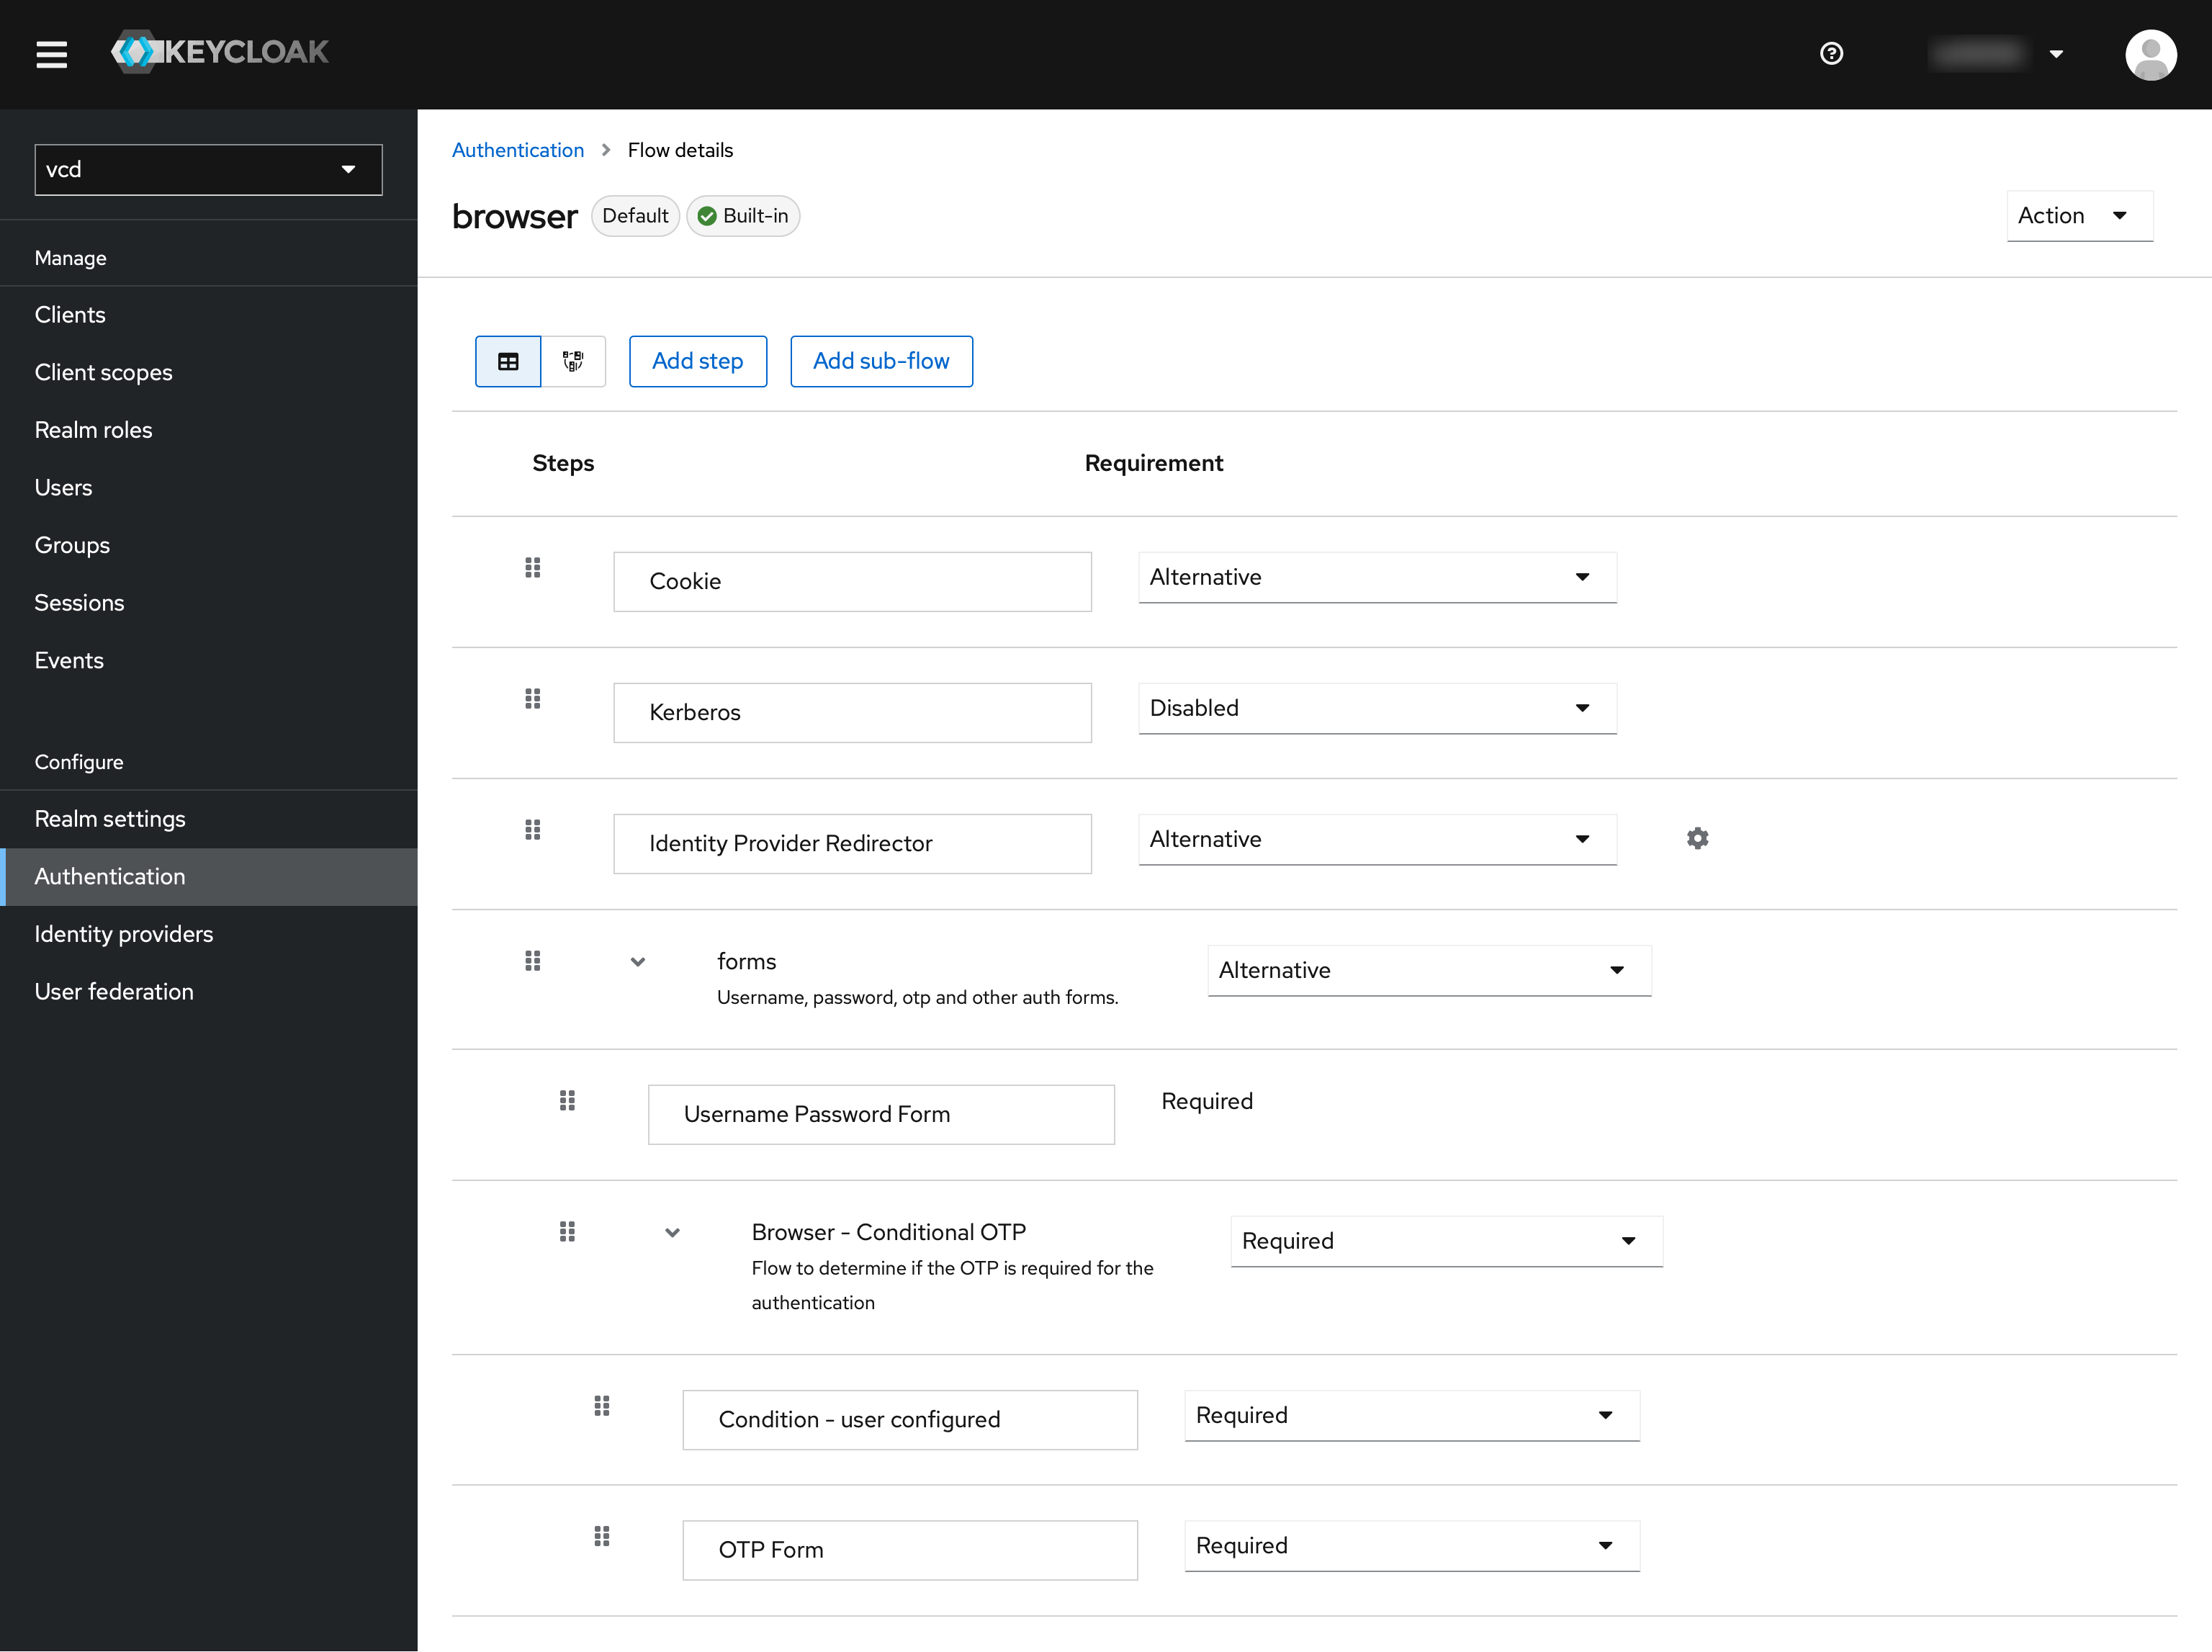
There go to “browser”. This is conveniently the default flow for the clients. There, “Browser - Conditional OTP” should be set from Conditional to “Required”.
Step 7: pluscloud vmware
Switch to PCV (in this test case) de-11 under Administration > Users > Import users:
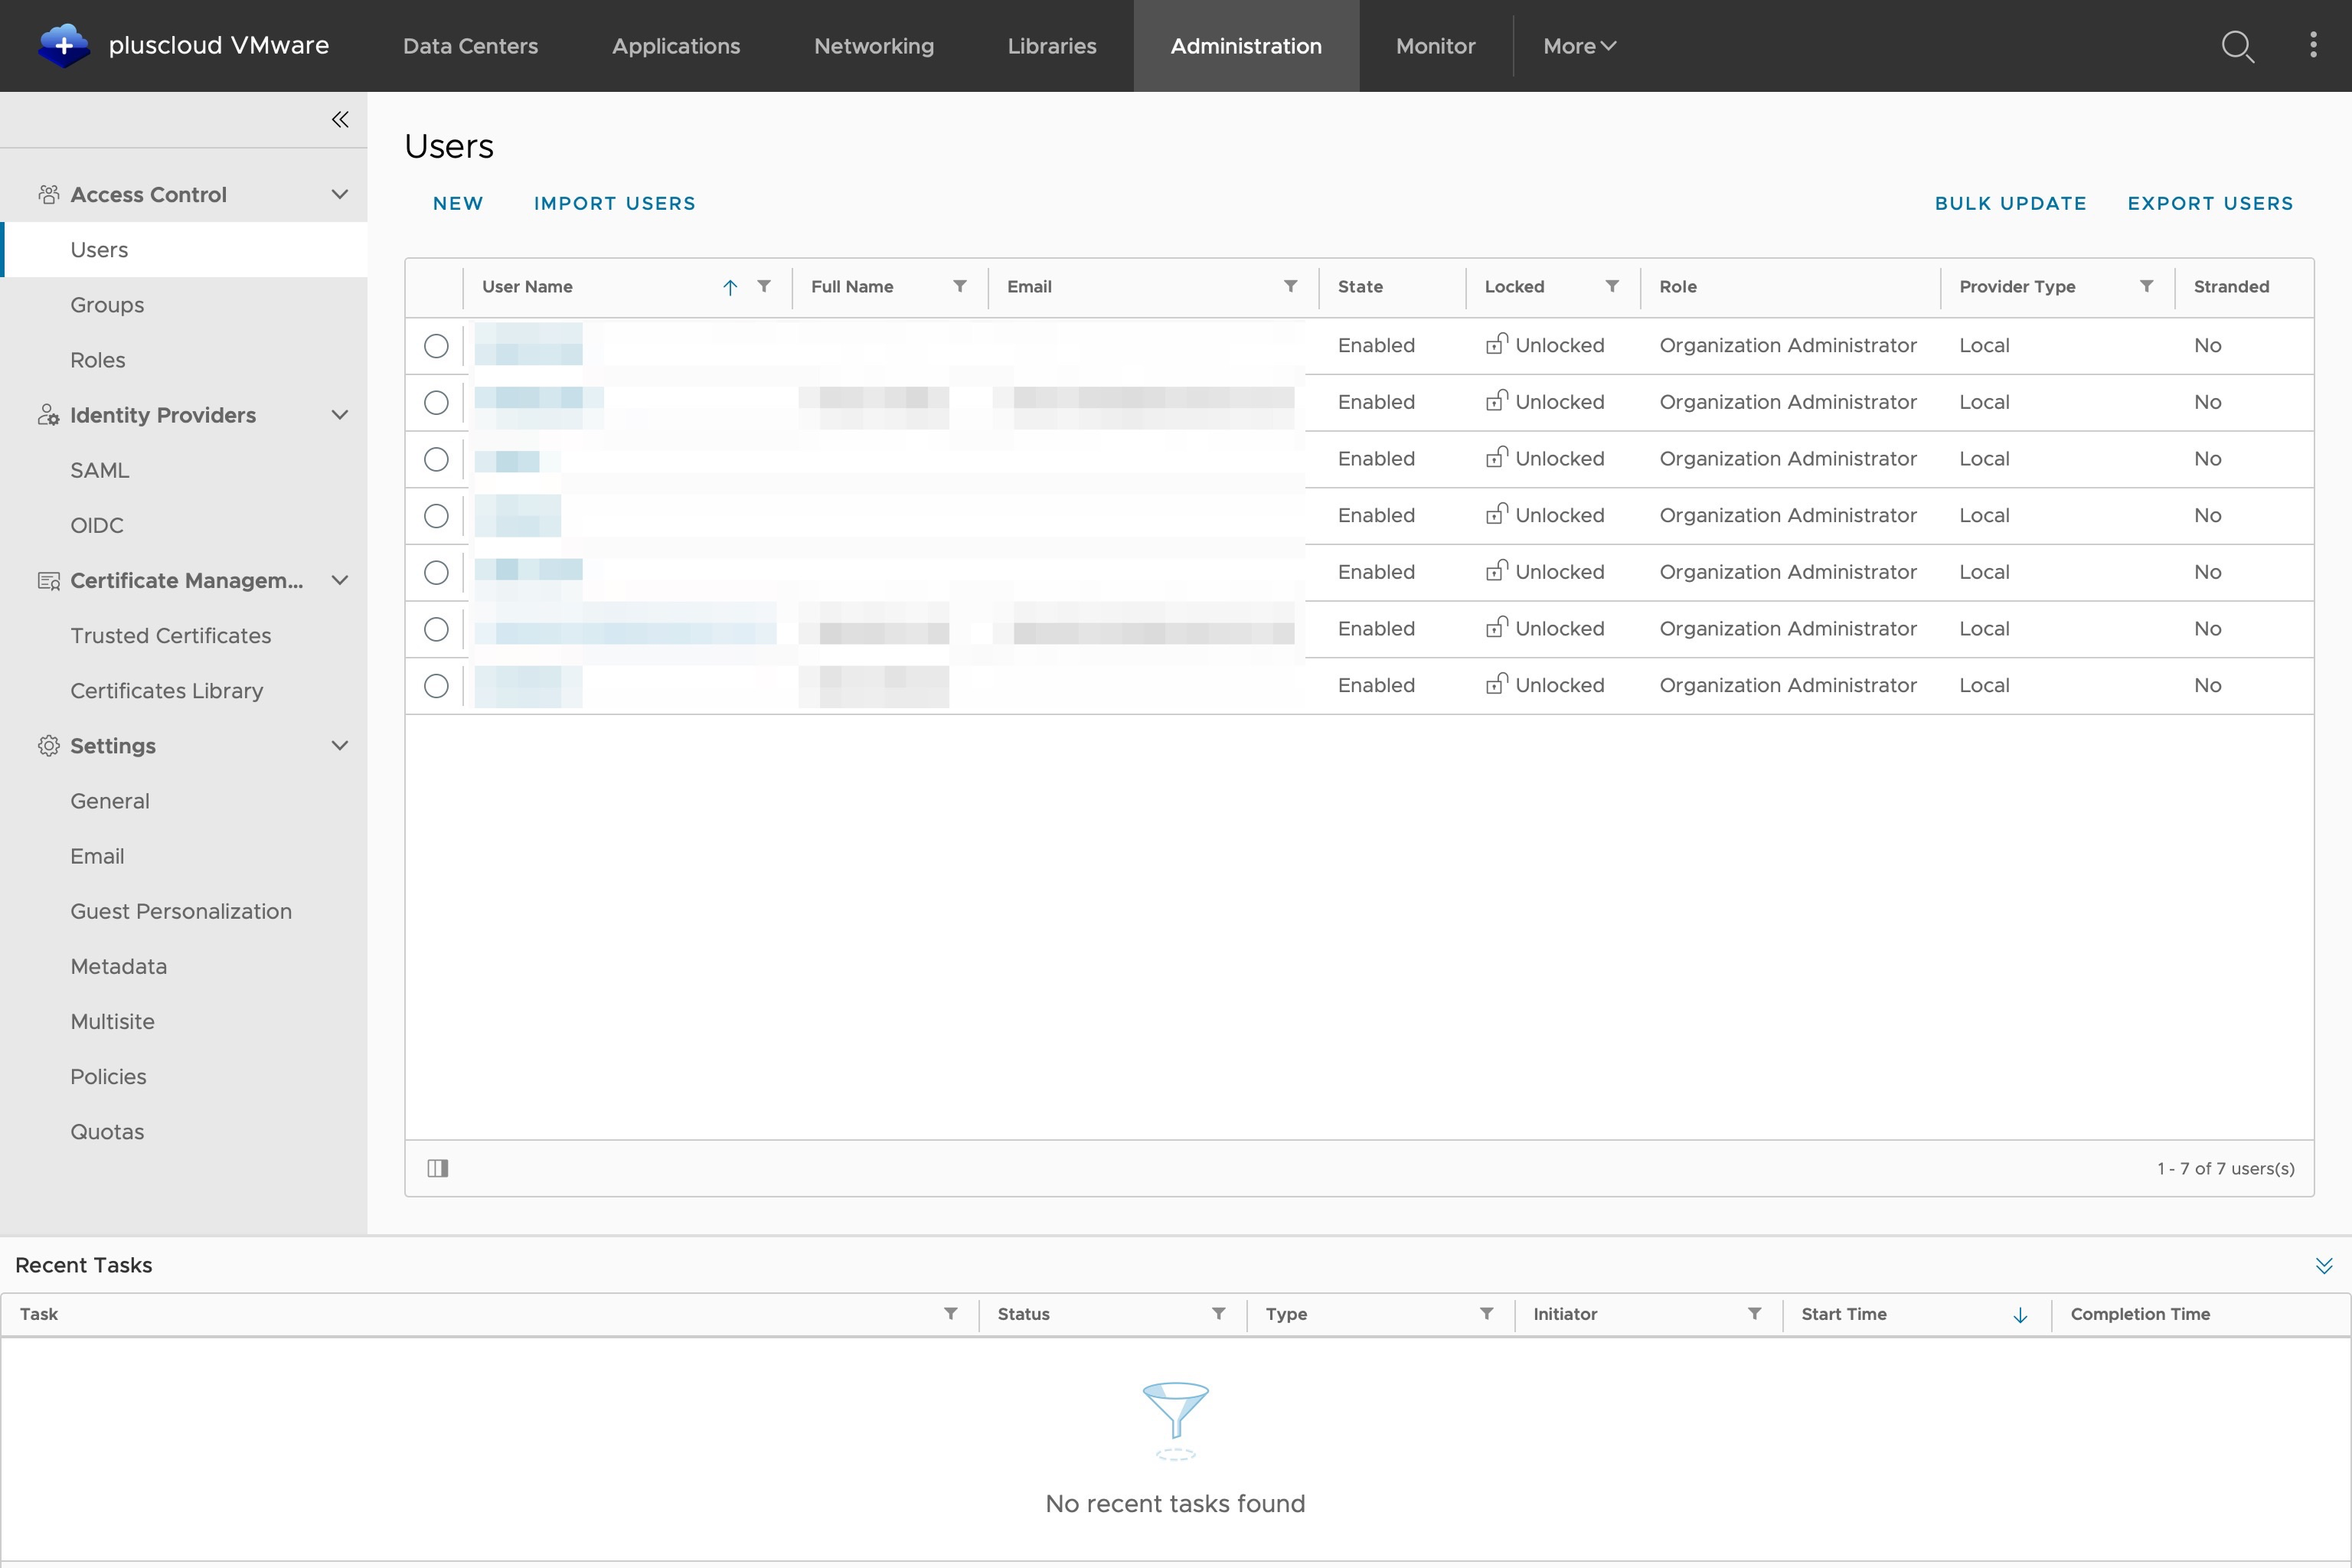
Enter the e-mail address of the previously created user and assign a role. Once you have made your entries, close the dialogue with “Save”.
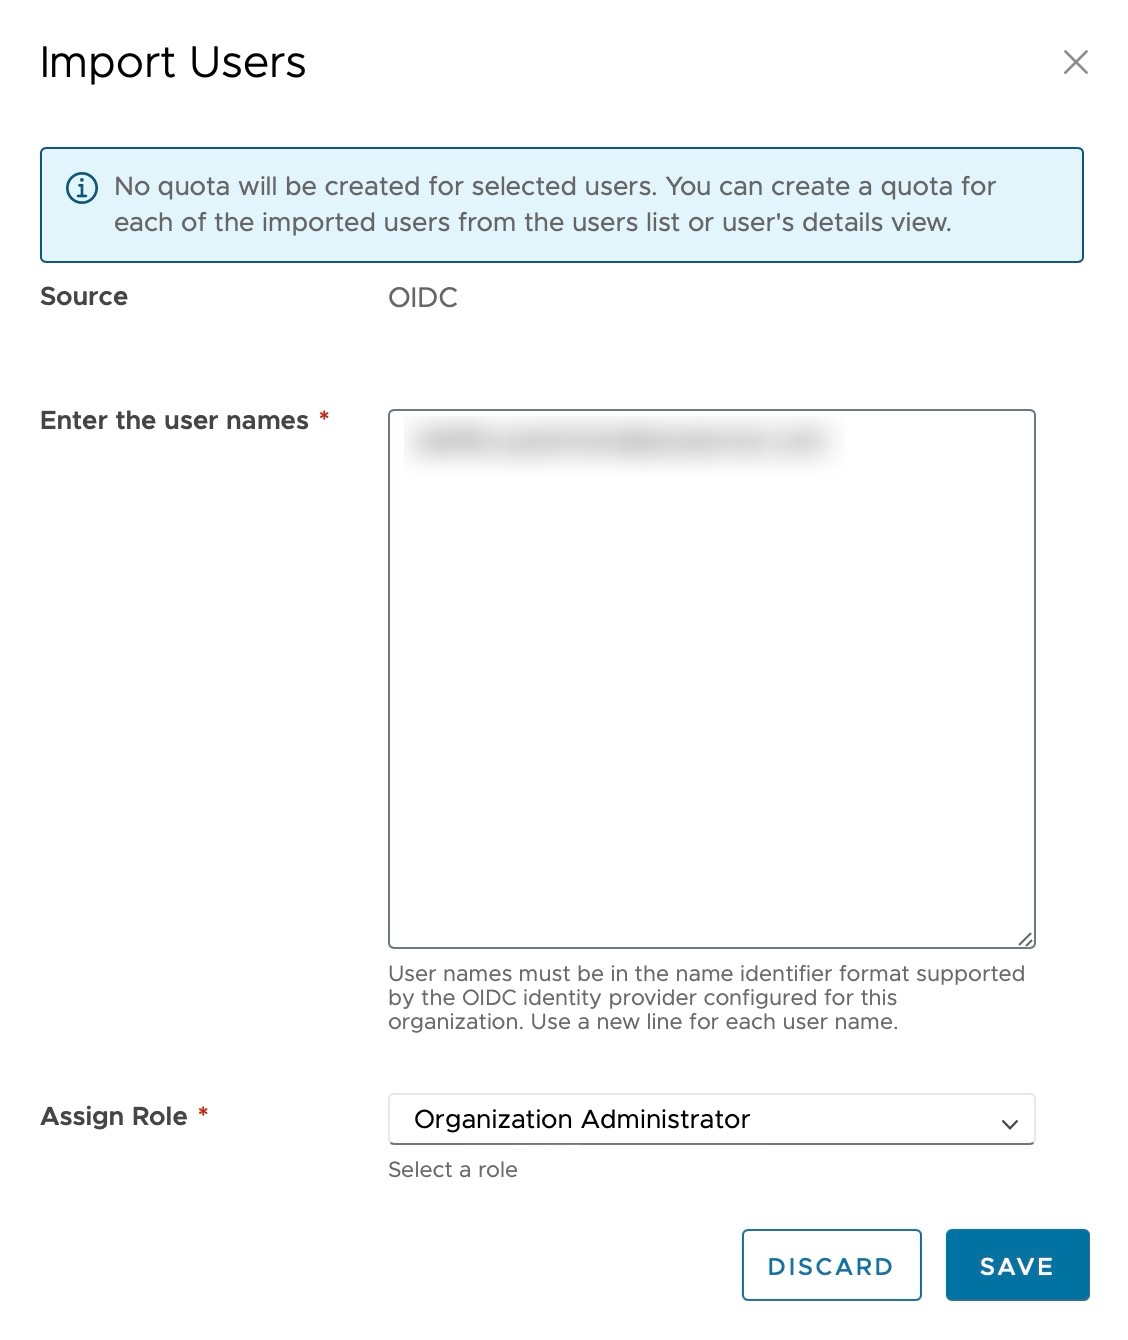
- Source: OIDC
- Enter user: user.name@domain.de
- Assign role: Organisation Adminsitrator
Step 8: Test login
Open a private tab in the browser (to avoid “contamination” by existing session cookies) and call up the vcd URL again, in this particular test case: https://de-11.vcd.get-/tenant/gupor
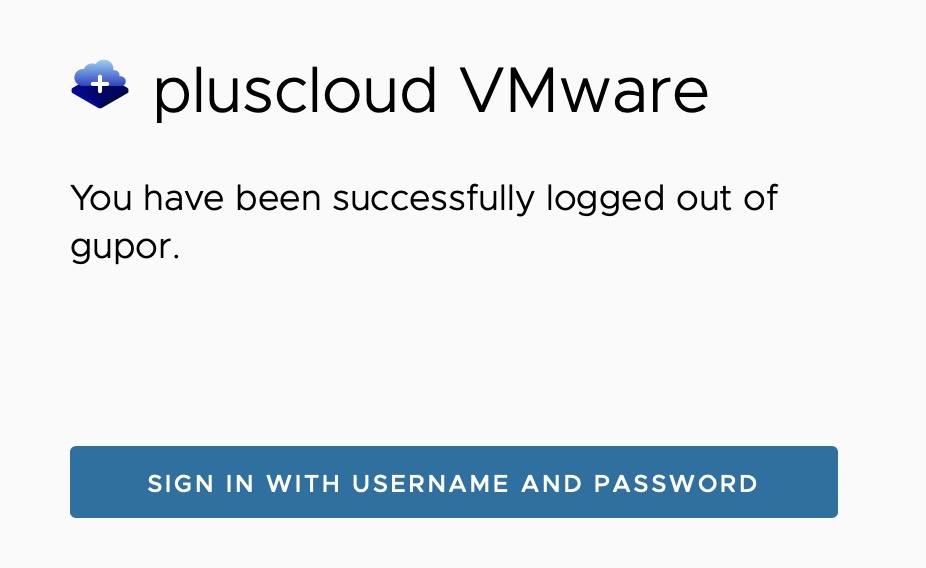
Now click on the “Login/Sign In…” button and log in with the previously created and imported user.
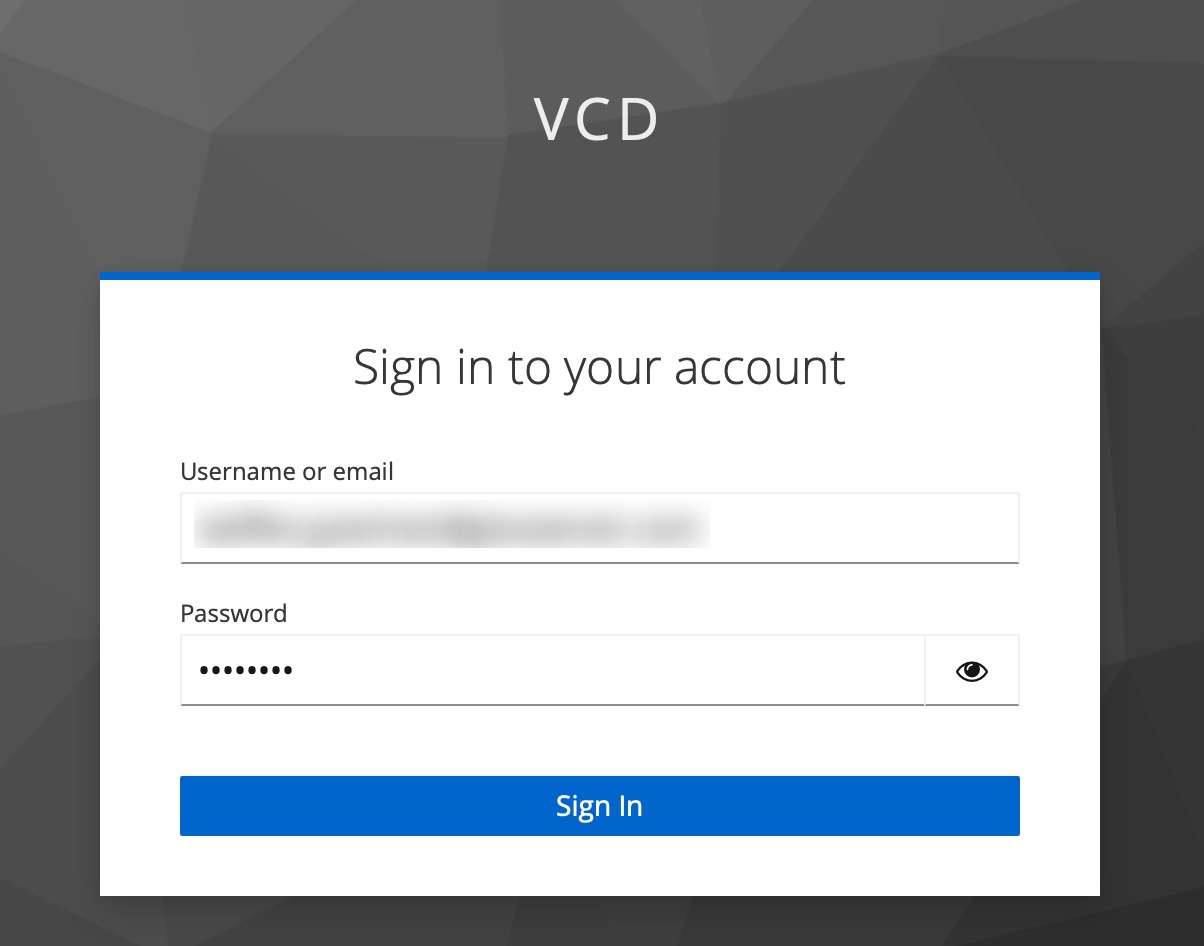
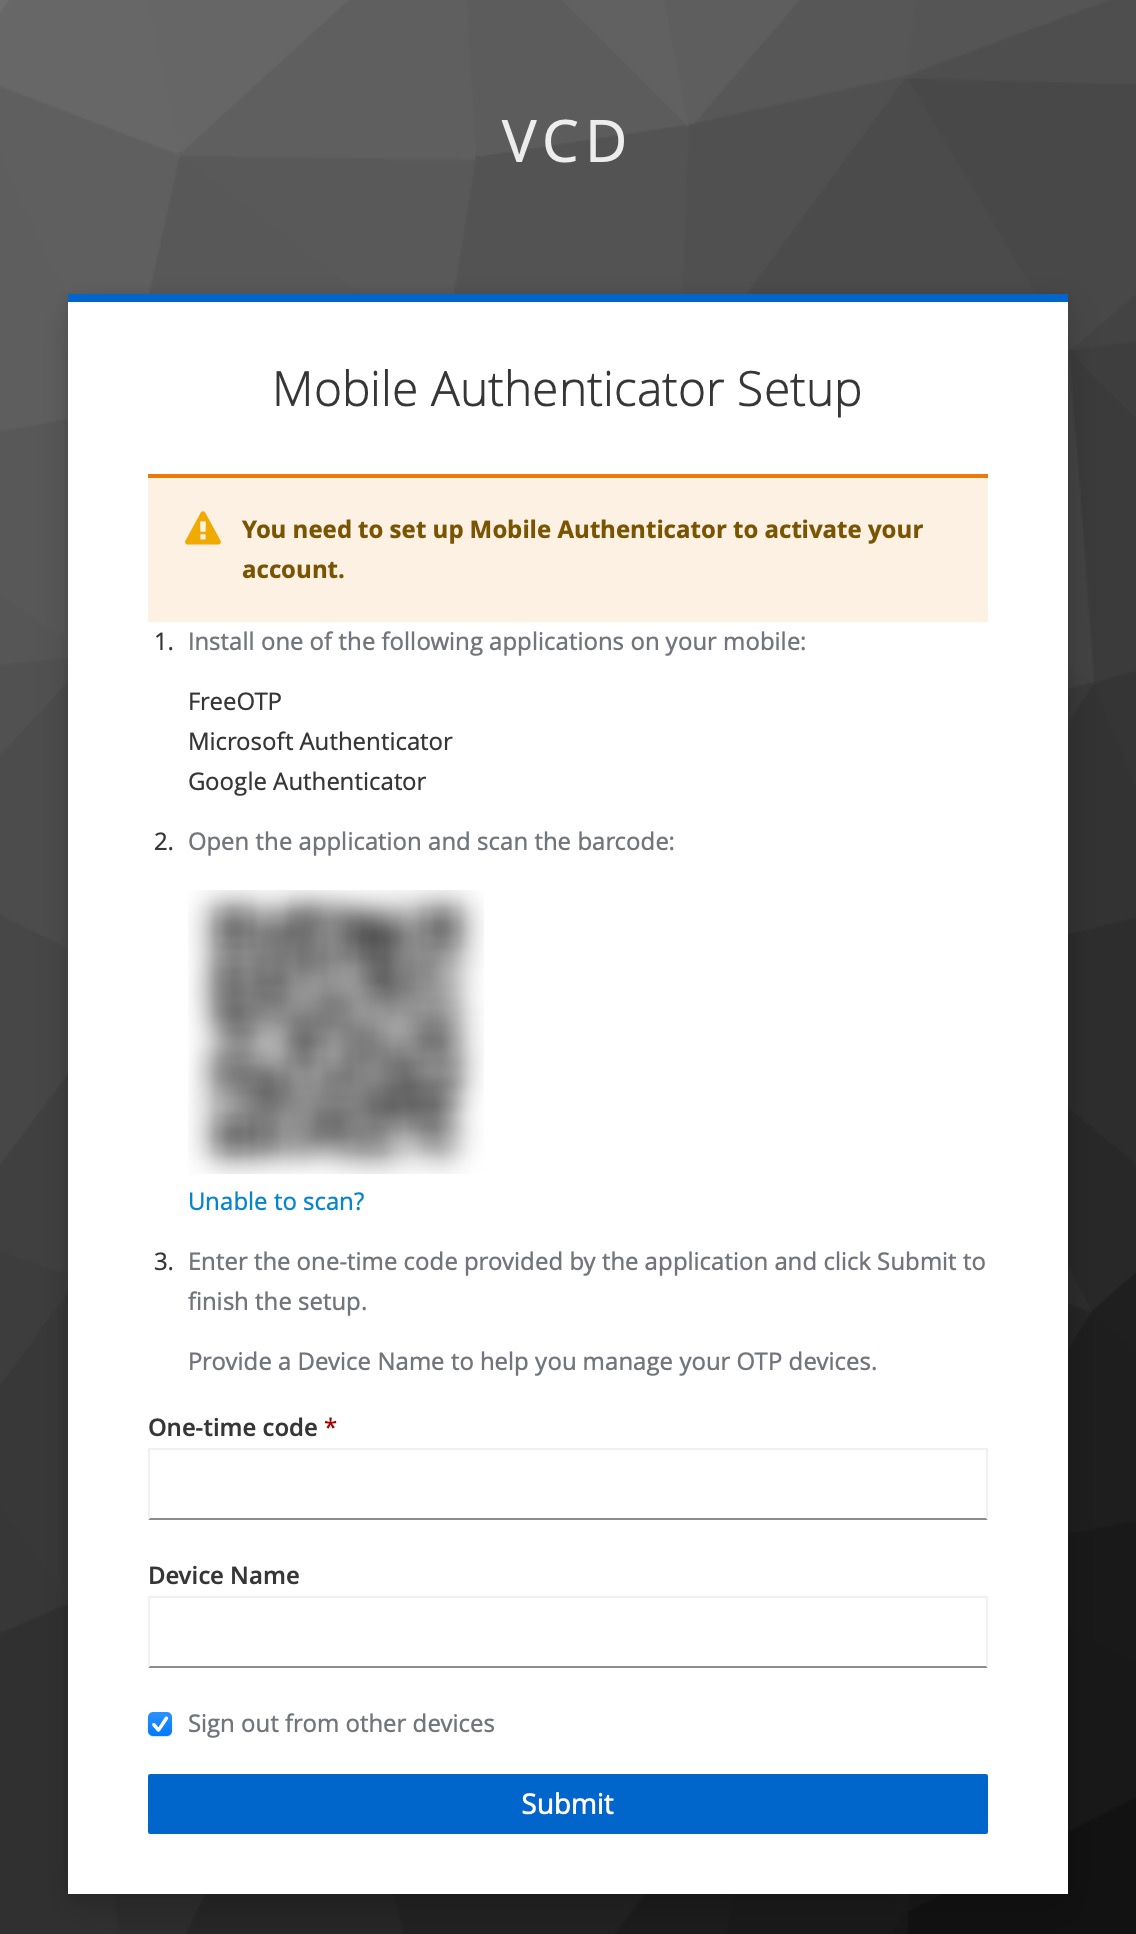
If you have done everything correctly beforehand, the browser will now ask you to set up a second factor. You can do this with your favourite Google Authenticator-compatible app.
If you were now able to log in to the VCenter with the previously created user, the Keycloak setup was successful.